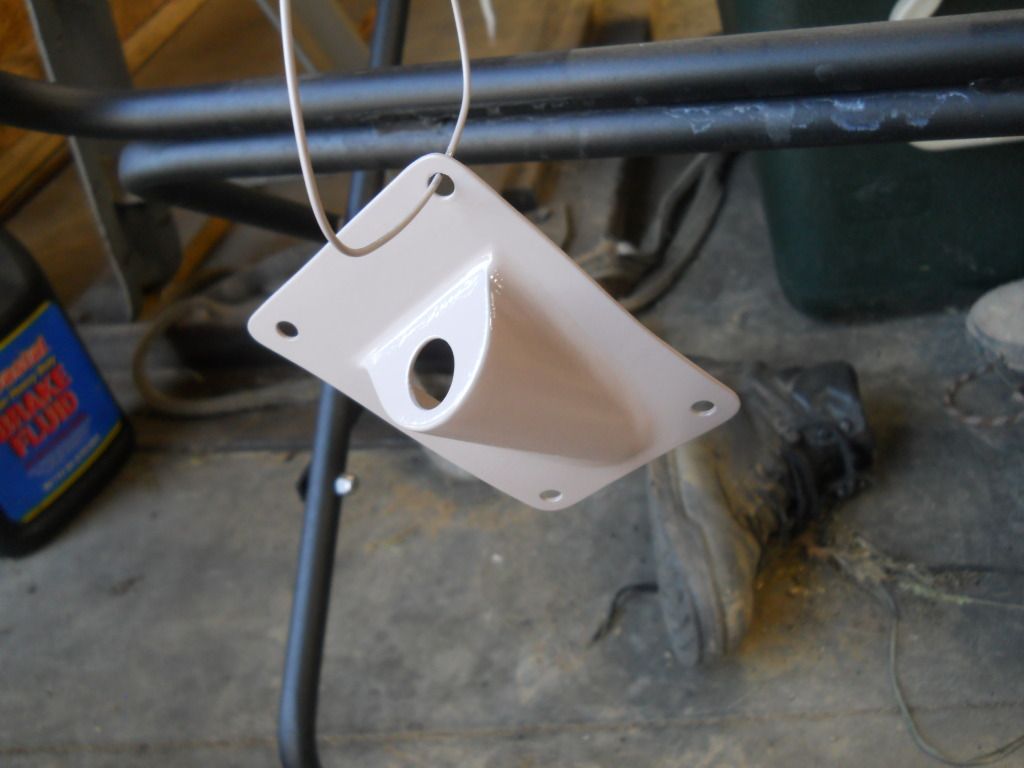
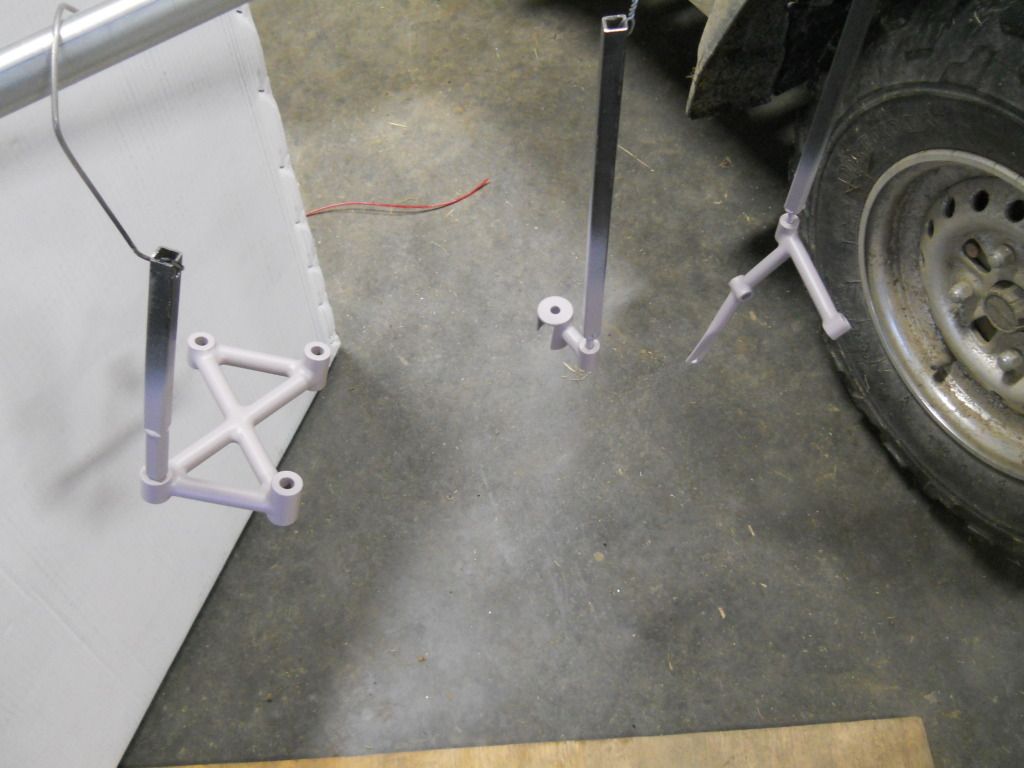
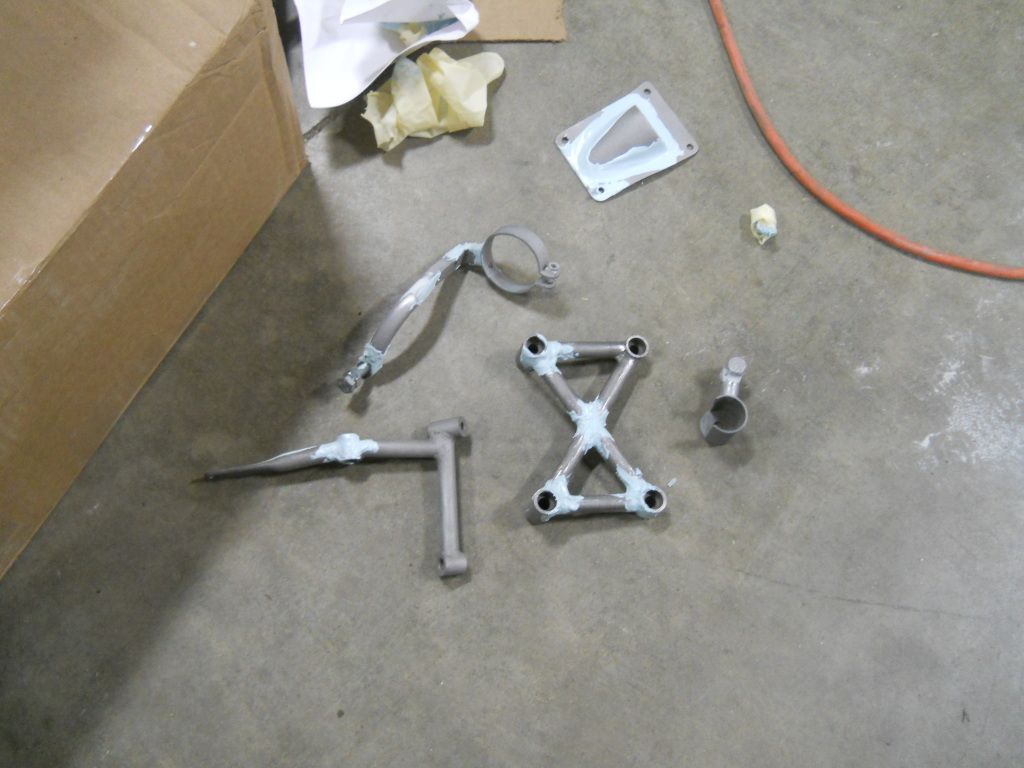
Not much to report tonight. I sanded the first coat of primer on a bunch of little parts and put a few more coats on. I switched to regular primer, PPG Omni MP182.
Wednesday, June 27, 2012
Sunday, June 24, 2012
I spread some putty on a few brackets I welded a while ago. These are brackets for the intake manifold, engine cover, and idle control valve.
This is a bulkhead where the power steering lines will come through the frame rail. Chris D'Eramo made this a few months ago, he got the itch to weld something and came out to the shop.
I'm going to paint half of the starter teal, so I touched up a few bad spots in the casting.
Epoxy primer - PPG DP40LF
This is a bracket for the upper intake manifold. It's close, but needs more sanding.
I primed my engine stand posts, they will get painted teal with all of these parts.
I installed a new front main seal and intermediate shaft seal. The crankshaft sprocket has to be removed to replace the seal, this is one of the tightest bolts on the whole car! 66 ft-lb + 90º turn
Warsteiner assembly lube
I cleaned up the front of the head casting, this is the only visible section and there were some nasty bumps in the casting.
I got the head all cleaned and masked. It's ready for paint, I might paint it black later this week.
The valve cover and block are both scrap; I'm using them both just to mask the surfaces of the head.
Wednesday, June 20, 2012
Monday, June 18, 2012
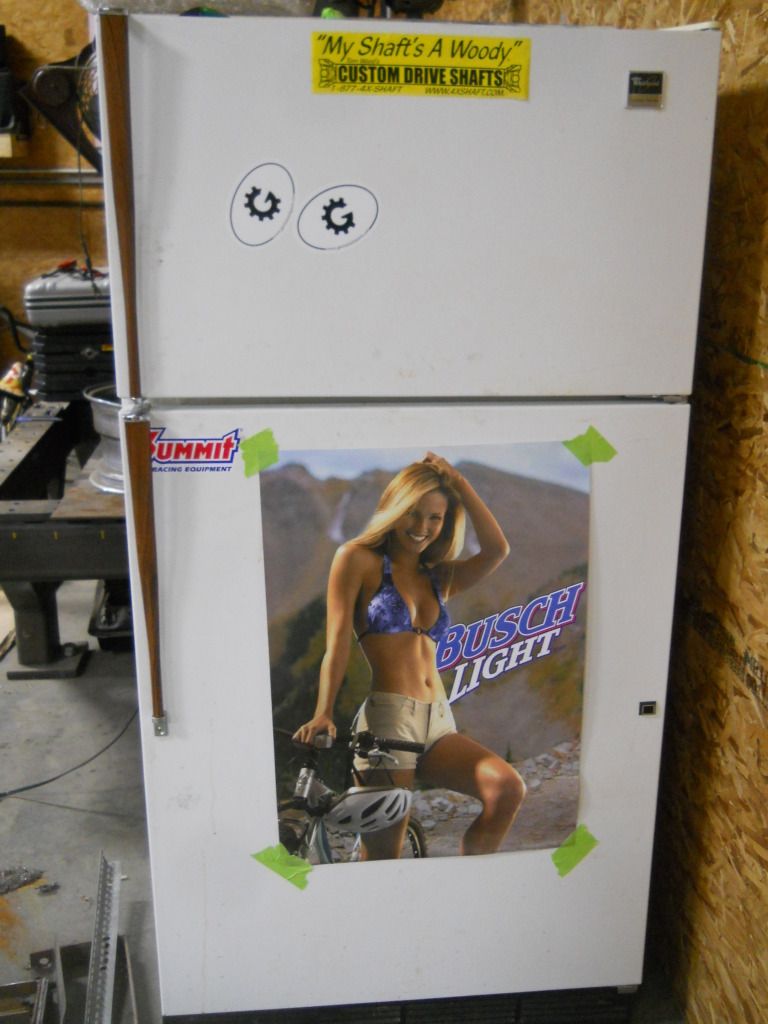
One more picture from Parts-A-Rama... I scored this amazing Busch Light poster for $1!!
More parts came in; OEM clutch, a new flywheel, some hardware, and a receiver/dryer for the A/C system.
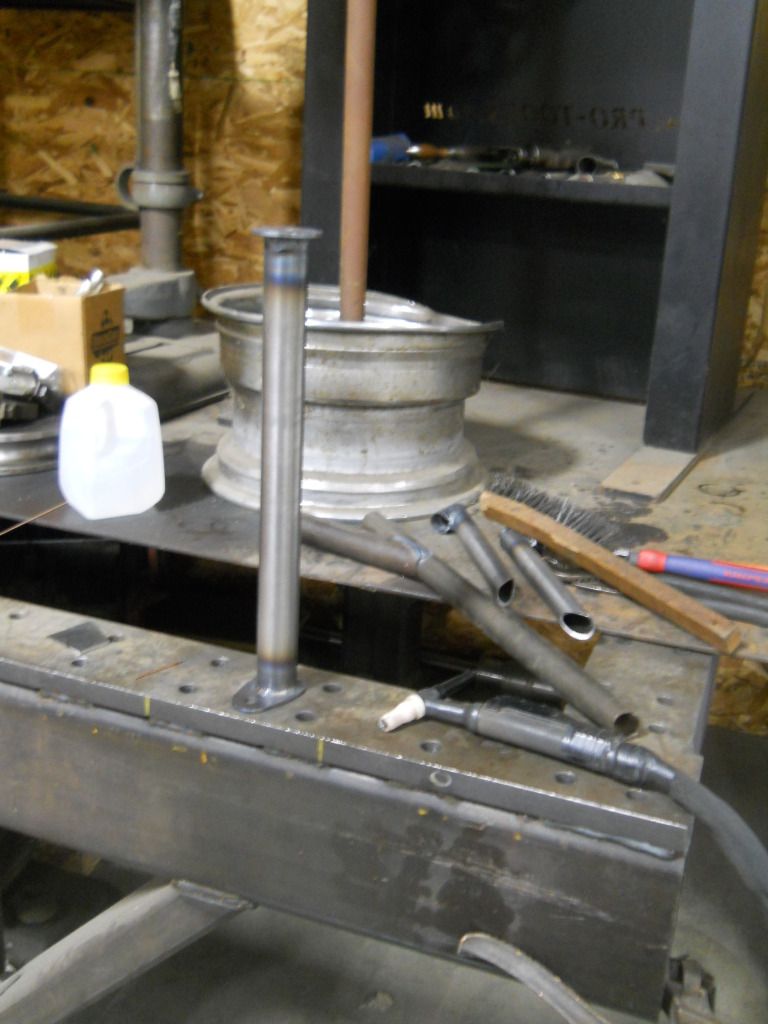
I decided to build an engine stand that will hold the assembled engine/transmission assembly and all the accessories. I wanted to bolt the engine/trans assembly down to a skid so I can store it until the rest of the car is done.
The OEM engine mounts are basically three posts - two shown here, and the 3rd is on the floor.
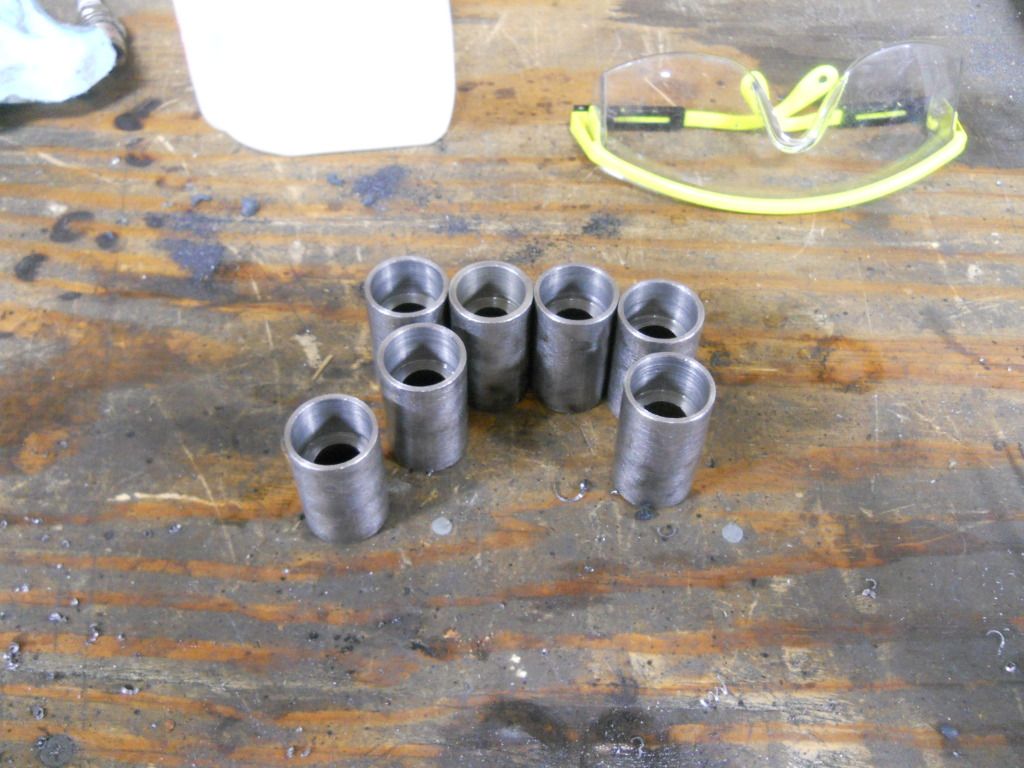
I machined a few pieces on my lathe; this will make a little more sense later.
Cut up pieces of 1" and 1-1/4" tubing.
I had to notch the angled braces to fit, so I hauled the tubing notcher down from the shelf.
Notched for a 1" tube on one side and 1-1/4" on the other.
Cutting out round plates is always a challenge, I usually do it with the grinder and they still never turn out perfect. This time I cut out square plates and made a fixture to turn them on the lathe.
After clamping it in the chuck I faced it and tapped the center for an 3/8-24 bolt.
Three square plates
Three round plates!
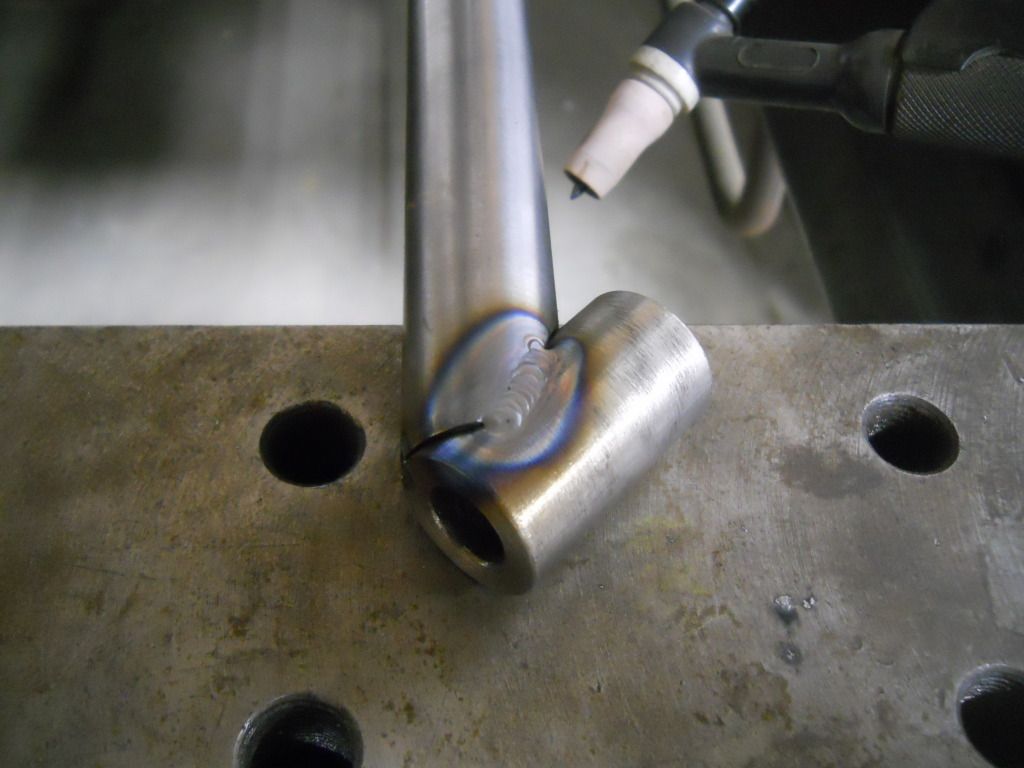
I decided to TIG weld this engine stand together. I typically MIG weld everything and pay Bill Lewis when I need TIG welding done, but I like to practice on non-critical things.
This was the best weld all night! The rest certainly weren't this nice.
One of the three posts:
Here is a closeup of the the top. I welded an M10 weld nut inside, this will simulate the OEM engine mounting brackets. It's not as off-center as it looks!
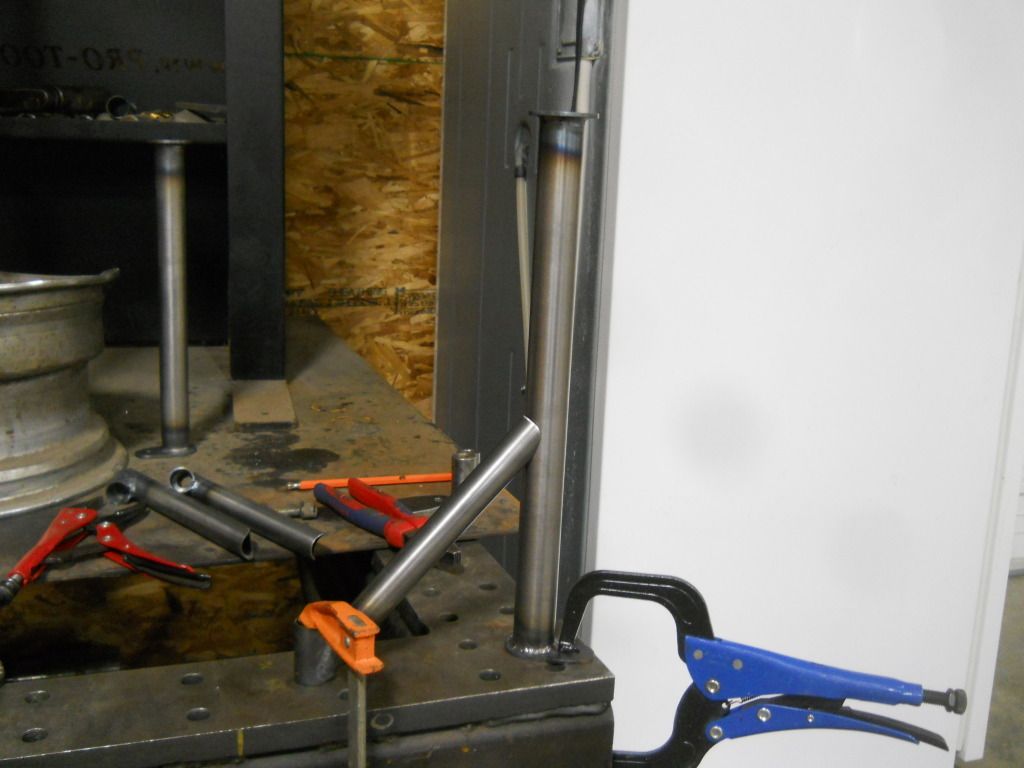
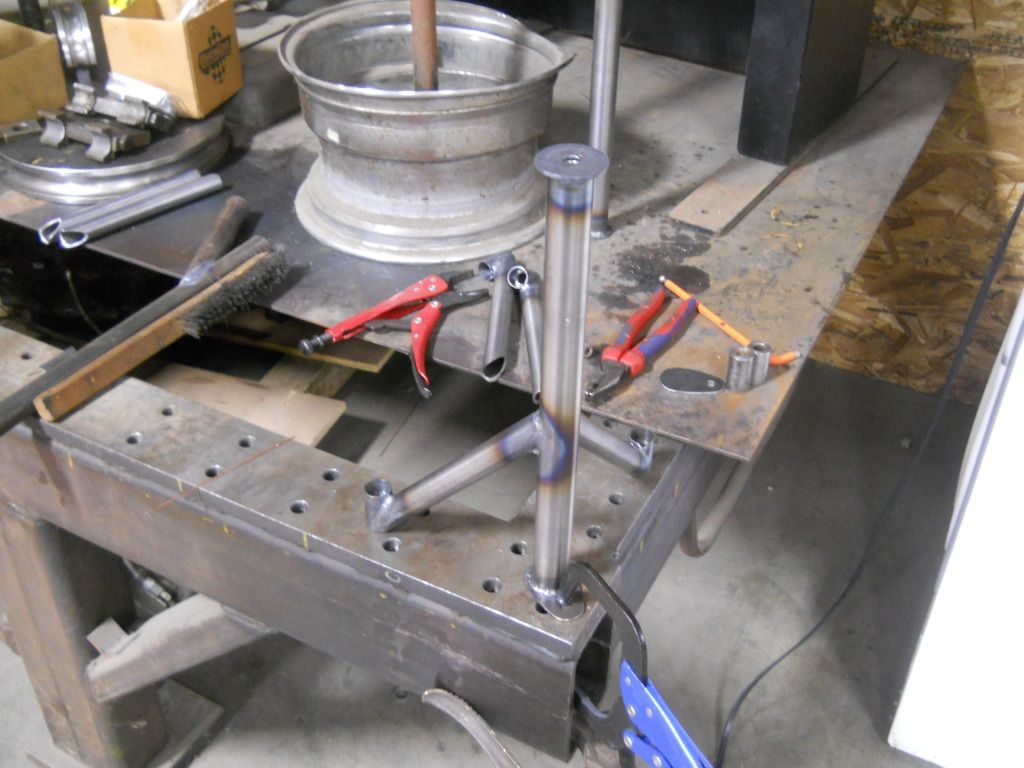
Each post will bolt down in either 3 or 4 spots - one on this little tab, and the others are diagonal braces.
Here is one of the diagonals.
Now it's starting to take shape!
One is almost done; two more to go!
Woody attempted to sit in Kage's chair and got attacked, as usual.
Sunday, June 17, 2012
This weekend I worked on the car for a little bit, but the pictures will make zero sense until the next few steps are done. I will post a big update Monday or Tuesday.
On Saturday I went to the Pittsburgh Parts-A-Rama at the Butler County Fairgrounds. This is like a gigantic redneck swap meet for tools and car parts, almost entirely junk and rusty domestic parts. I went with my hillbilly friend Dave, in his '94 Chevy pickup, to get the full experience.
I stopped for some Turner's Tea.
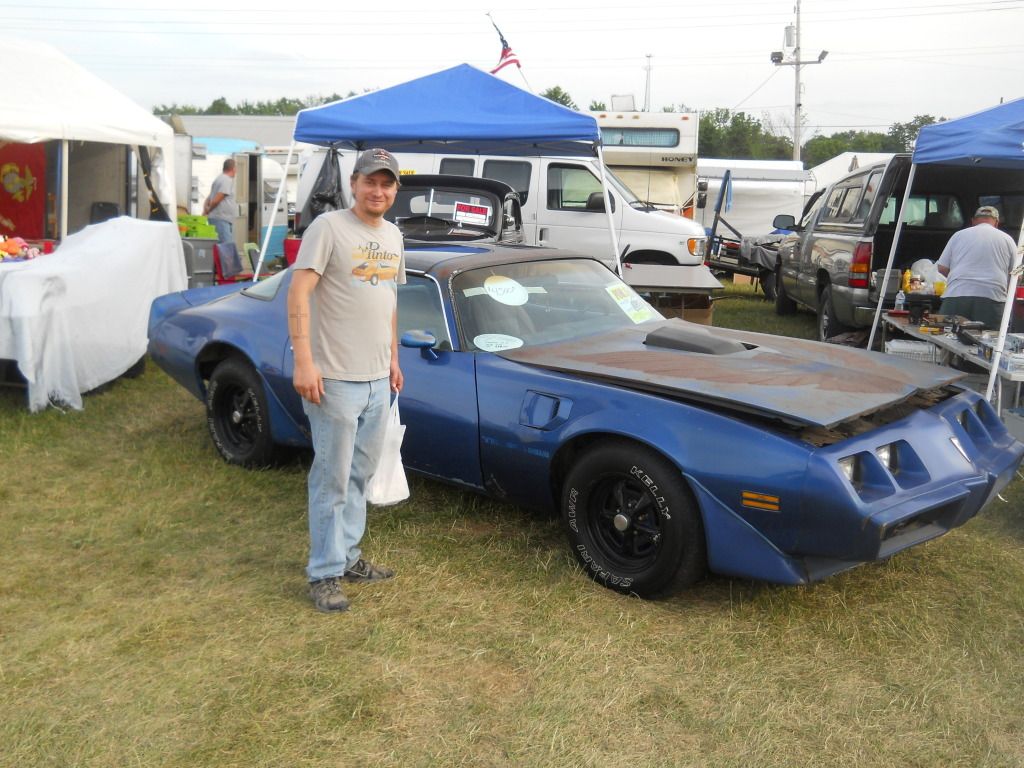
ATTN Billy: I saw this sweet ride in the parking lot on my way in. This is how I knew it would be a great day!! This was one of about 10 non-pickups in the 40 acre parking lot.
I must have said "Badass!" at least 150 times Saturday. There is no better word in the entire English language that would describe a homemade dually raper van.
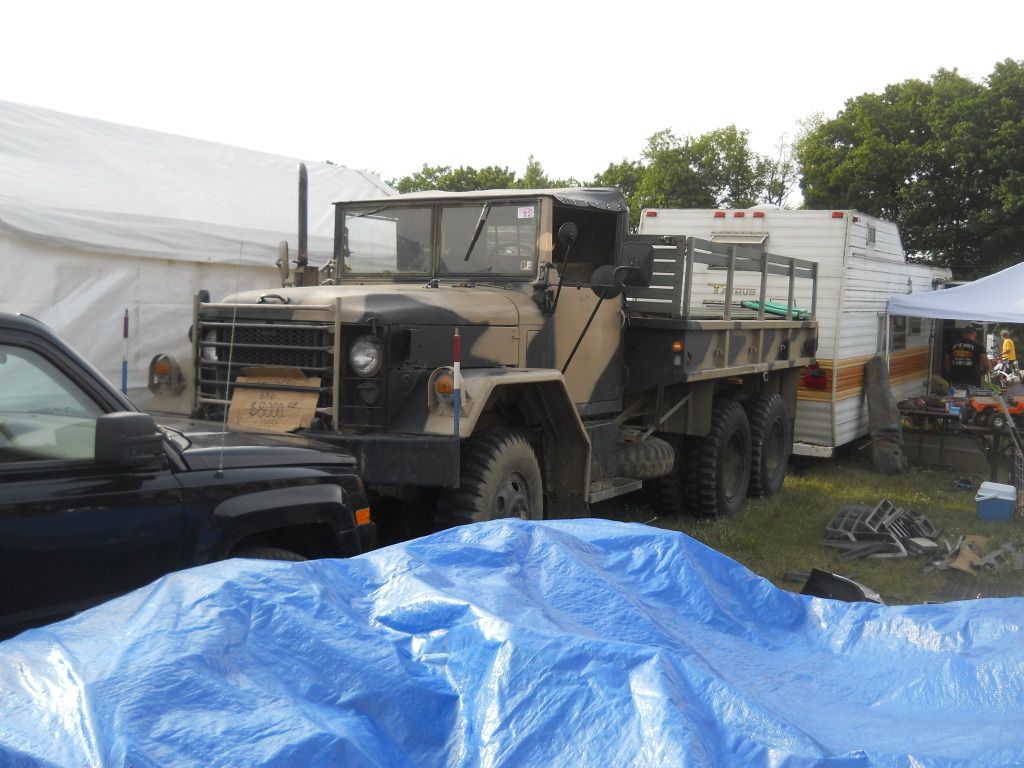
I should have bought this! 6x6!!!!
PPG and DuPont? Not at Parts-A-Rama!
Some vintage Craftsman sanders. 95% chance of electric shock with every use. The background of this shot gives you an idea of the average sale table... a plastic kid's sandbox shovel, a Chinese screwdriver, a few rusty wrenches, an opened can of carb cleaner, and a few hubcaps.
Then Dave spotted this gem...
Also notice his Pinto shirt. He bought it at Old Navy for $2 because he thought it was hilarious, but at least a dozen Pinto collectors approached him. Hilarious!
Oh damn I needed a rollcage!!
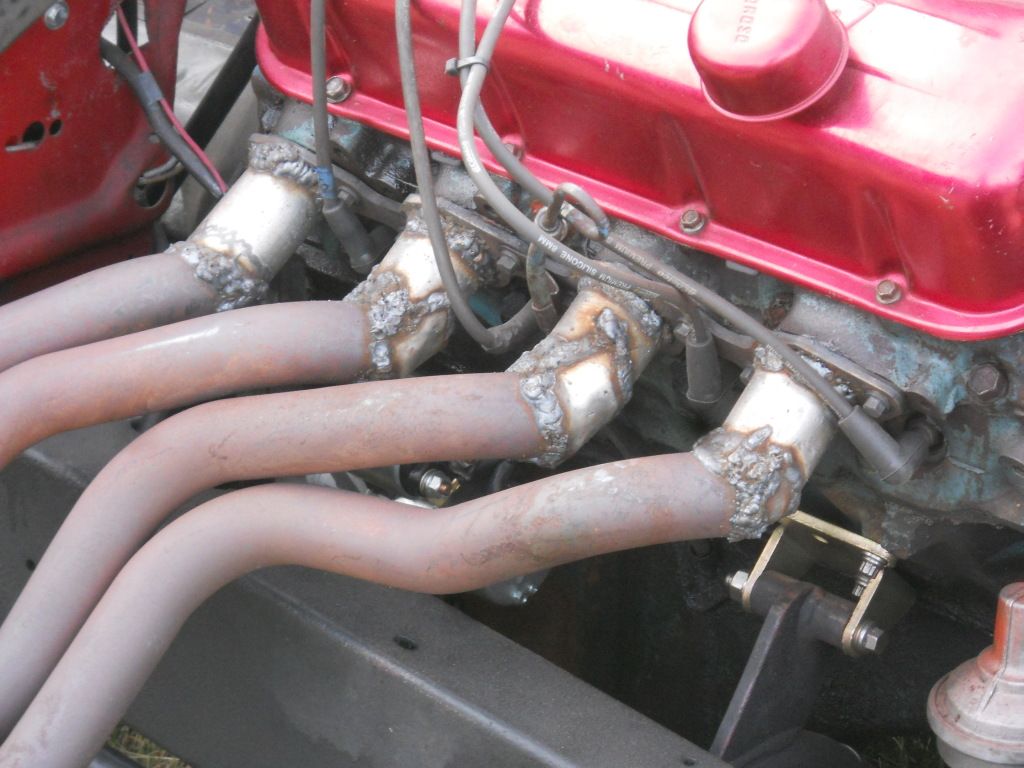
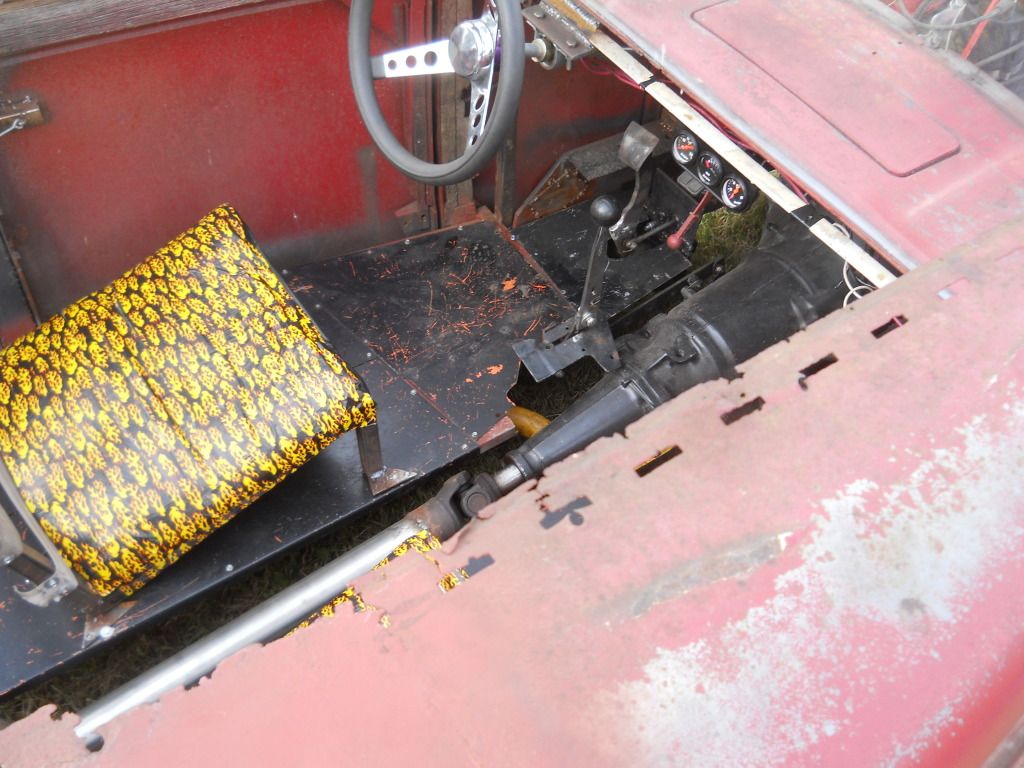
I spotted this cool looking rat rod and went to take a closer look...
WHAT THE FUCK!!!!
Upon closer inspection, the header was the cleanest fabrication on the whole thing! Jesus H. Christ what a mess.
Subscribe to:
Posts (Atom)

