Sunday, January 29, 2012

I tried a few more times, unsuccessfully, to spray this Omni acrylic enamel with flattener.  I tried mix ratios of 8:1:1 (paint:flattener:hardener), 8:2:1, 4:1:1, and 4:3:1.   None of them were flat, most of them didn't even harden properly.  72º booth temp, 68-70º garage temp.  PPG Omni MAE paint, Mar-Hyde wet look hardener, PPG M148 flatting agent.  Fuck it, I'm throwing it away and buying either Nason Chassis Black or PPG MTK acrylic urethane single stage like Woody used on his Beetle.


I need to move my car next week so they can install new lighting fixtures above my area, which is a good excuse to build a body cart.  I will need to move the body around once I start getting deeper into the bodywork, so I bought some casters and lumber.

I made these brackets that bolt to the factory rear suspension crossmember mounts.


I forgot to buy bolts for the casters, so I scrounged up this collection... I don't think any two are the same! 

Check out them rimz! 

I built this for the front.  I can lift this with a floor jack or forklift if I can't use the casters for some reason.

Restoration stance!

Thursday, January 26, 2012

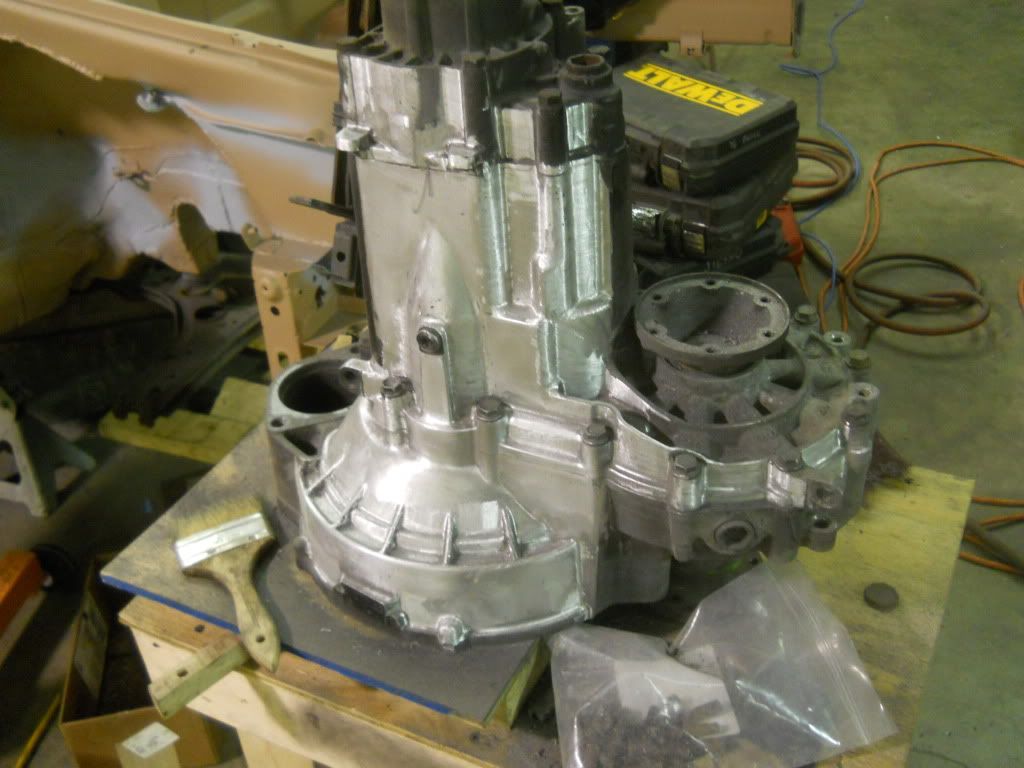
I took a break from the transmission polishing to get some things prepared for sandblasting.  This was supposed to take a few hours... two days later I'm almost done!

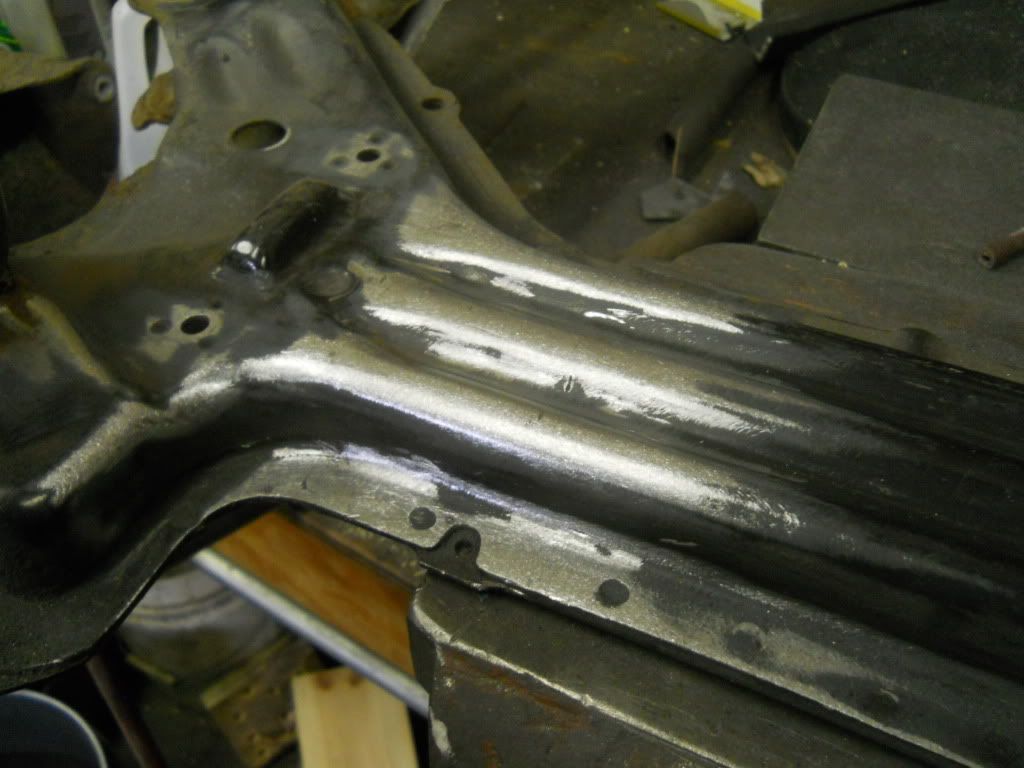
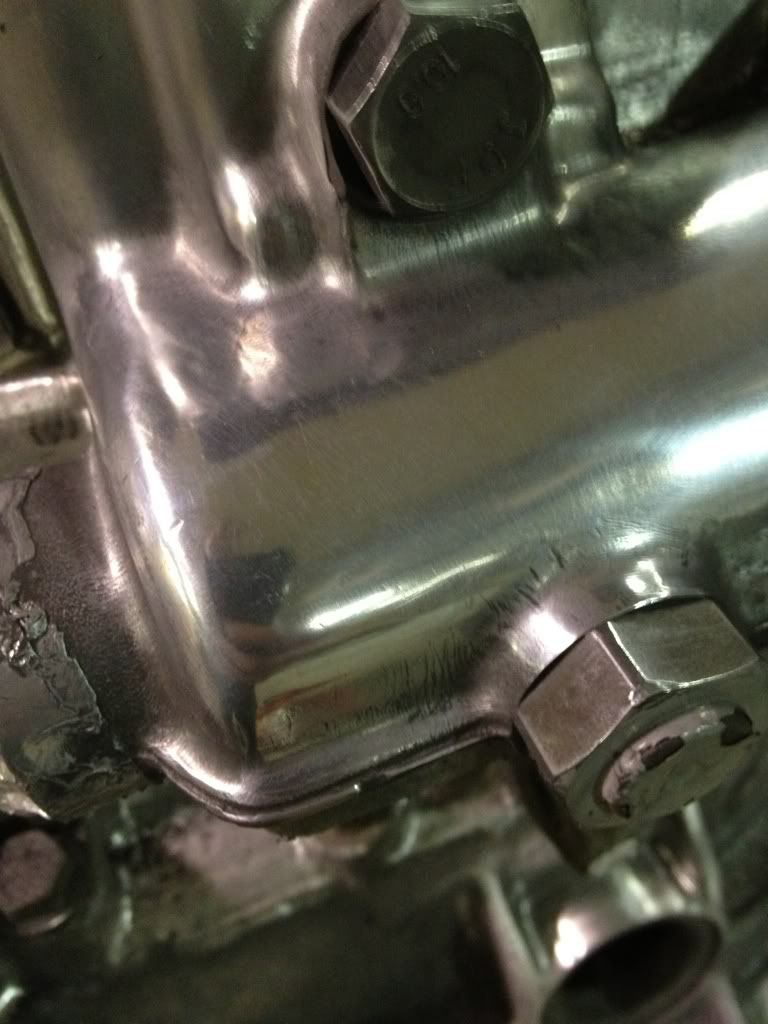
I cleaned up a section of the front subframe where I removed the 'vibration damper,' or giant steel block.

I also cut off one of the power steering hose mounts.  This isn't really visible, but the new power steering plumbing will be nearby and more clearance will make it easier.

I started to smooth some of the spotwelds on the engine crossmember, plus some additional cleanup.  The stock spotwelds are really big, these will get a coat of bondo then paint after sandblasting.

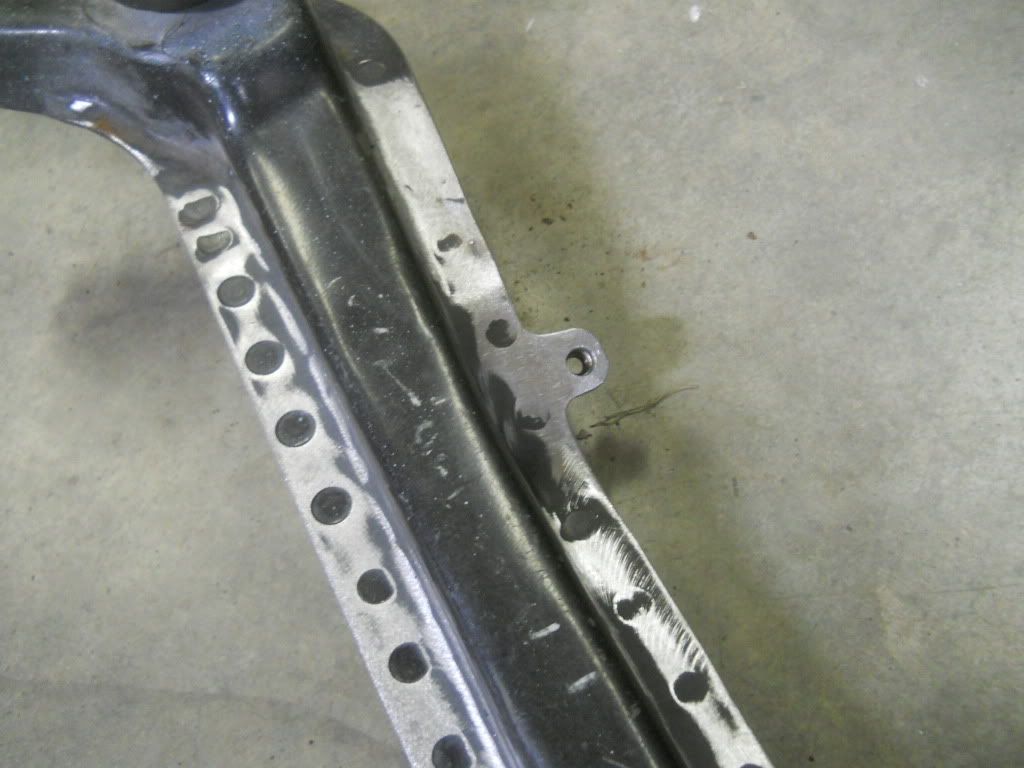
I added this tab for one of the A/C hoses.  I routed everything a few months ago, and made a note of where the tab needed to be.  Hopefully it's correct!

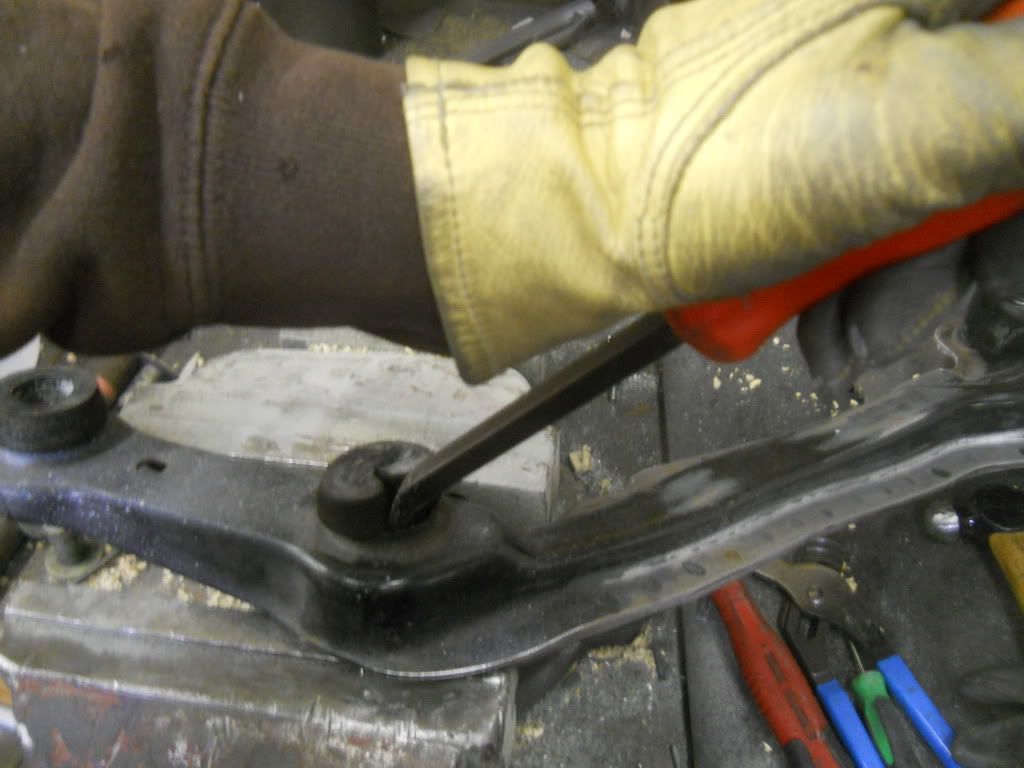
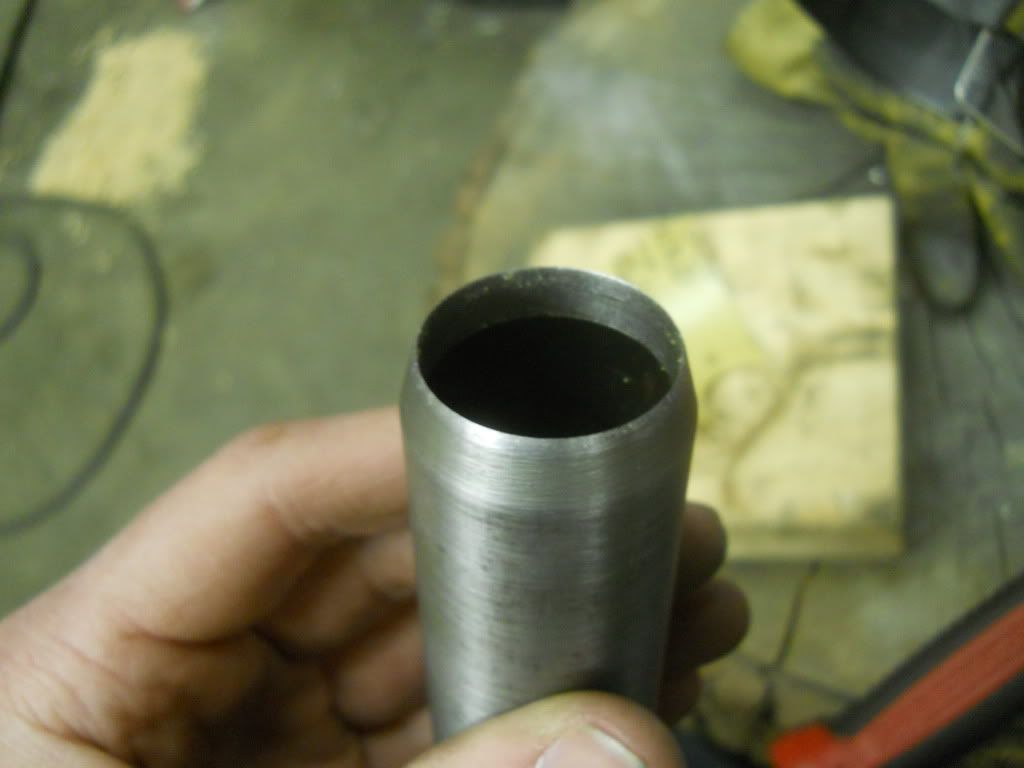
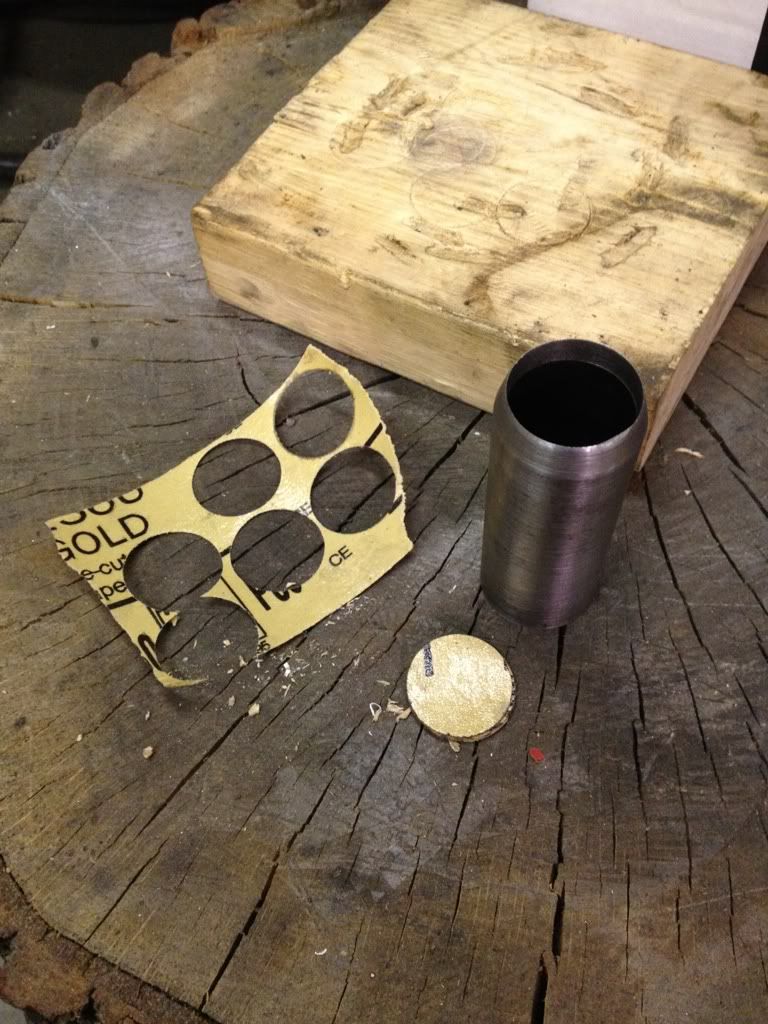
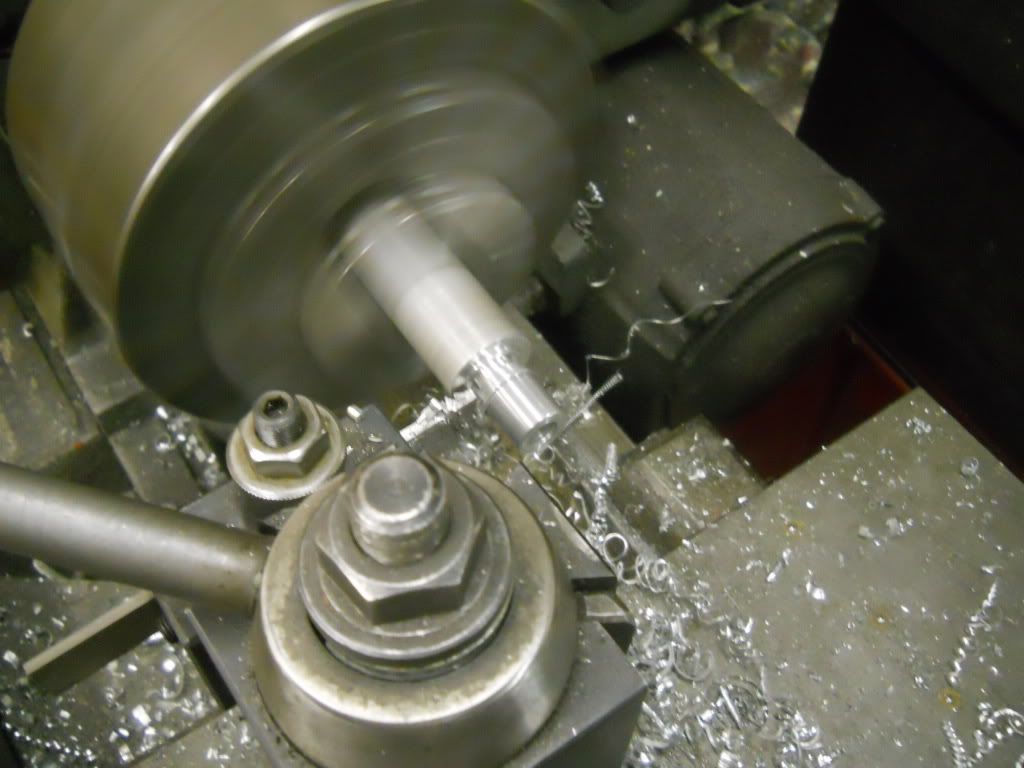
I removed the bushings.  New replacement rubber is no longer available new from VW, so I wanted to save them.  The steel sleeves are $28 per bushing, so it will be cheaper and easier to just re-make them from tubing and washers when it goes back together.  I'm not sure if these can be disassembled, but they were all corroded together where the seam should be.  So I cut 'em out.

Step 1: cut off the top

Step 2: push out the sleeve

Step 3: pry out the bushing.

Success.


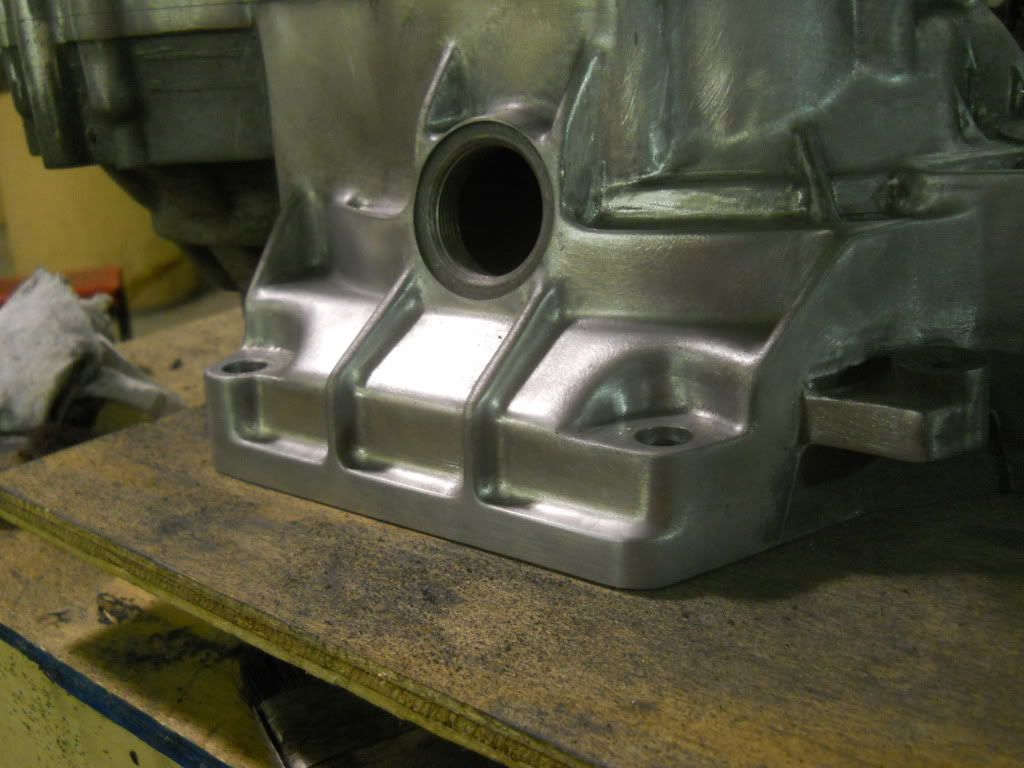
Here is where things got out of hand.  This is the bracket for the transmission, I decided to clean it up.

There were a bunch of little rip marks from the stamping, I filled them in with weld.  The MIG weld won't stick to the copper, so you can extend an edge pretty easily using this method.


The rim around the bracket stopped a little short, so I decided to extend it around.   I started with a template on the profile gauge.

I used the template to make a hammer form.

I used the hammer form to hammer a piece of 14ga steel into shape.

After some welding and grinding

I shaved the other unused holes, and cut a radius into the front edge where it used to be square.

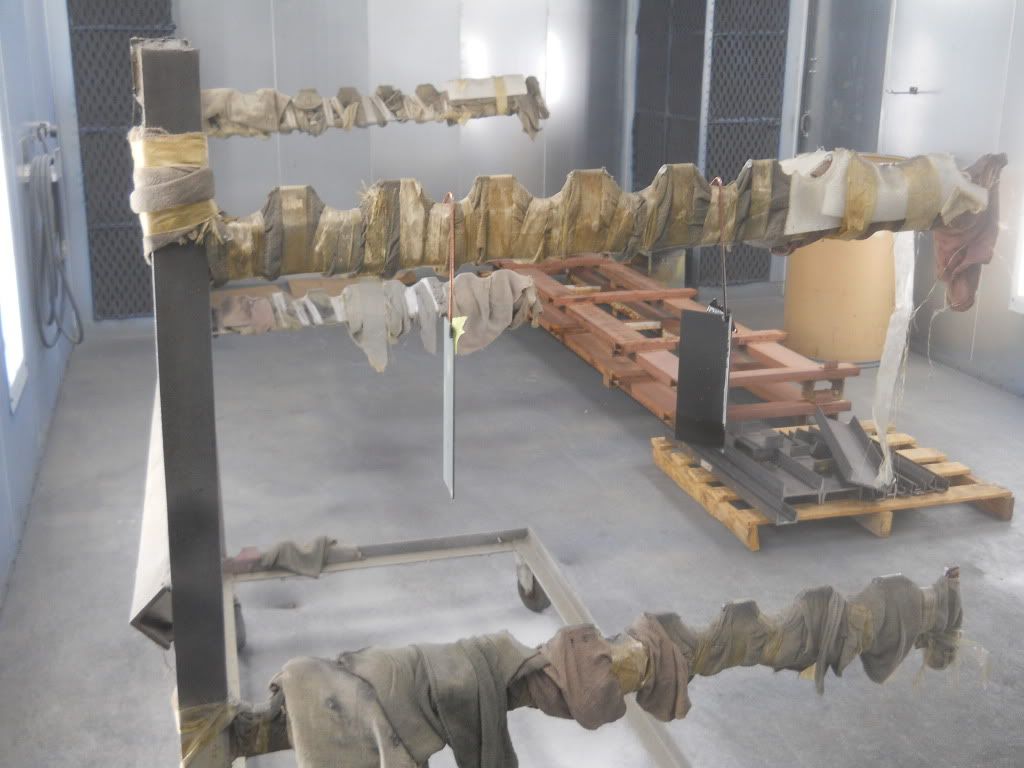
Ready for sandblast, primer, then bondo!

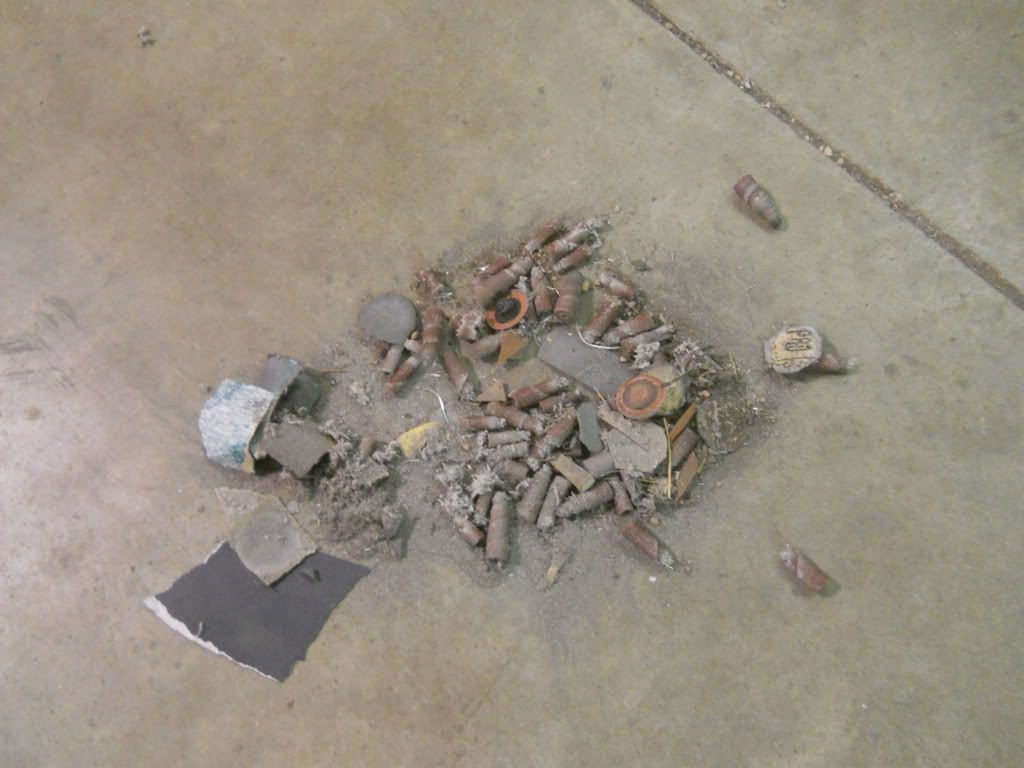
I needed to spray some test samples of the PPG Omni acrylic enamel that I plan to use on the engine parts, I wanted to choose the right gloss level.   I ended up mixing it wrong because I was combining two datasheets... all of the samples ended up glossy and none of them hardened!

Spoiled rotten.

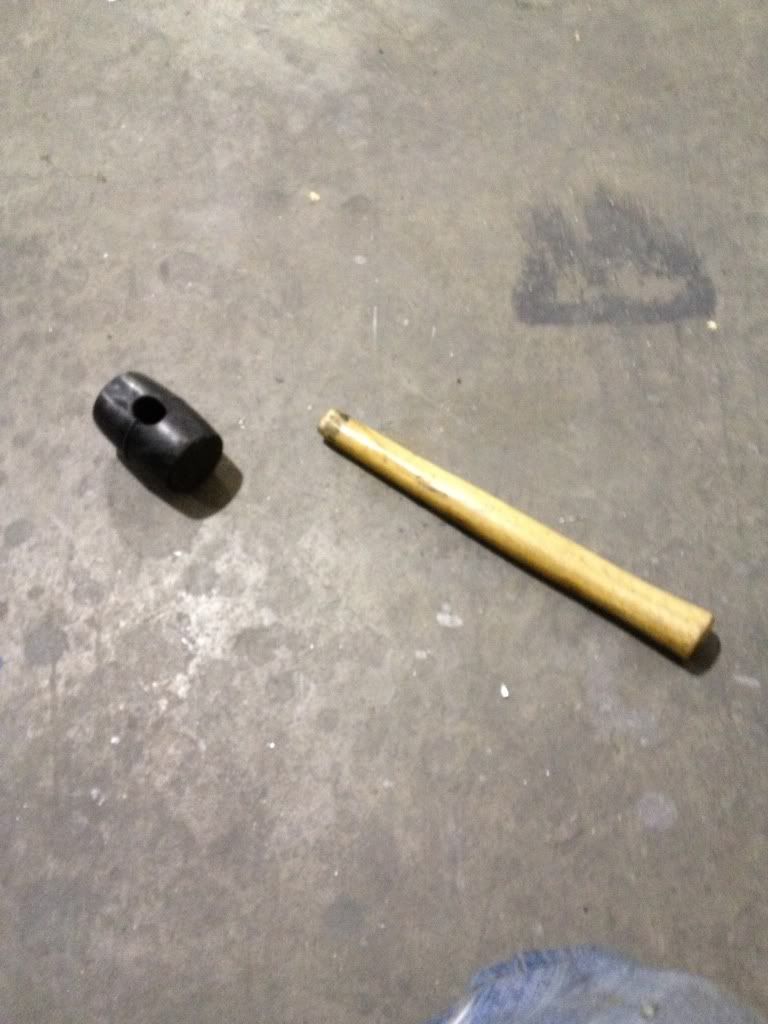
So all of my friends make fun of me for my hammer collection; I have over 40 hammers and the total value is probably a couple thousand bucks.  Woody borrowed my $1 Harbor Freight rubber mallet, my only 'cheap' hammer, to adjust the paint shaker... and it broke!  What the fuck.  This is why I buy nice things.

Sunday, January 22, 2012

I went to Harbor Freight yesterday and bought a whole bunch of junk.   These die grinders are between $6 and $12 depending on which coupon you have, I bought four!  I updated my drawer layout too, this is a 10" deep drawer so the grinders can stand on end.  They're held by their air fitting in the 2x6 at the bottom.


Woody plowed the parking lot... and busted a sweet drift in the New Holland!

I made a cutting die to cut 1" round sanding discs from a roll of adhesive backed paper, I will use these on the 1" DA pad I made yesterday.


sand sand sand!


I even polished a little section, just to see what it would look like.  It looks like I'm NOT going to polish it!

Saturday, January 21, 2012

More sanding today...

I burned through 2 bags of cartridge rolls already!  I have to order more tomorrow.

Woody and his dad some fun in the snow!
I took a break from the transmission to pressure test the OEM coolant reservoir.  I plan to redesign this and make something from aluminum, so I needed to know what pressure the stock cap opened.

Some supplies: 1/8- and 1/4-NPT taps, with tap drills and Schrader valves.


I turned a plug for the OEM coolant hose, with a 1/8-NPT tap in the bottom.


It looks like the stock cap releases pressure right around 20psi.

I also turned this piece, a 1" sanding pad for my Matco mini-DA sander.

M6 thread.  It wasn't done in this photo, I had to machine a step in this side for clearance.


sand sand sand!