Sunday, November 25, 2012

My buddy Chuck came out this weekend, he needed some lathe help to build a cam bearing tool for LS motors.  He's building an LS-swapped E36; check it out: http://getoffmylon.blogspot.com/

I fired up the Jet superlathe.


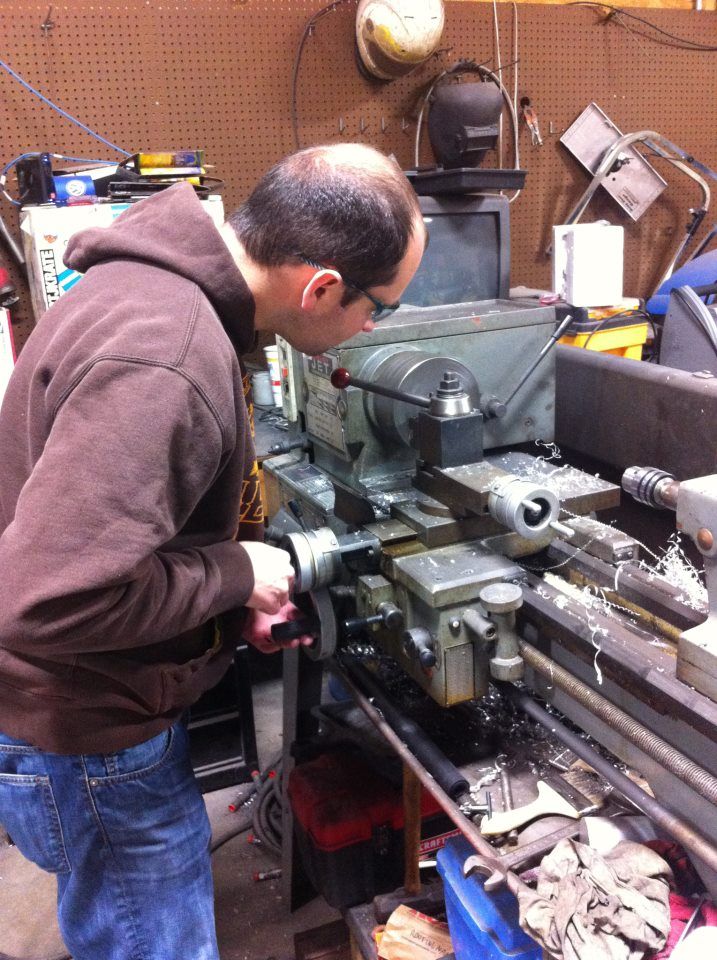
This was my first time turning wood on a lathe!  It turned out OK I think lol.

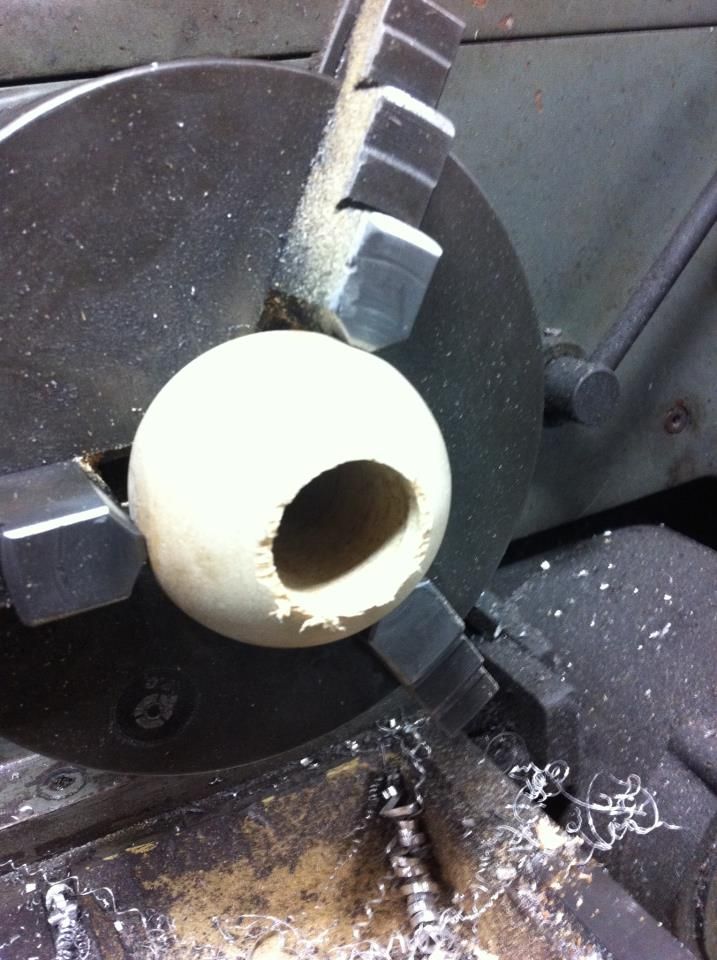
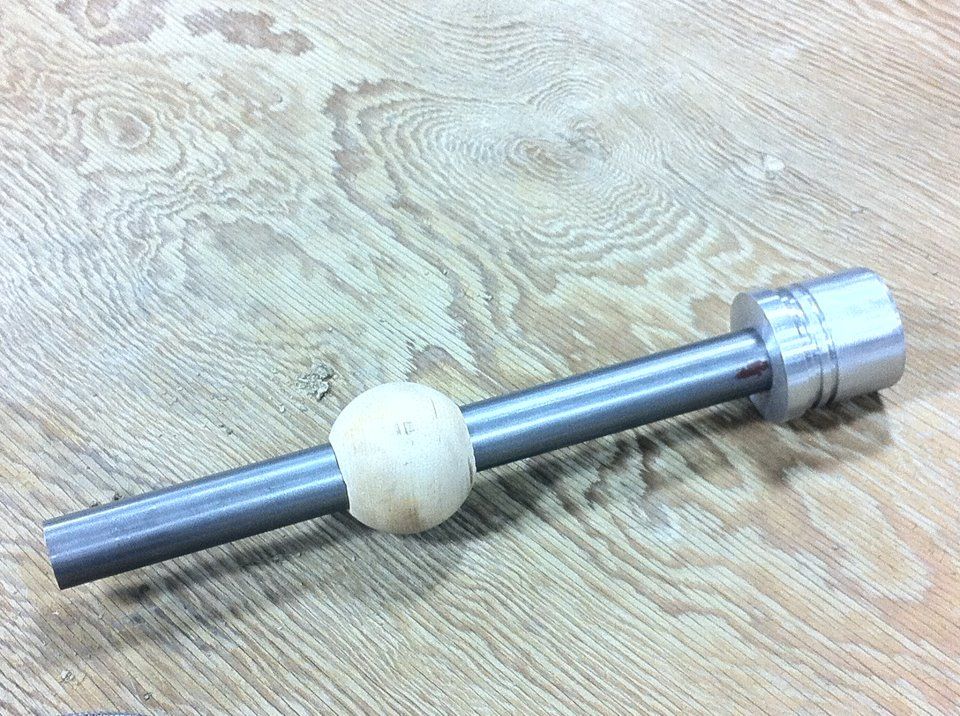
The completed tool.  This holds the cam bearings while they're being pressed into the block.  The wood ball is to keep the tool concentric with the other bearing bores.


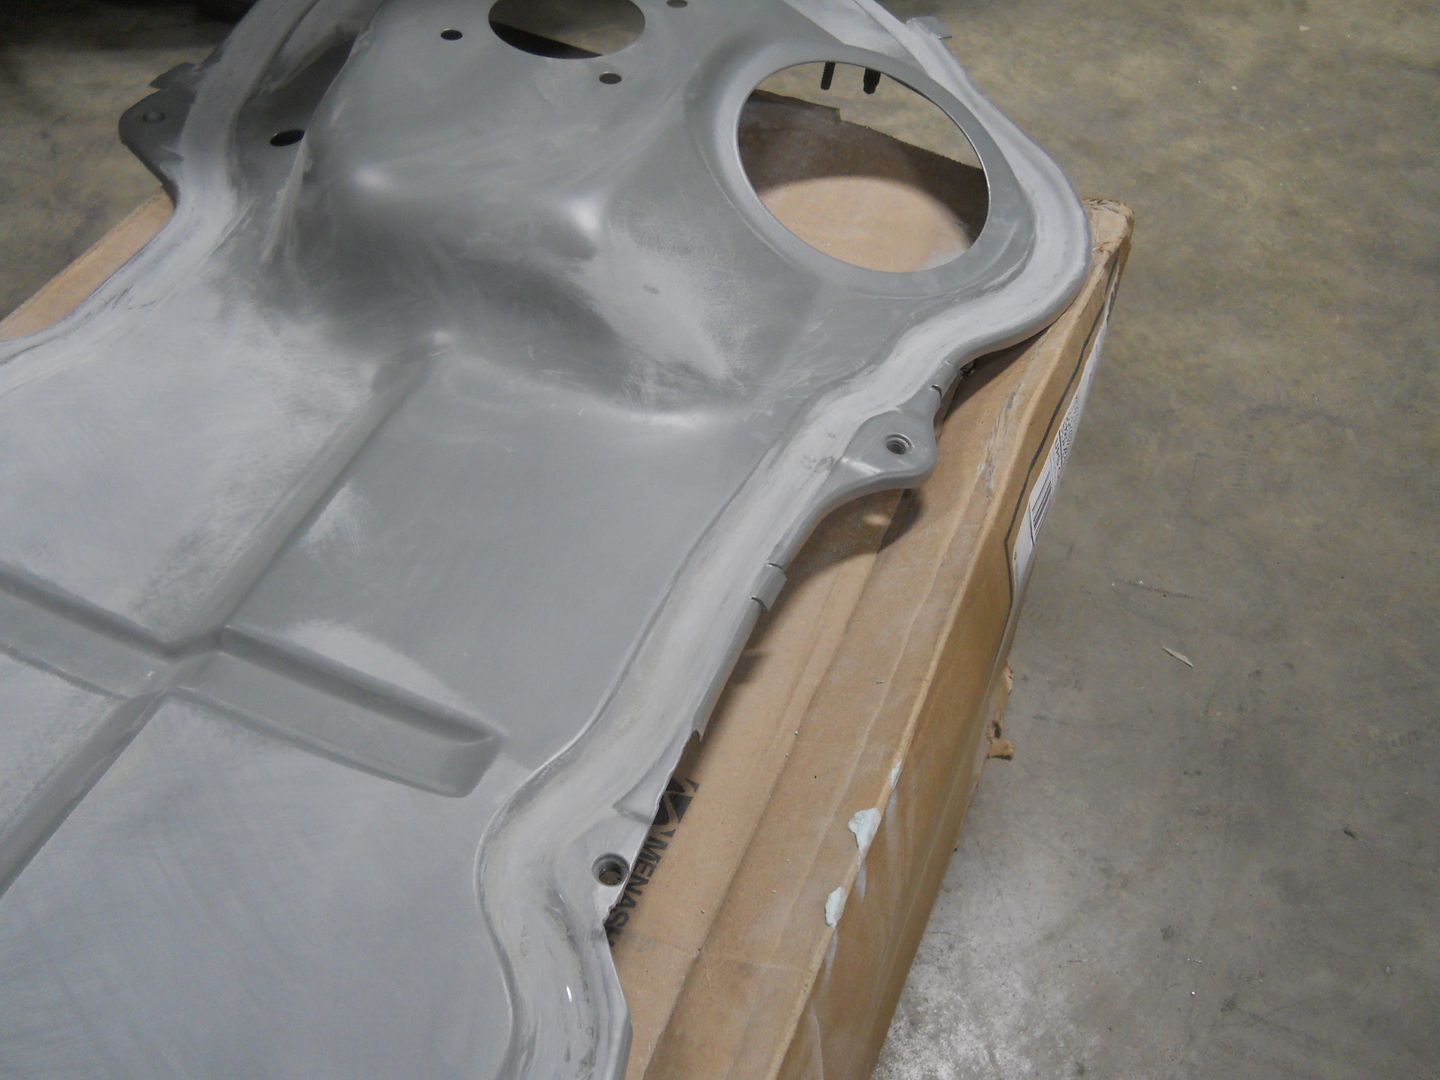
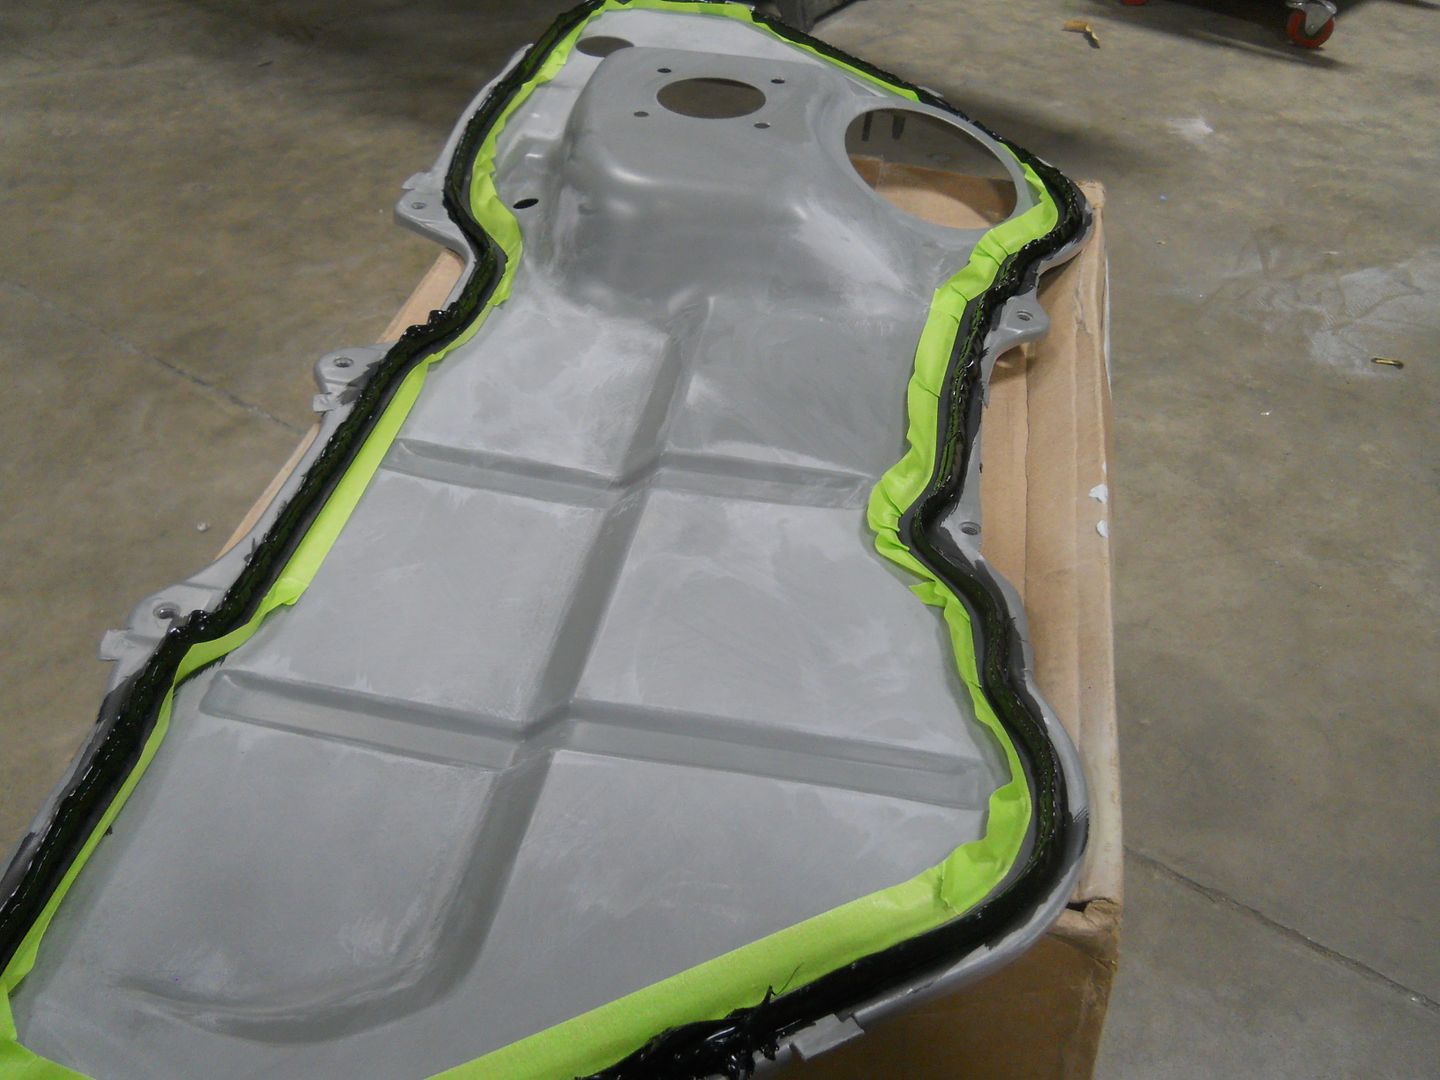
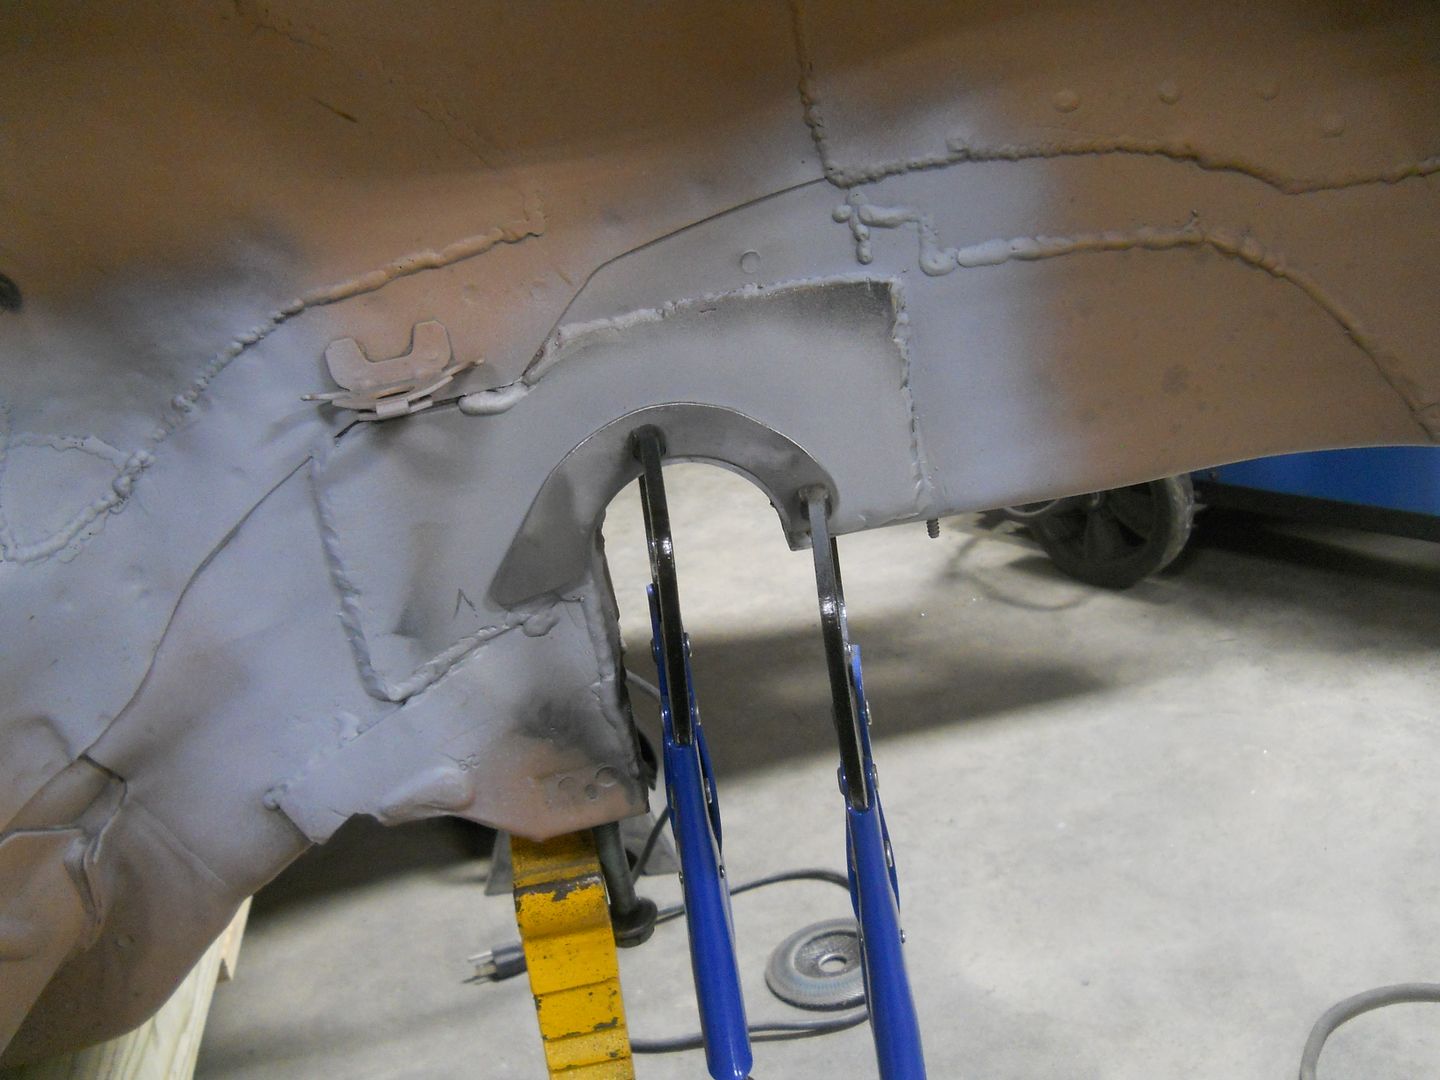
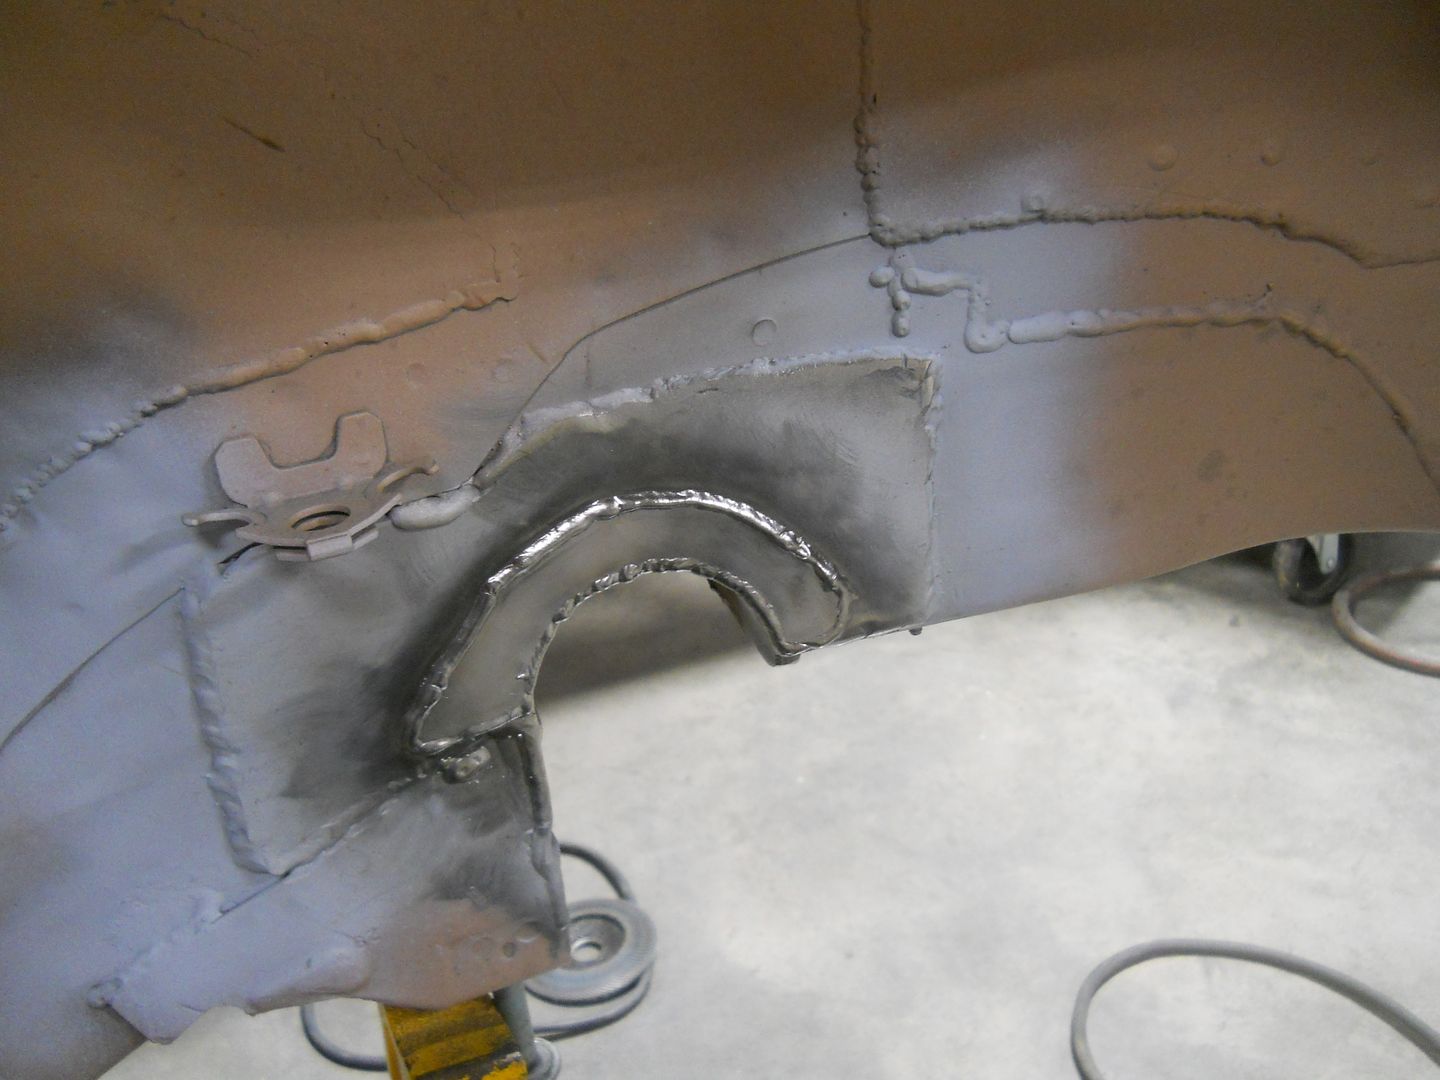
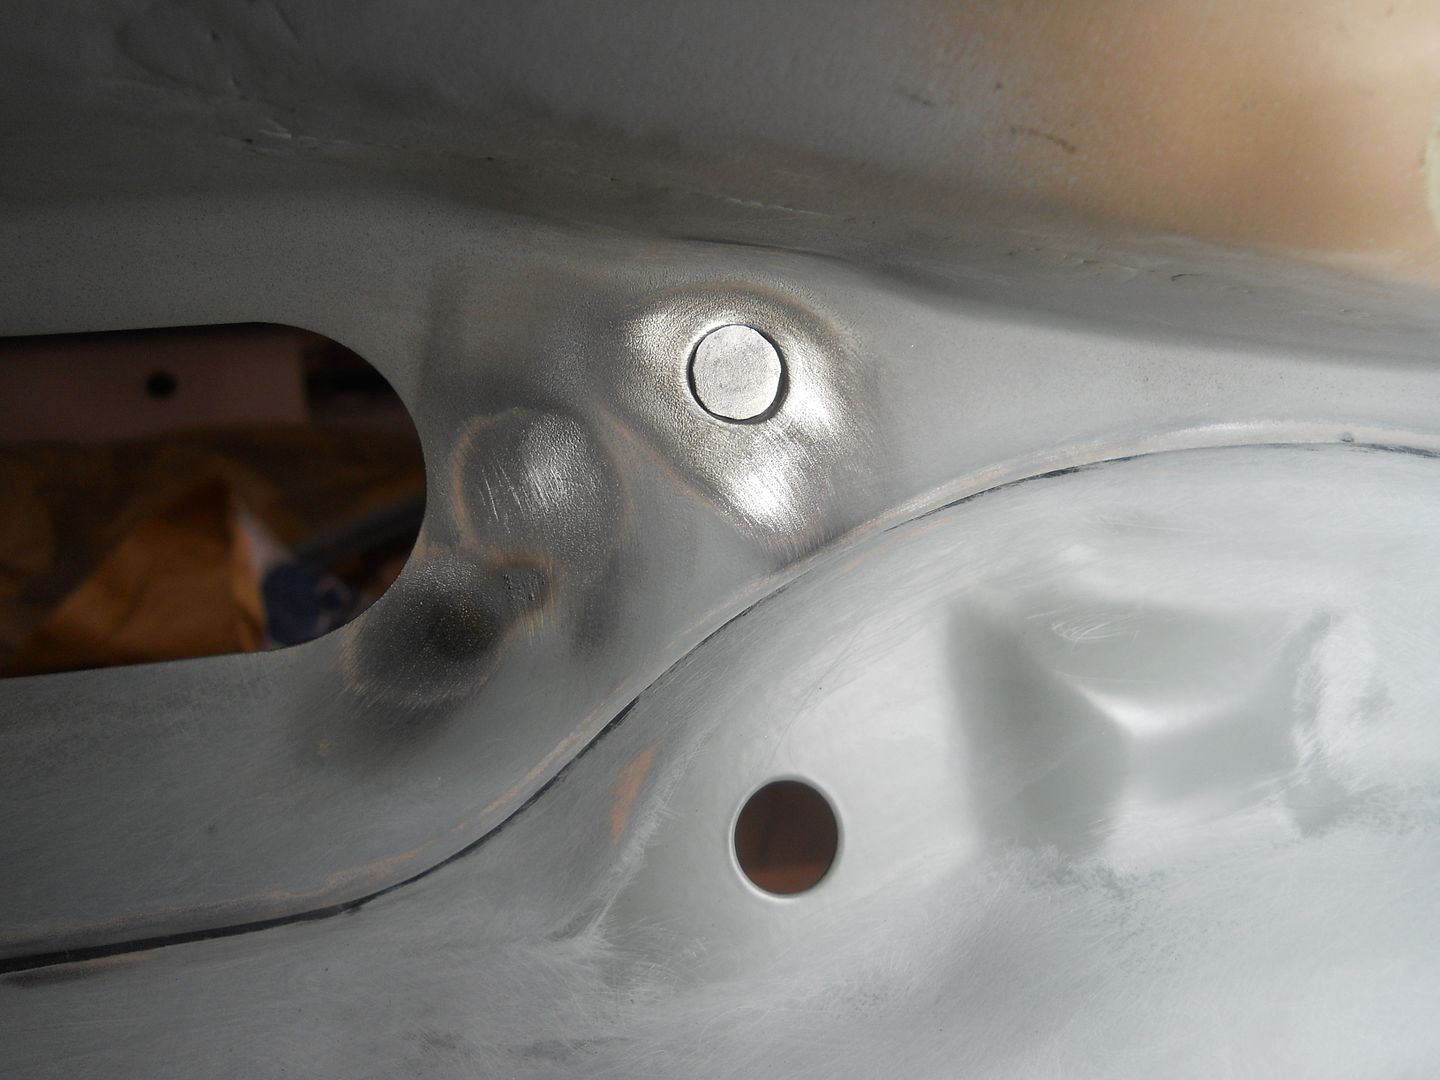
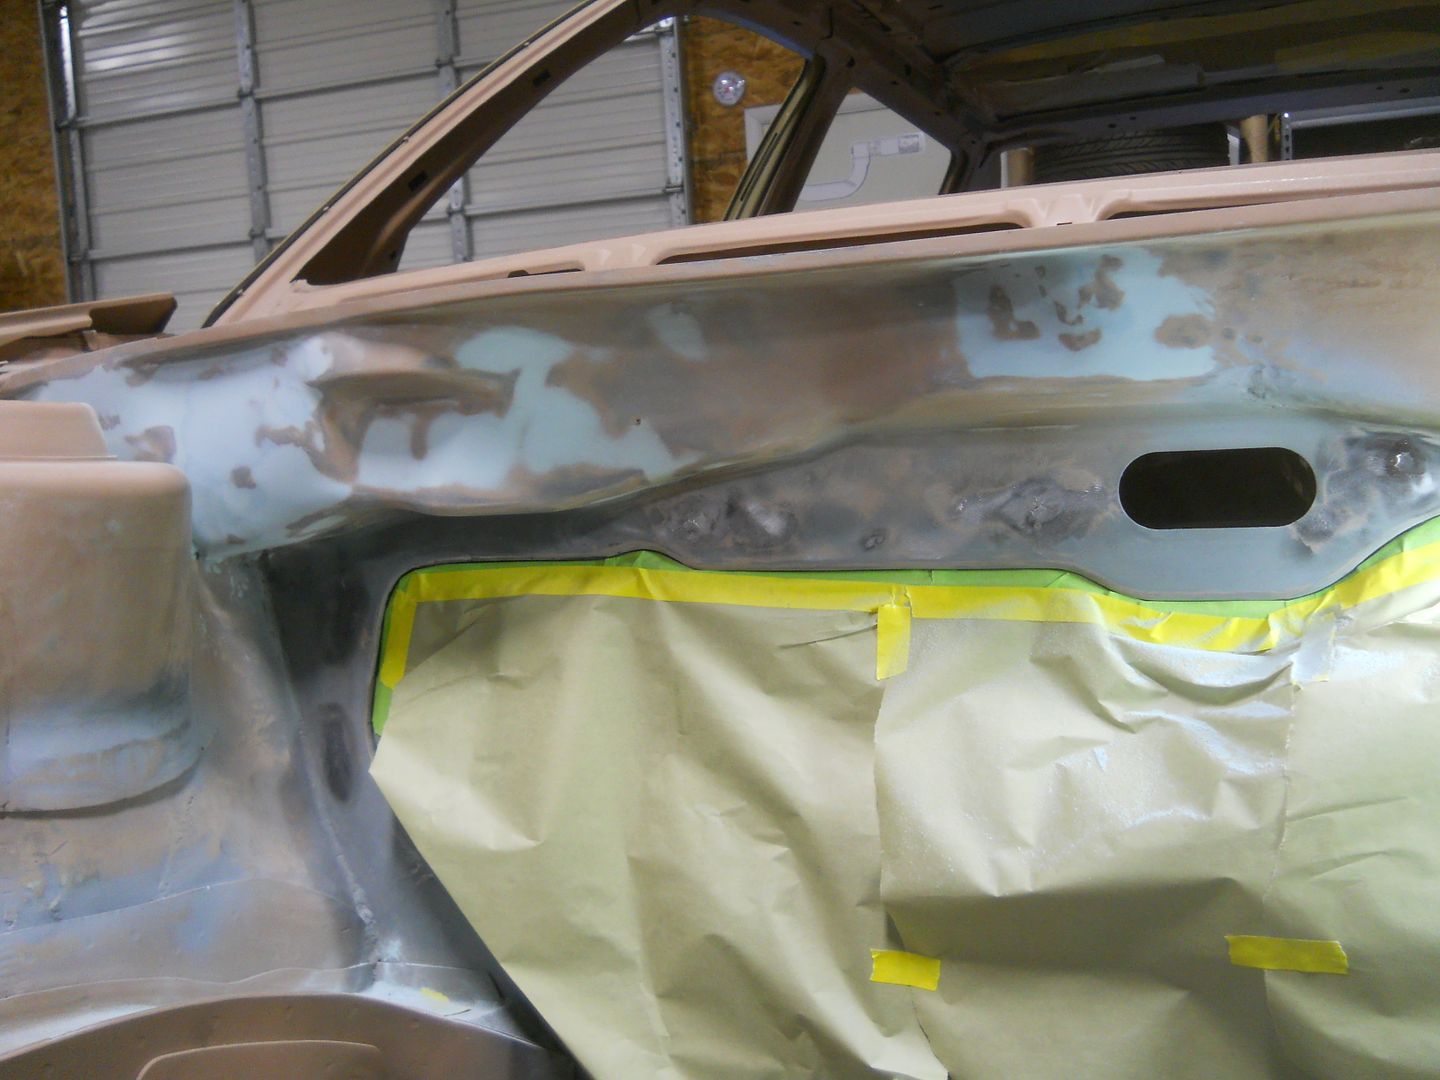
The glue has cured on my firewall, so I welded it in place.  I welded it in ~15 spots around the outside, about 1/2" long each.

I sanded off all the urethane adhesive that oozed out of the crack.  Now that it's welded, I was able to remove the last 5 bolts that were holding it in place.


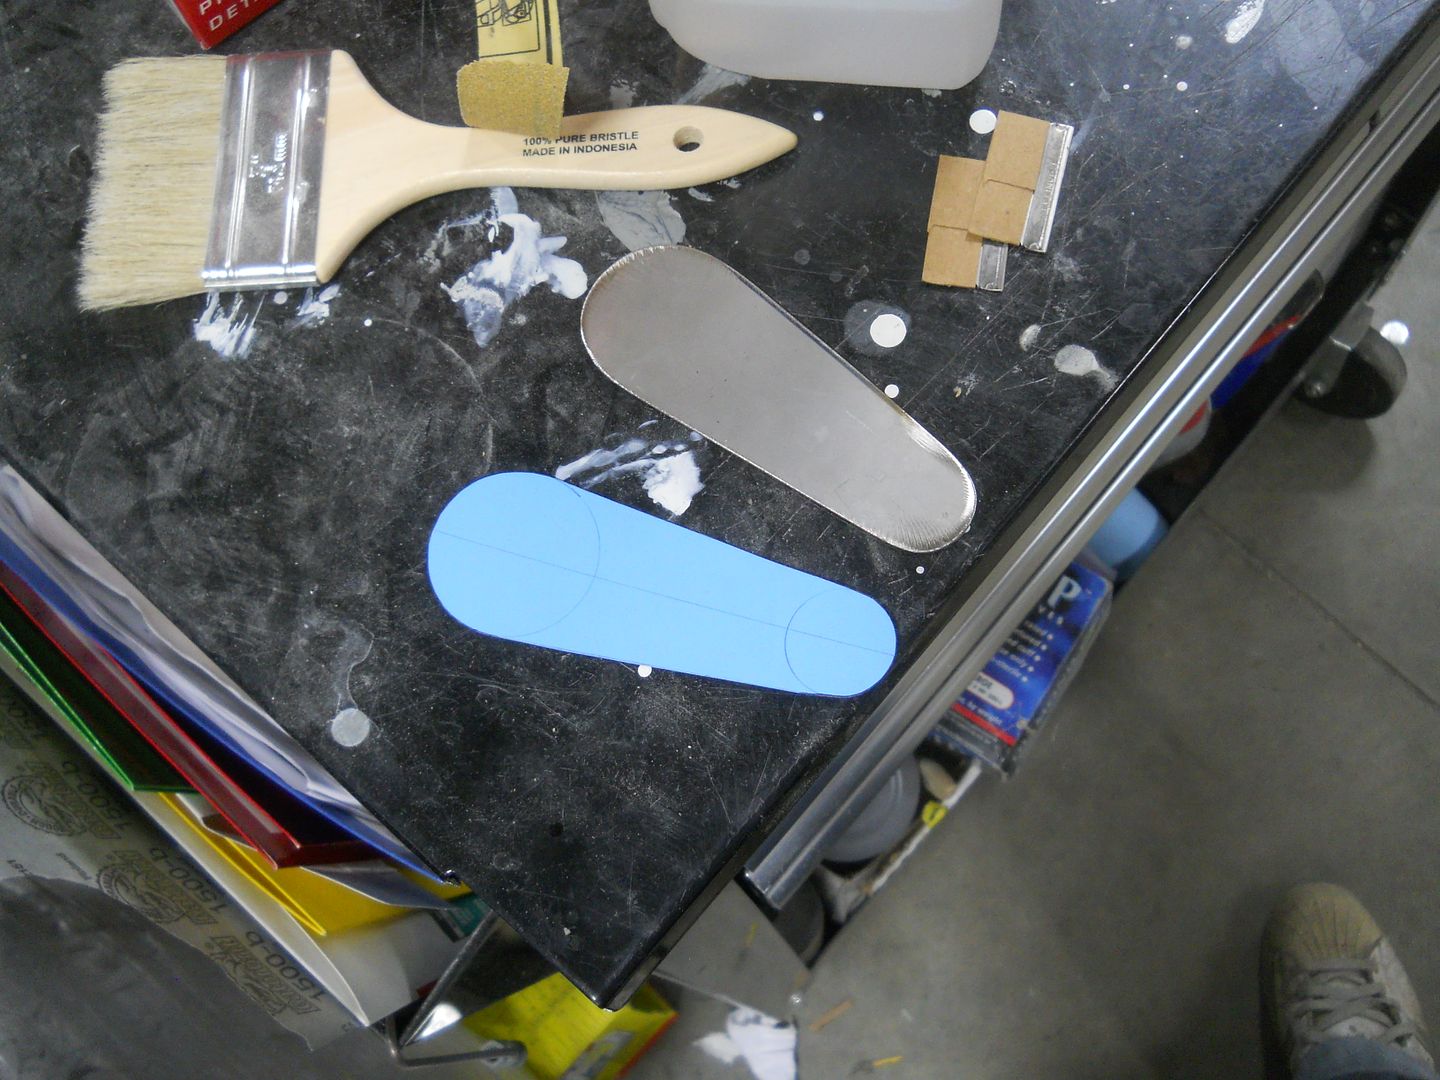
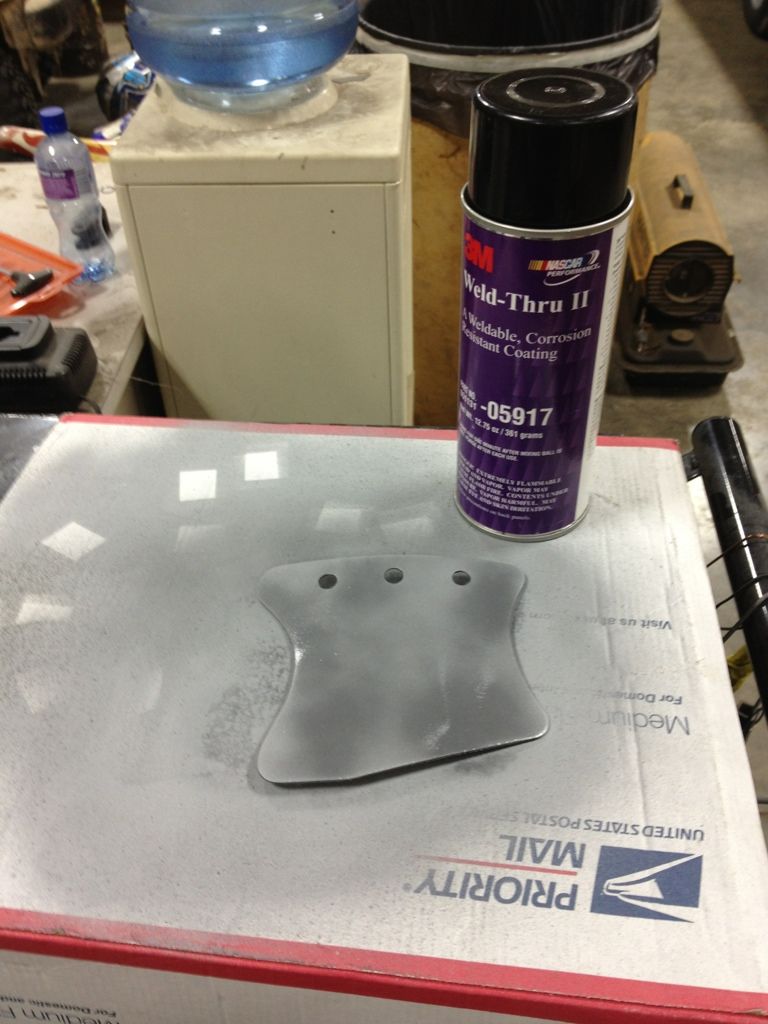
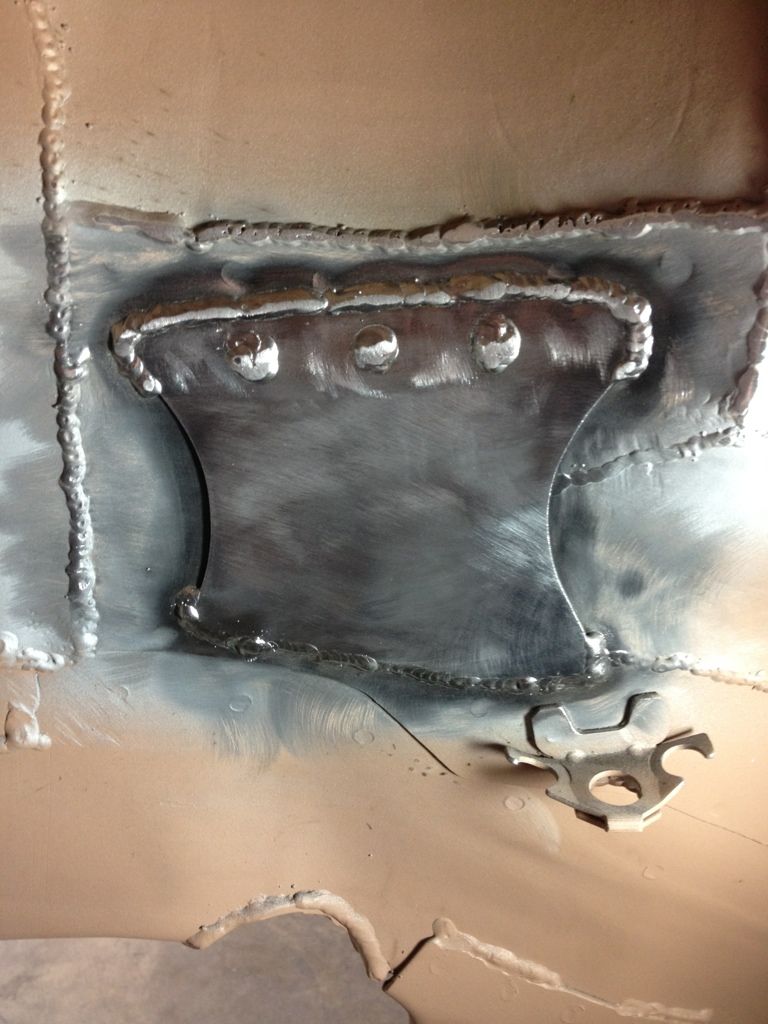
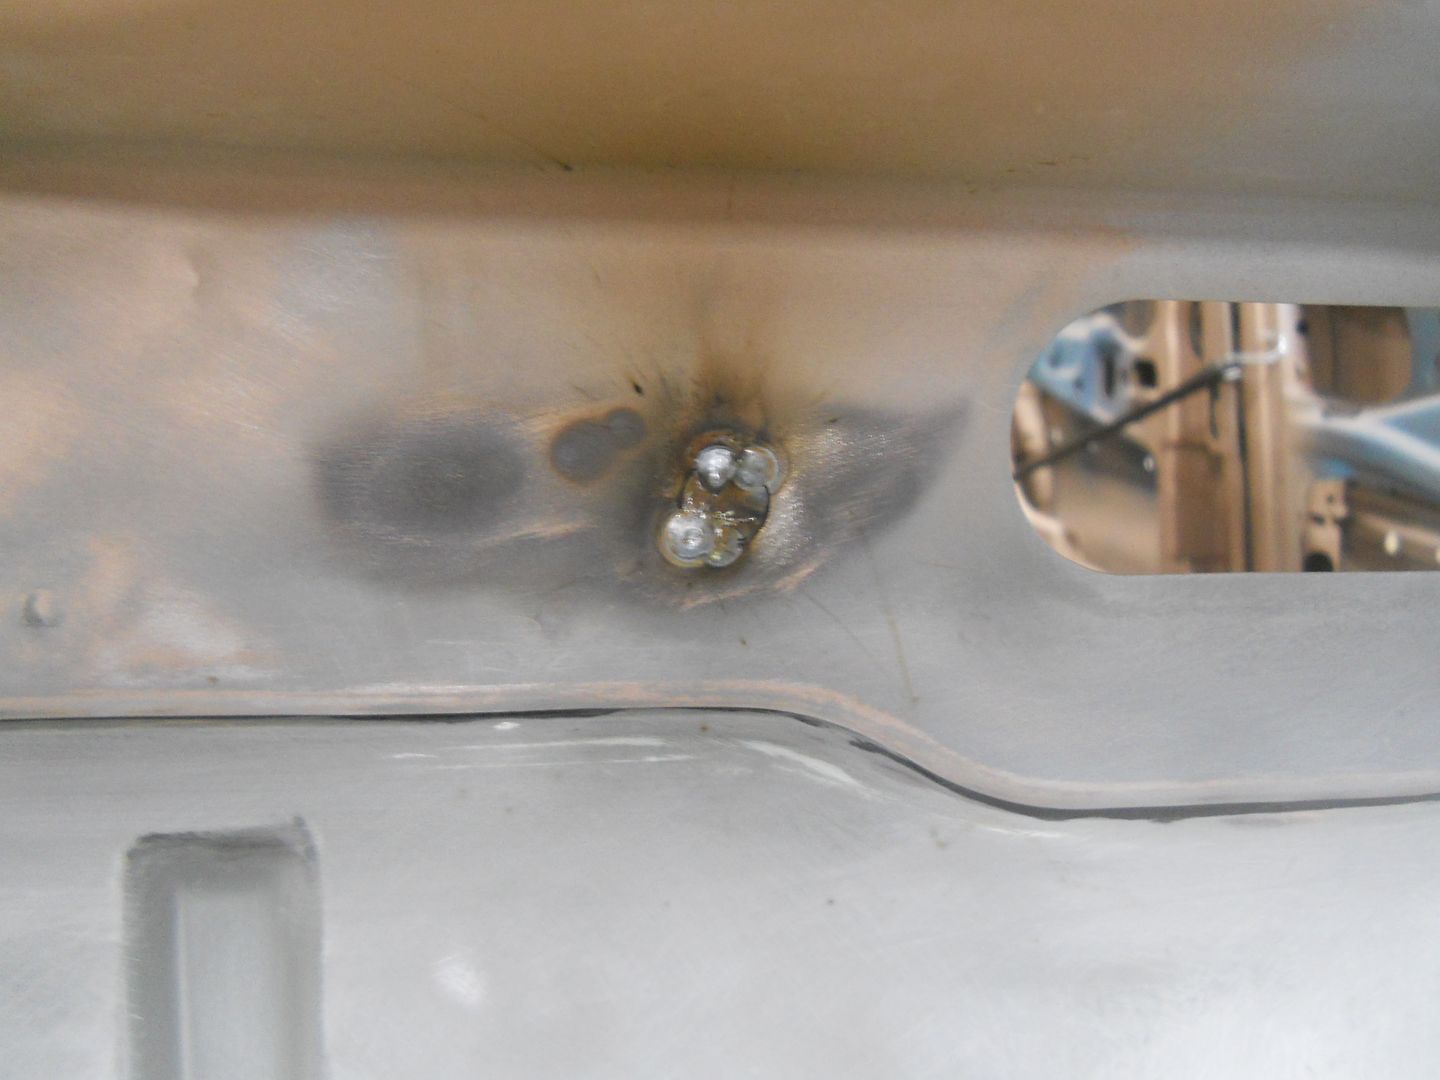
I cut filler plates for the bolt holes out of 18ga steel plate.

I slowly welded them in, tacking in one spot and letting everything cool down before moving to the next weld.

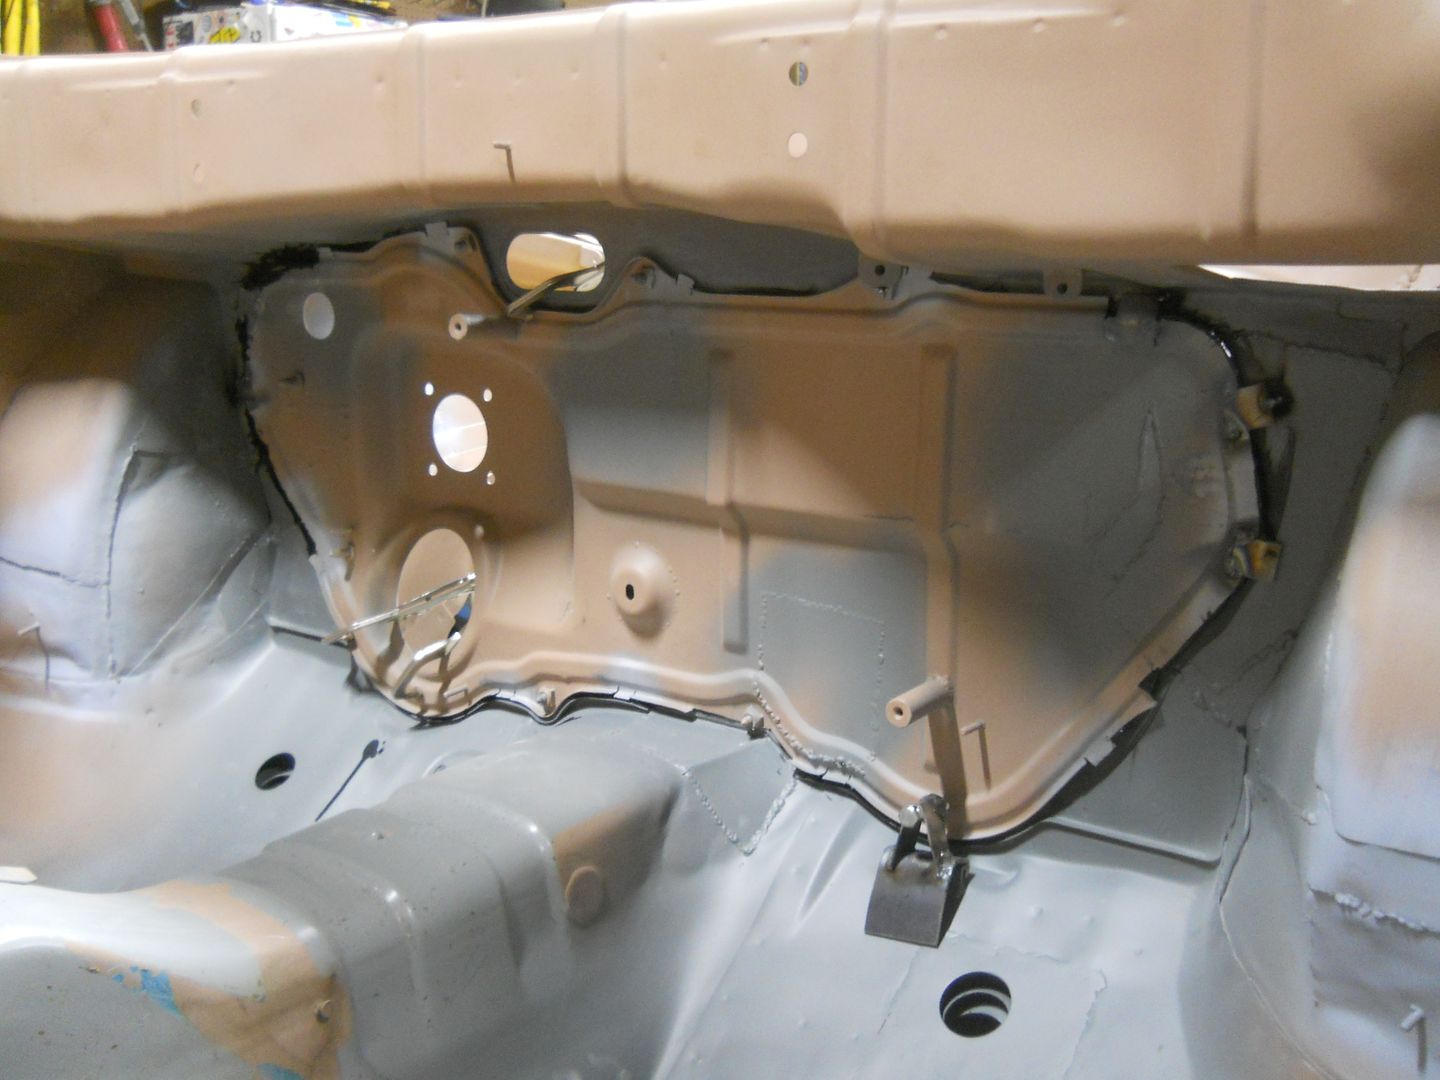
All welded up!  I think the metalwork is officially done now, all that's left is putty and paint.

To protect the welds from the back side, I used Transtar Amber Rustproofing. 


Now for the putty and sand cycle..

Bondo

Sanded...

...rinse and repeat!

Sunday, November 11, 2012

First of all, Fuck photobucket.com.  They have added so many fucking ads and bullshit features that I can hardly upload pictures anymore.  I'm 30 minutes into this update, and all I have done is type this mini-rant about photobucket and upload my pictures.  And half of them are still in the wrong fucking album and refuse to be moved. 

Back to work.  I got the edges of the firewall insert all scuffed (220 grit) and ready to bond in.

3M 08682 primer for urethane adhesives.


I taped up the edges to prevent the glue from oozing where I didn't want it.

1/4" wide x 5/8" tall V-shaped bead.

Glued in!  Once the adhesive cures, I will remove the bolts and weld the holes shut.


All of these tabs around the edge will also get welded after the glue cures.


I started doing the bondo work on the rest of the engine compartment, starting with the raintray area.

The weather was beautiful this weekend, so I washed, clay barred, and waxed my Rabbit. 


So here is a totally random little project I tackled.  I had to dress like an adult a few times recently, and had the need for a shoe horn to aid in dress shoe installation.  If I'm using a shoehorn I hammered from a piece of stainless steel, does that make it less lame that I'm using a shoehorn?  I think so.

Template and cut 16ga 304 stainless sheet.

The first curve hammered in

This is a classic reverse curve - similar to a Pringles chip, and the exact reason the Snap-on BF615 hammer was created.

I found the area on my Harbor Freight football dolly that matched the radius of the first curve, then held up the piece while stretching the edges with the curved hammer.

(hammer shown in the background)

Now I just need an English Wheel to get all the hammer marks out! 

Success.

Monday, November 5, 2012

Reinforcement

I added a little bit of reinforcement to both sides of the wheel tubs, this is a high-stress area and I don't want the paint to crack after it's all finished.  I cut a doubler plate and welded it into the wheel well area.

Template

Hammertime!

Fit up

Weld-thru primer on the backside

All welded up and sprayed with some rattle-can primer to keep the rust away until I can spray it with a proper epoxy primer.

Same thing on the driver's side

Check out the little wee baby c-notch on the driver's side!  I only needed a little bit of extra clearance on this side because the axles are different lengths, the notch isn't nearly as deep.

Saturday, November 3, 2012

Firewall in epoxy primer

A little more sanding...

And another two coats of epoxy primer.  It's not 100%, but it's pretty close.  I can get it perfect after it's glued in the car.

Fro stopped out for some more gunsmithery - adjustments to the muzzle brake (I think?) on his LaRue OBR


I decided to do a little more welding on the chassis/engine bay before I start the finish work.  I reinforced the passenger side c-notch a little more.  It already has a 1/8" plate welded on, but I added a doubler to the area right around the notch.  To get the car as low as I wanted, the notch (for axle clearance) is almost 3" deep and really compromises the structure.

Blew down some sloppy welds.