Monday, March 31, 2014

ours

I took a break this weekend and drove to Cleveland for a tour of Great Lakes Brewing.


I inspected their welds on the tour.  They're better than mine.

They pump Edmund Fitzgerald directly from the storage tanks, through a maze of underground plumbing, into the taps at the brewpub.  This is as fresh as it gets!

Good stuff.


I did squeeze in a few hours of work on the Jetta.  I made a new shift ball on my lathe from 303 stainless steel.


This is a comparison of the stock piece, which is molded plastic.

There are two Viton o-rings to keep it from rattling around, since now it will be metal on metal.  There is also a bronze bushing inside.  I didn't want to use a plastic or Delrin bushing because this is right next to the exhaust, and I'm deleting the factory heat shield.  This ball will rub inside the stainless clad piece lurking in the background here.

On the bottom, I turned a 303 stainless countersunk washer to retain the ball and fastened it with a flat head stainless screw.

Thursday, March 27, 2014

More new tools!  OTC slide hammer set and front end service set.


I stopped for some more welding.  The inside surfaces of this shift linkage piece will rub on the adjacent part, so painting the parts isn't going to work.  I decided to add some 304 stainless cladding to the friction surfaces.


Bill laid down a wiggly foot fusion weld all around the edges of the 22ga stainless sheet.


After sanding off the weld and re-brushing the faces, this is the result.


I received the spherical bearings that are getting pressed into some of the other shift linkage parts.  I was hoping for FK or Aurora bearings, but these QA1 imports look better than I expected.

I forgot to take a 'before' picture of these, but I machined my own spherical bearing housings with a groove in the face. I pressed the bearing in place, then smashed down the inner peak that I created.  This swages the bearing in place, so I'm not relying only on the press fit.  This is also much thinner than a retaining ring, so the whole package is smaller. 


This is the top side, which will be visible.


Only 1-1/2 mroe parts and the shift linkage is complete!

Tuesday, March 25, 2014

New tools!  I visited my Snap-on guy for the first time in a few months.  I bought a 1/4" drive handle and a brake shoe retainer spring socket. 


I received all of my parts back from Lewis Welding.


p.s. I made the cold MIG weld on the fixture.


I filed the weld off of the back side of this part. 

Part of the shift linkage will rub inside this part, so I am going to bond a piece of stainless to each wall.  That way the rubbing will happen on a bare 304 stainless surface rather than a painted surface, which would rub off and eventually rust.  The white pieces shown here are stainless with the protective film still installed.


I also modified this piece.  I filed the factory MIG weld into a radius, and tapped a hole into the bottom.  The factory piece used a snap ring, but I will be using a bolt.


My tapped hole ended up within .010" from the true center, so I'm happy with it.

Sunday, March 23, 2014

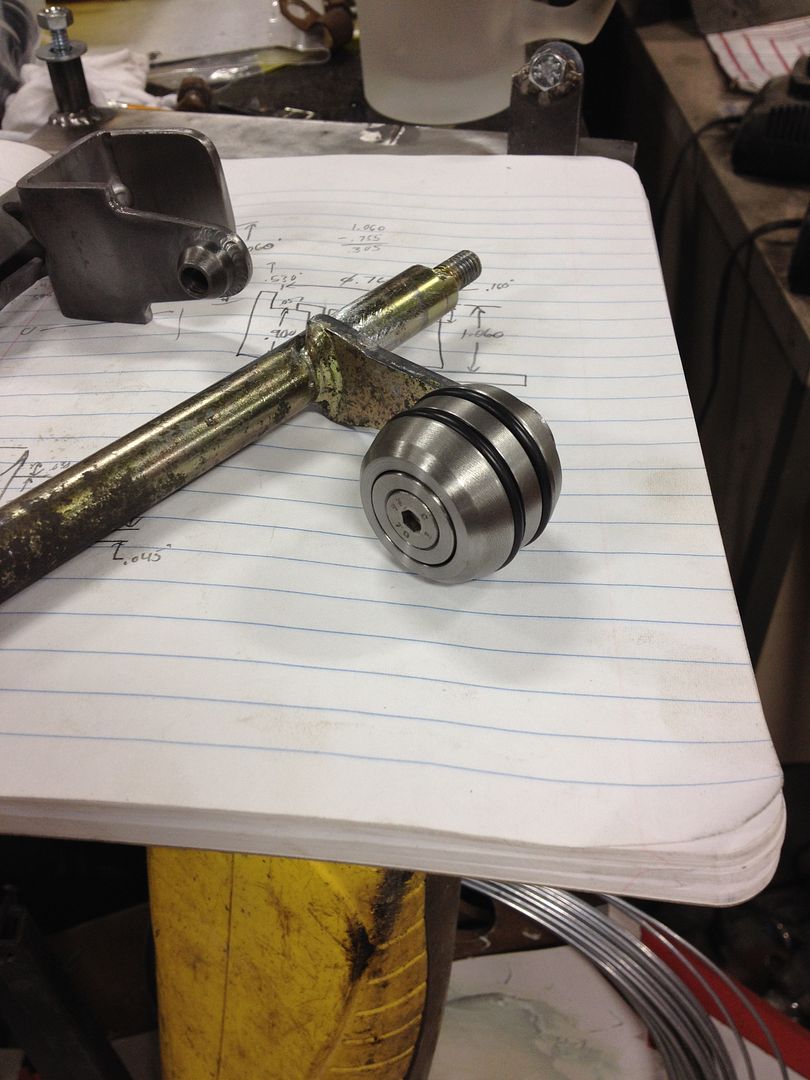
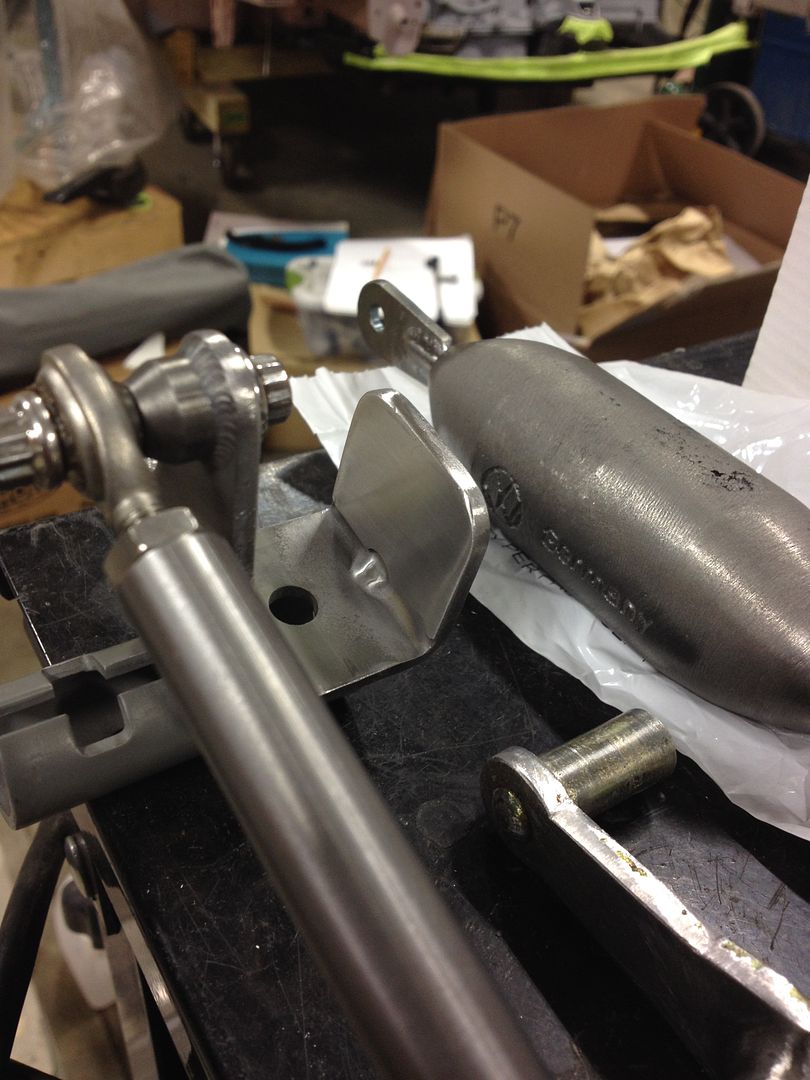
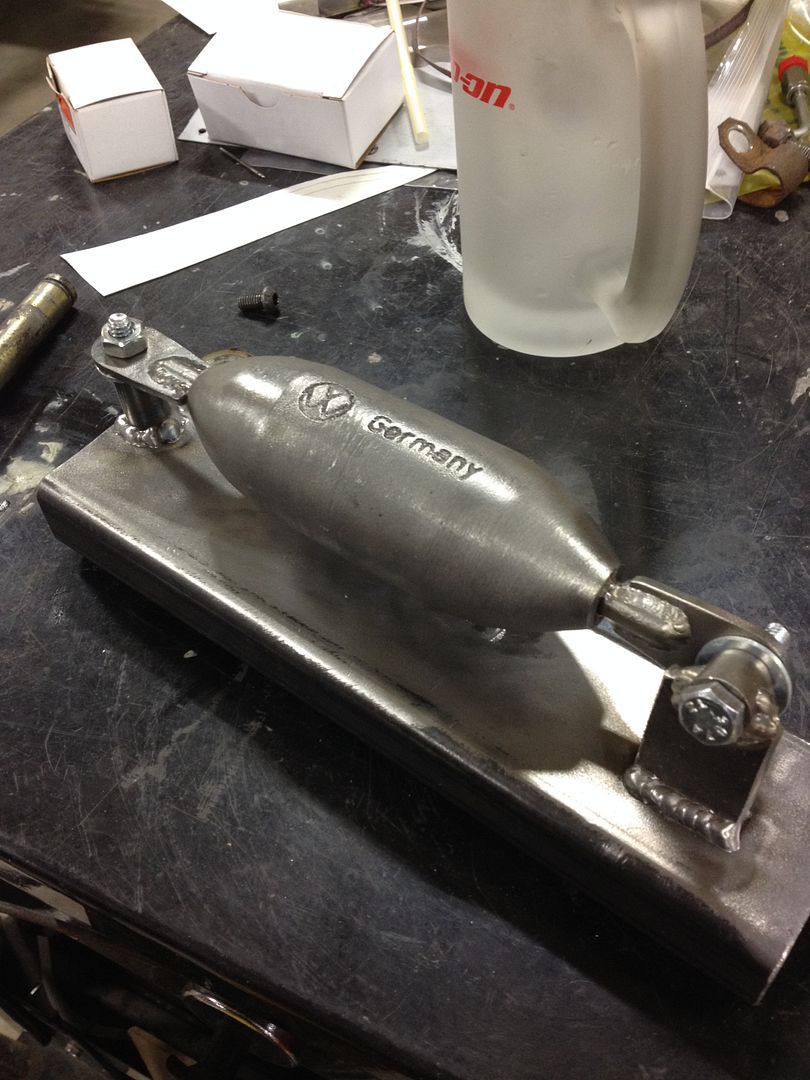
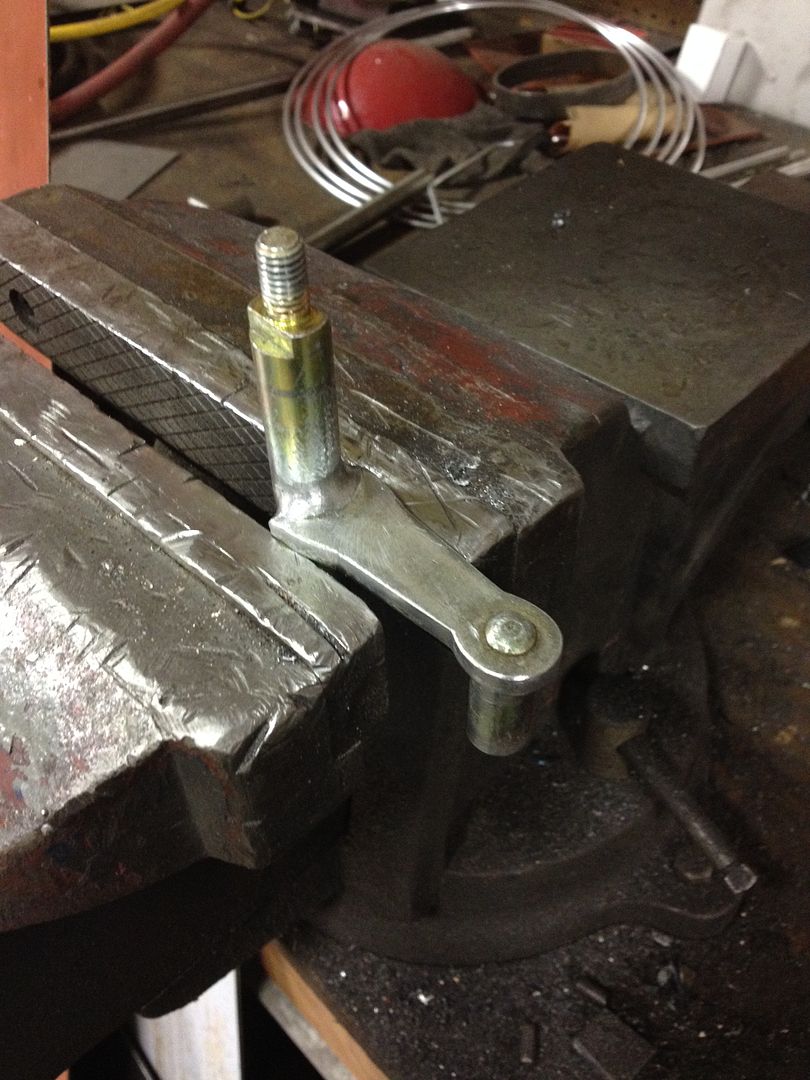
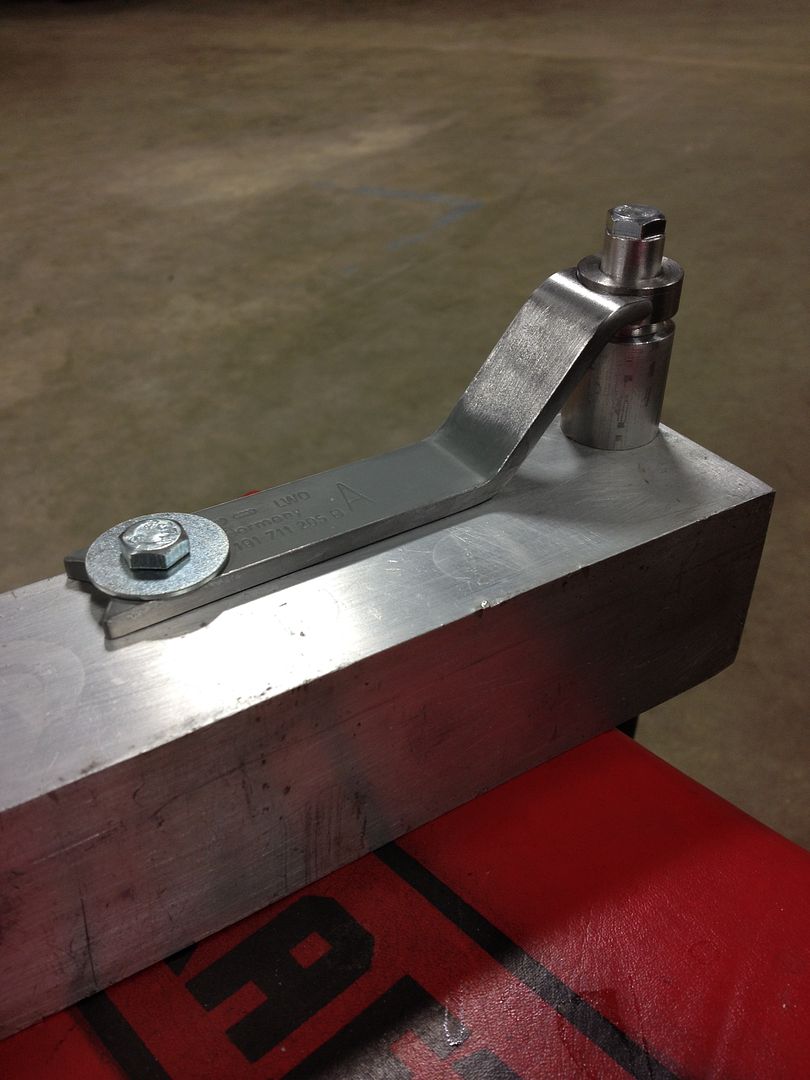
Continuing on with my shift linkage, I made a fixture from the weighted shift link.  This piece had rubber bushings on each end, and I am replacing them with spherical bearings.


This piece is either cast or forged, and might even be cast iron.  I TIG welded some beads to fill in the part number cast into the side, and the welds cracked almost instantly.  Even though I don't consider the welds structurally sound, they're still better than bondo.


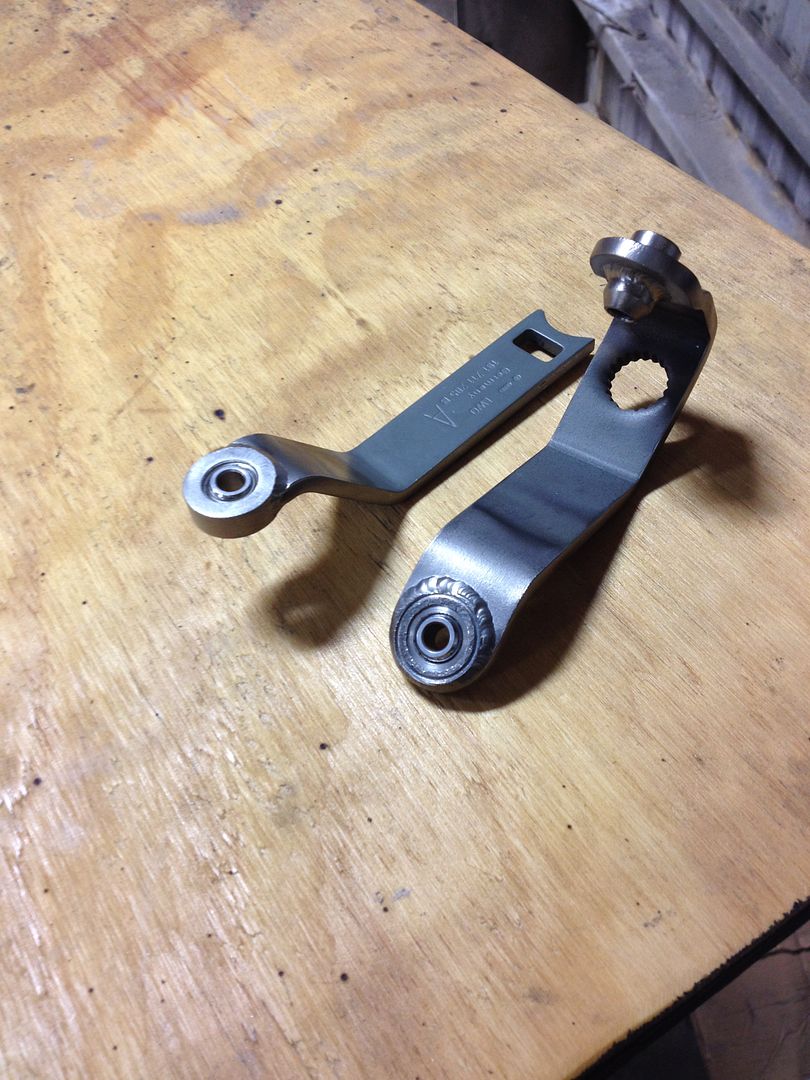
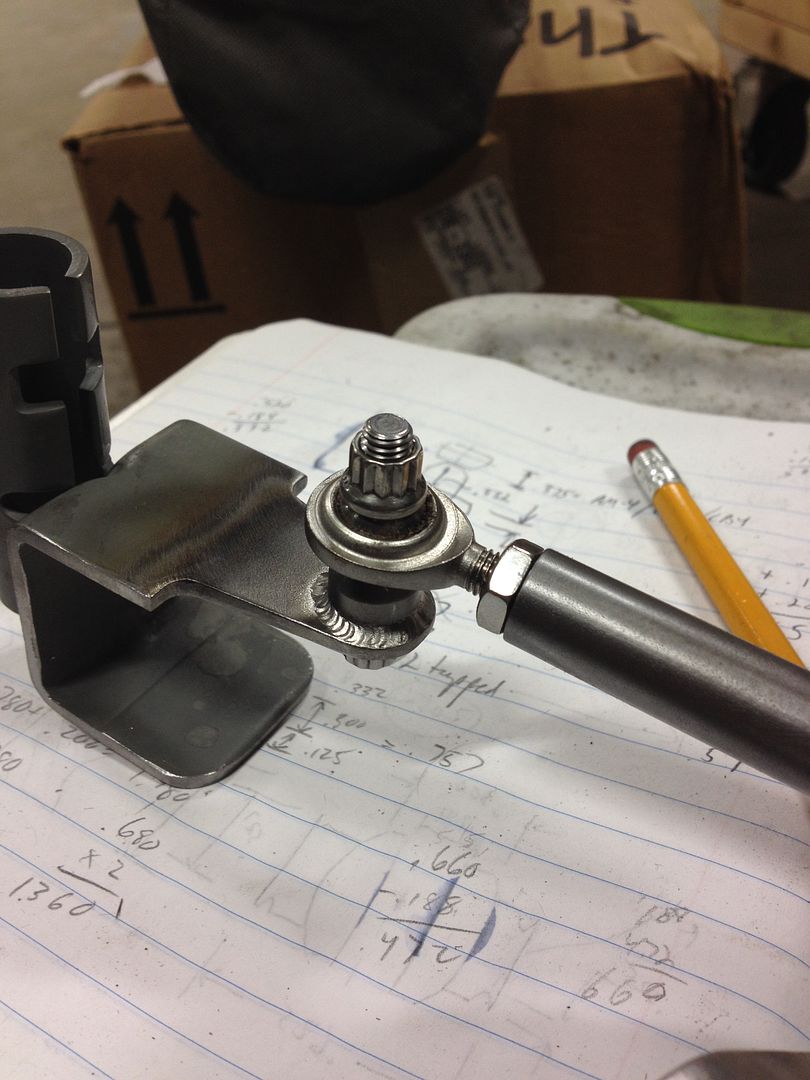
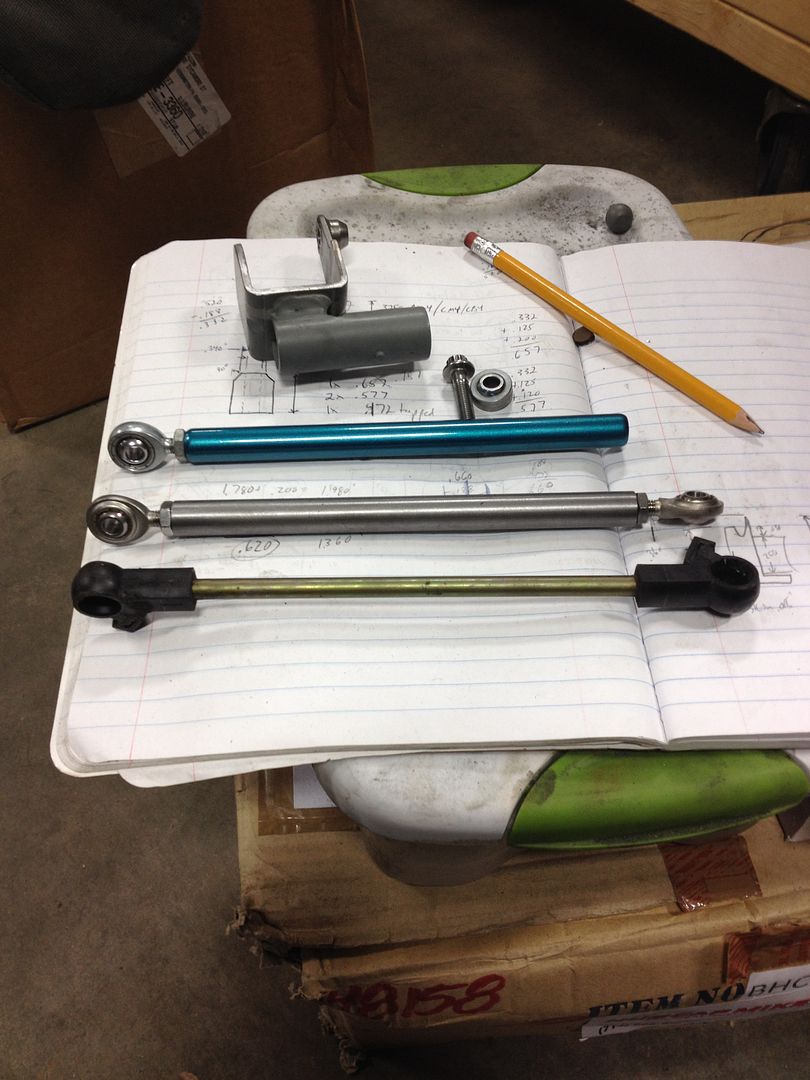
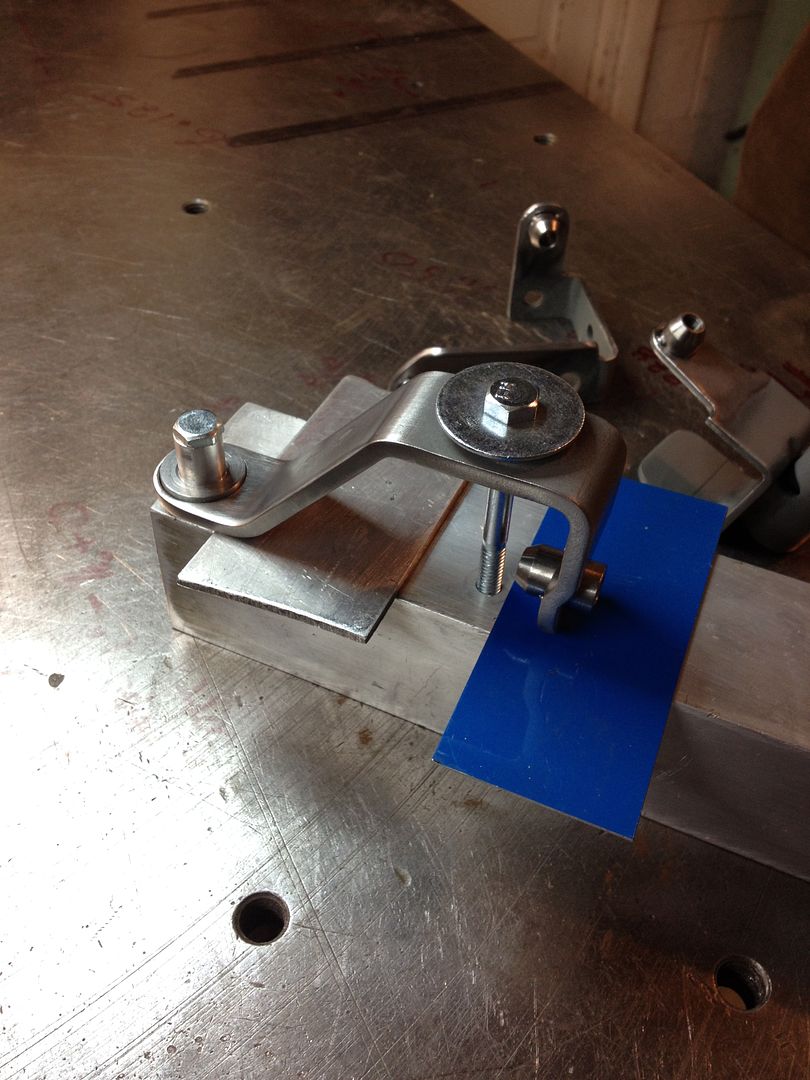
I cut off the ends, trued up the overall shape on my lathe, and made two tabs which will bolt into the spherical bearings on each adjacent piece.  I tacked it together, but I will leave the final TIG welding to Bill Lewis.


I also spent about 30 minutes replacing the plastic/steel piece in the foreground with a steel rod and rod ends.  As I was tapping the second side, I started wondering if the cold finish steel rod would sand smooth enough for paint without using any putty.  Then I remembered making a similar part a few years ago.  I couldn't remember what it was, so I checked my 'finished parts' shelf... Sure enough, I already made one of these and even painted it!  I'll paint this one black, then I'll have two choices lol.


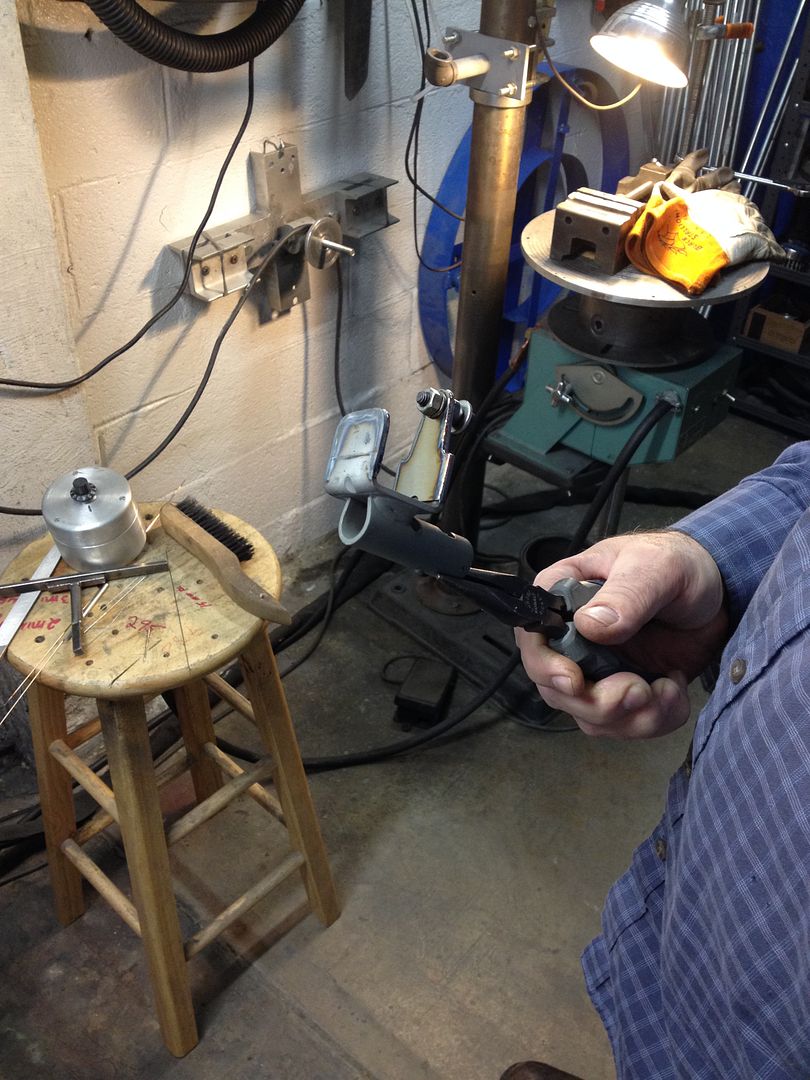
During the welding of this piece, it moved a bit and I had to drill it out straight.  This was an interesting lathe setup!


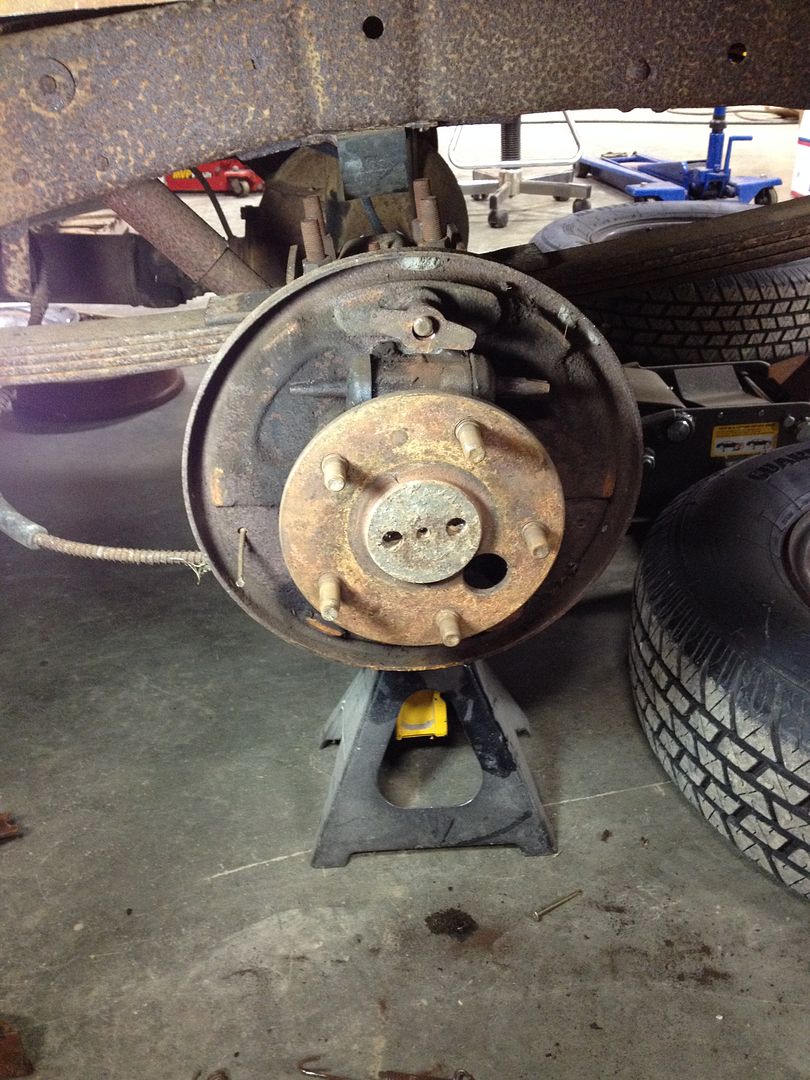
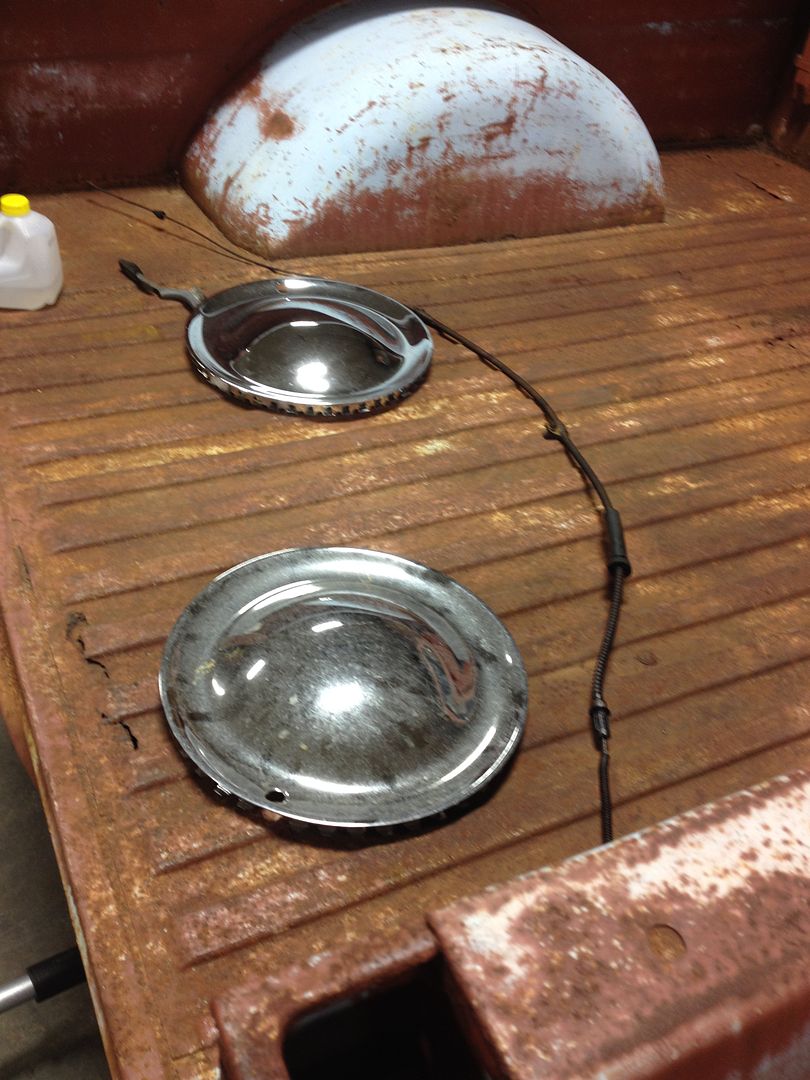
I received the parking brake parts for my F100 from Bob's F100 in California. 


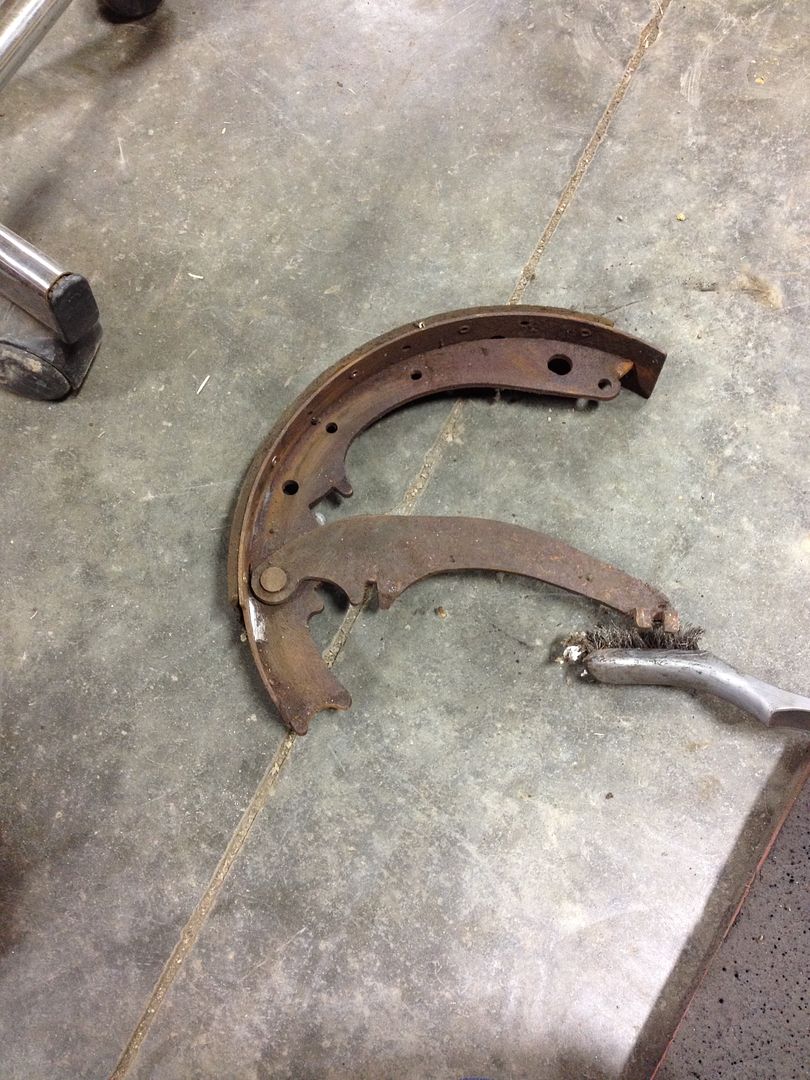
I pulled the drum brake setup apart using tools I own, but don't know how to use, and it turned out mostly OK!


I killed all of the spiders and wire brushed years of rust and dead insects away.

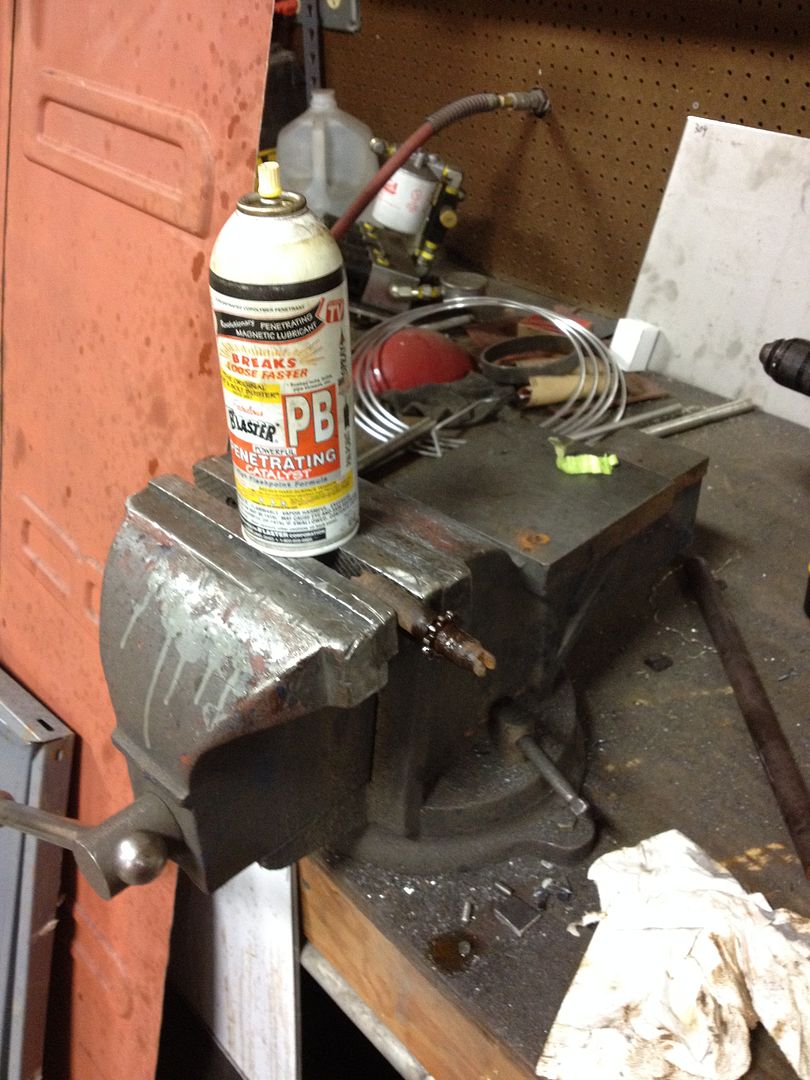
The adjusters were all seized up, so I had to break them loose.


I wasn't sure if I would be able to use it, but there was one parking brake link stuck inside the passenger side rear brake.  this piece was totally missing on the drivers side!


I was hoping that I could free up the rear parking brake cables with PB B'Laster and 3-in-1 oil, but I couldn't get this one loose.  It was so seized up, it started to fray before it broke loose.  I ordered a new one from LMC Truck, but unfortunately I can't finish the truck until it arrives.

I rolled the old truck back into its parking spot.  Brakes are overrated!

Thursday, March 20, 2014

I've been working on my shift linkage.

I am replacing all the factory ball and socket joints with spherical bearings.  I'm cutting off the factory joints, drilling out the holes, and welding in lathe-turned sleeves.


Some of the factory joints were rubber bushings, and I'm replacing those with spherical bearings.  I turned some housings on my lathe and made jigs to have them TIG welded.  Lewis Welding will be welding them for me.


Tonight I made a jig from the factory counterweight arm.  I would like to keep the original casting, but replace the ends.  I started by welding a jig that will duplicate the locations, then I will cut it apart and weld new ends in place.