Monday, May 26, 2014

New tools!  Klein 11" straight needle nose pliers and Channellock 12" adjustable wrench.  The adjustable wrench is made in Spain, I believe by Irega, and it's a really nice piece.  The Western Forge adjustable wrenches (Craftsman and most others) aren't really nice anymore, Crescent is made overseas, and the Snap-ons are overpriced rebrands.  I'm really happy with these, and the price wasn't bad either.


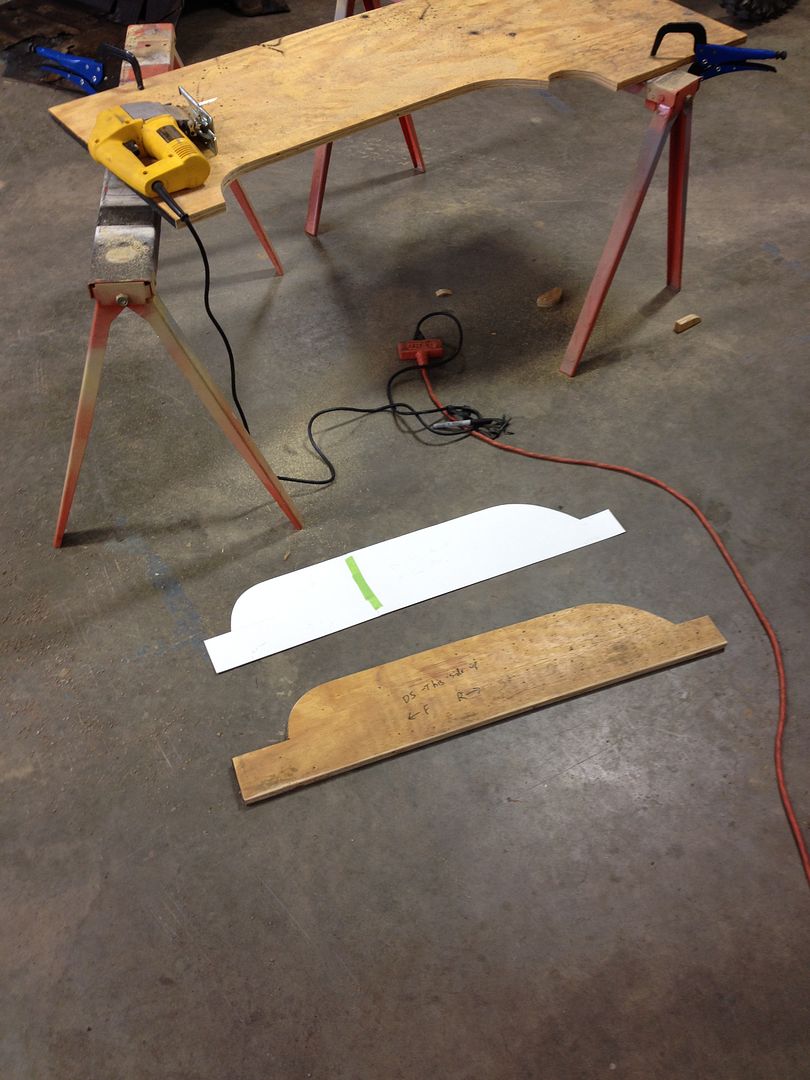
Supplies!  Walgreens had all of the weird color sharpies and white posterboard marked down, so I stocked up.  These Metabo cutting discs are the best I have ever used.  The extra cost is well worth it because they last and cut so much better than most other brands.

Back to work.  I had to weld up a hole in the bedside, which was really easy since the door jamb was all cut out.  The bedsides on this truck are 16ga, which is like welding structural steel compared to the VWs I'm used to working on!

All welded and ground.  It's not as well done as I hoped considering how easy this patch panel was, but it will do.

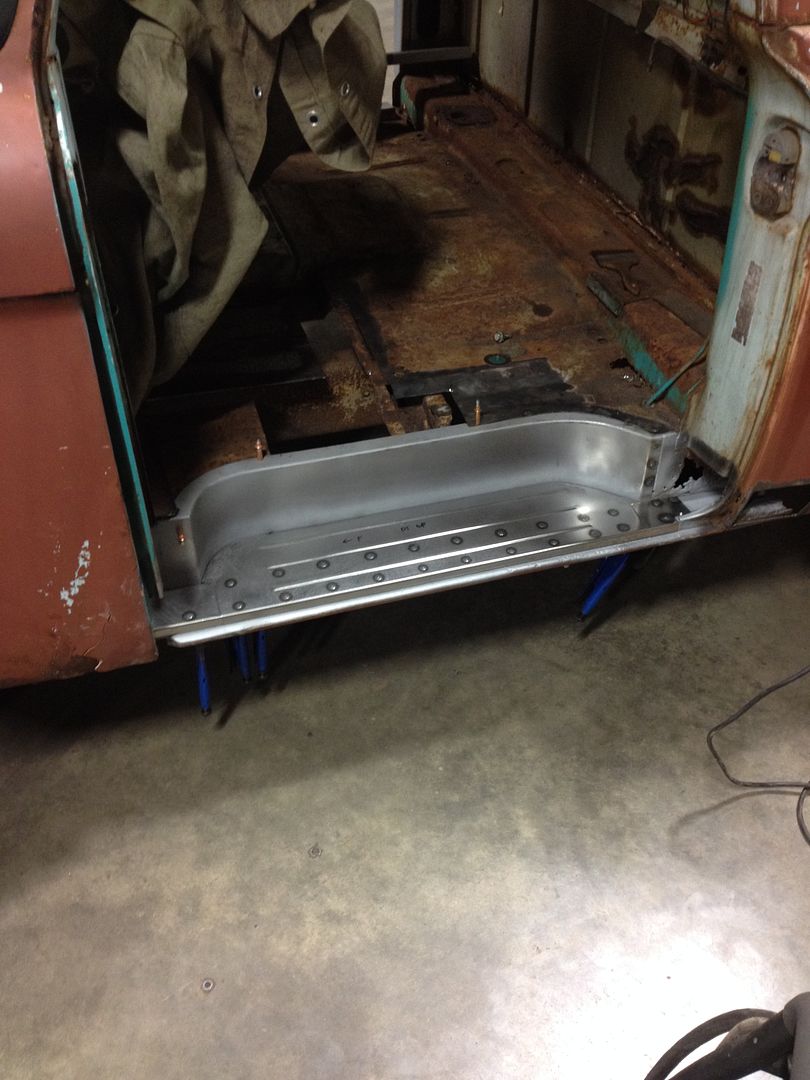
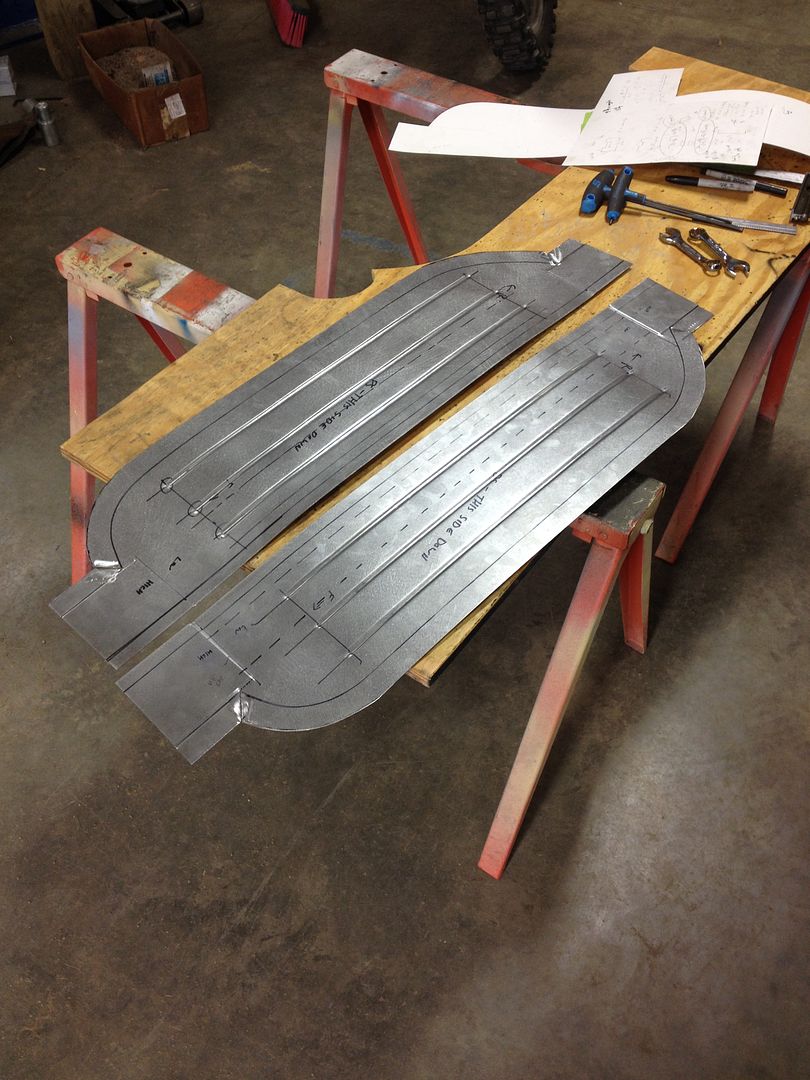
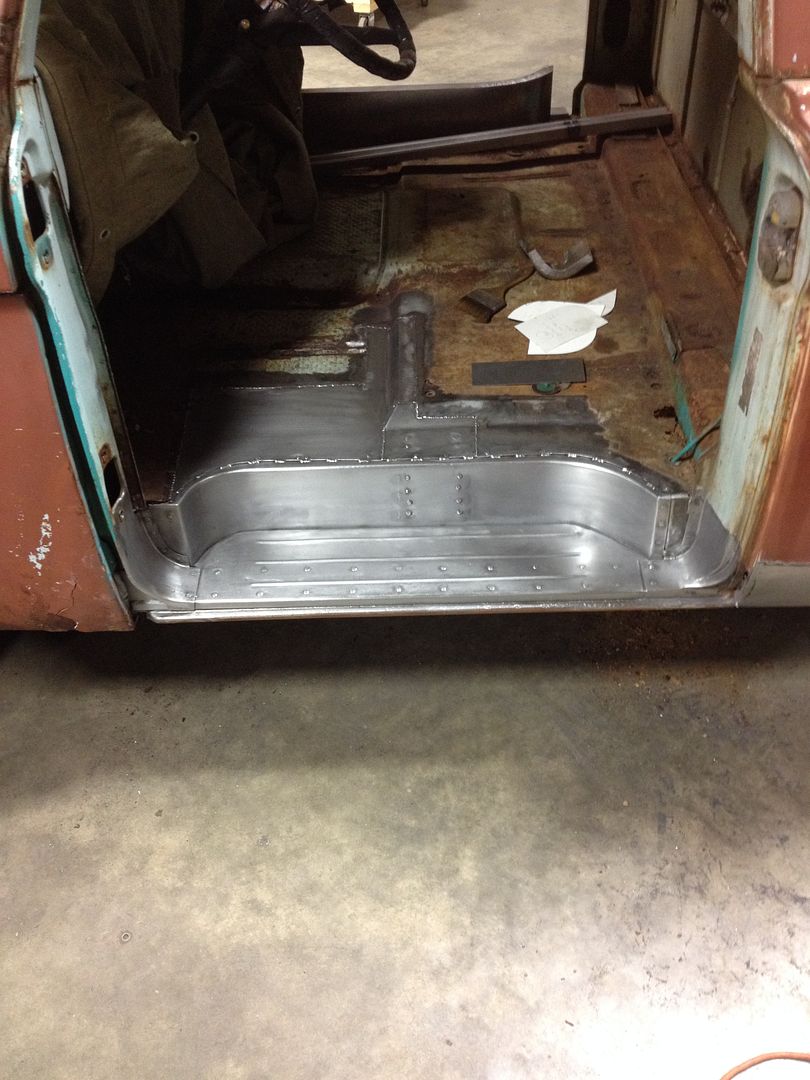
I finished welding up the floor patches and step plates, so now I just have to make the curved transitions into the A- and B-pillars.

I made the forward piece in two pieces, you can see the seam down one of the steps.

Tacked

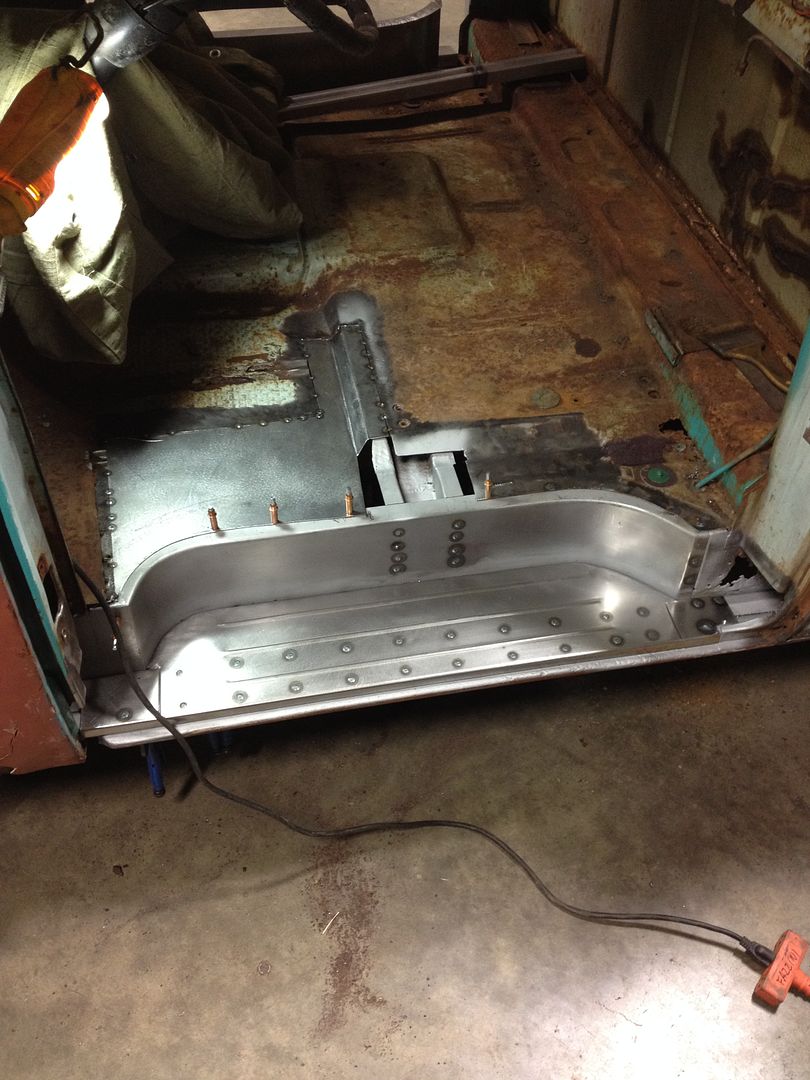
I made the rearward curve in two pieces as well.  This is the first piece.  It took me two attempts to get this one right, it's cone shaped so I had to stretch the outboard edge quite a bit.

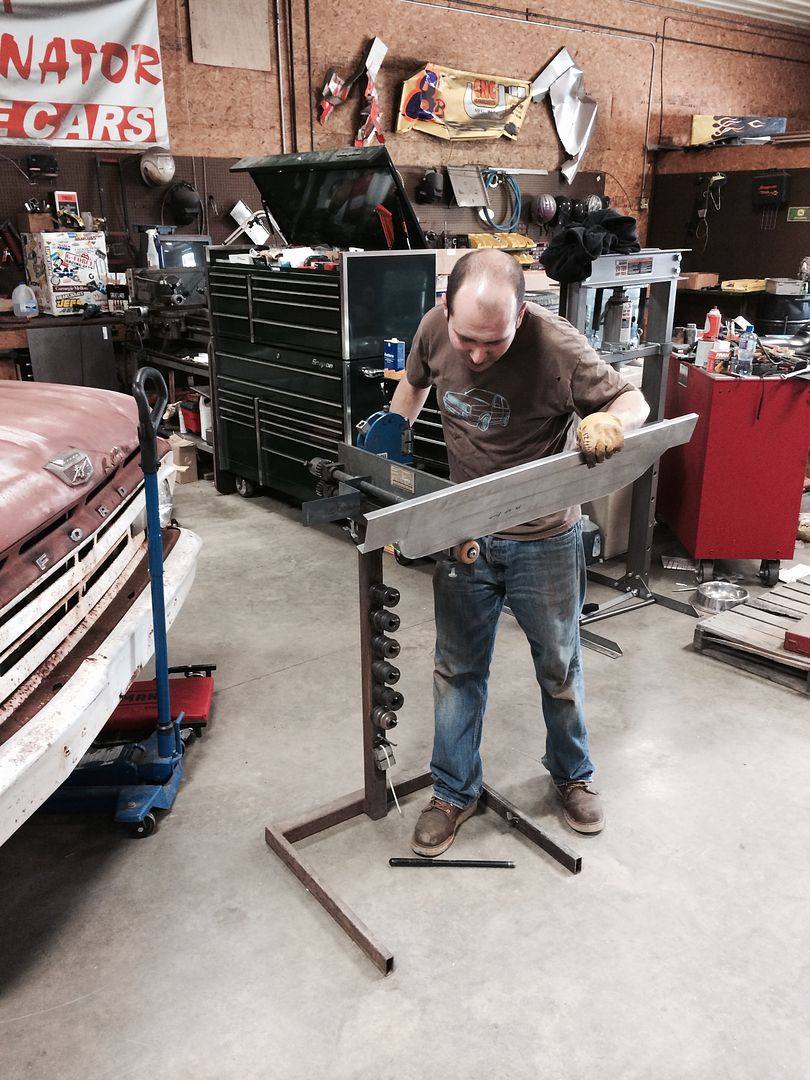
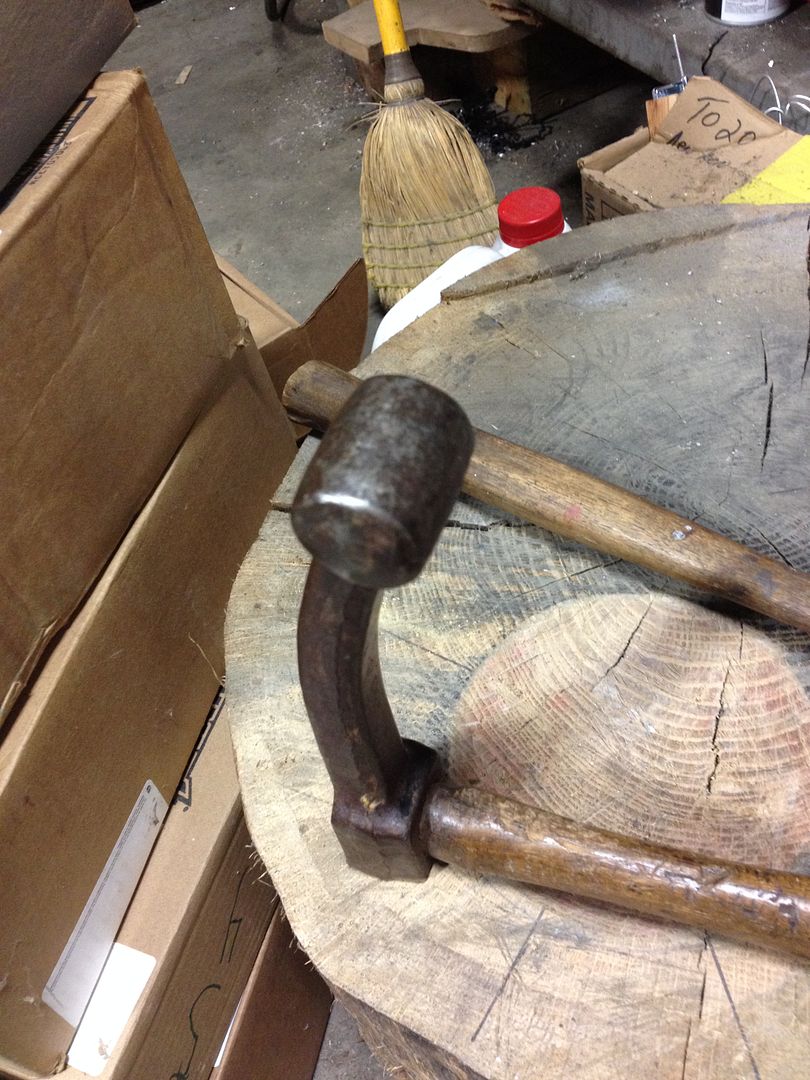
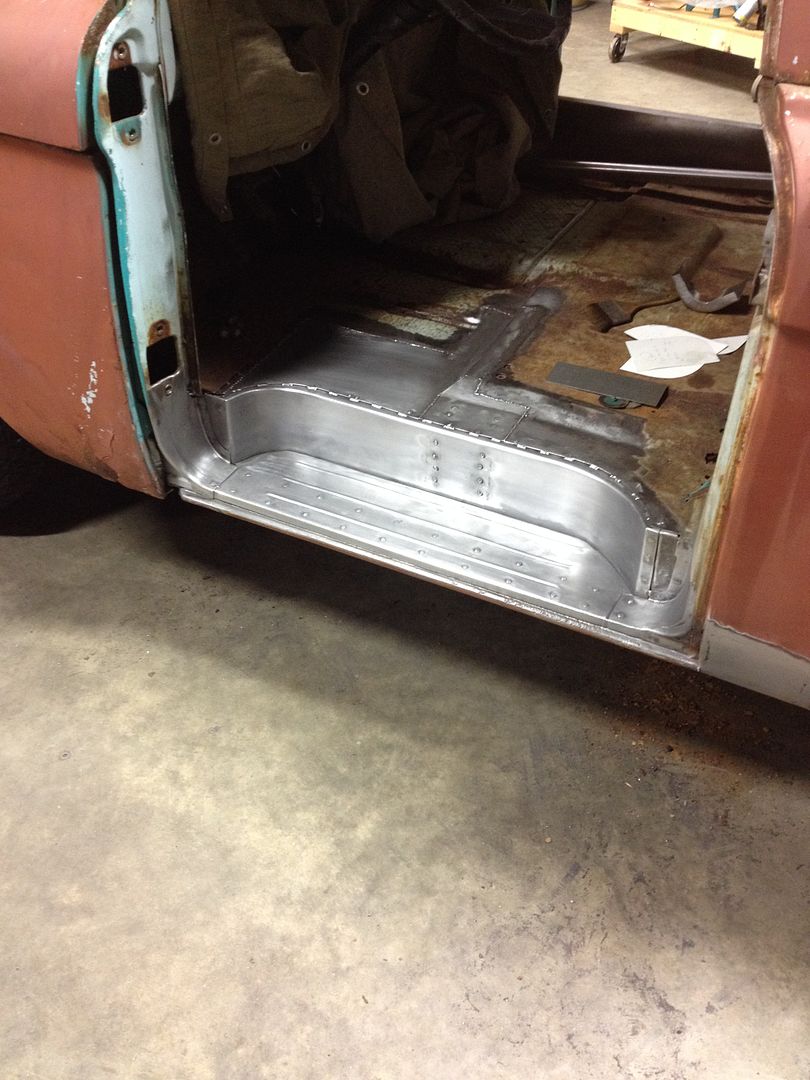
I skipped a few steps because I was into it and forgot to take pictures, but I made the second piece with the shrinker and some hammers.  The seam runs along the convex edge, it has been welded and ground to match the factory bend radius.

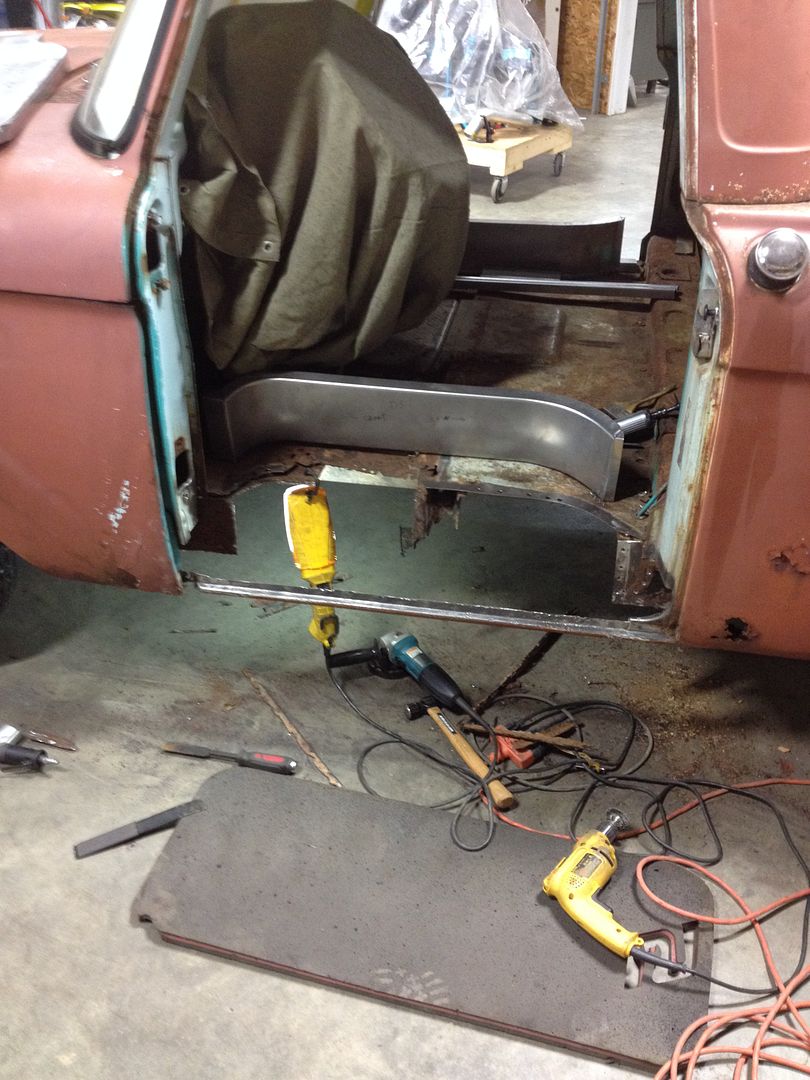
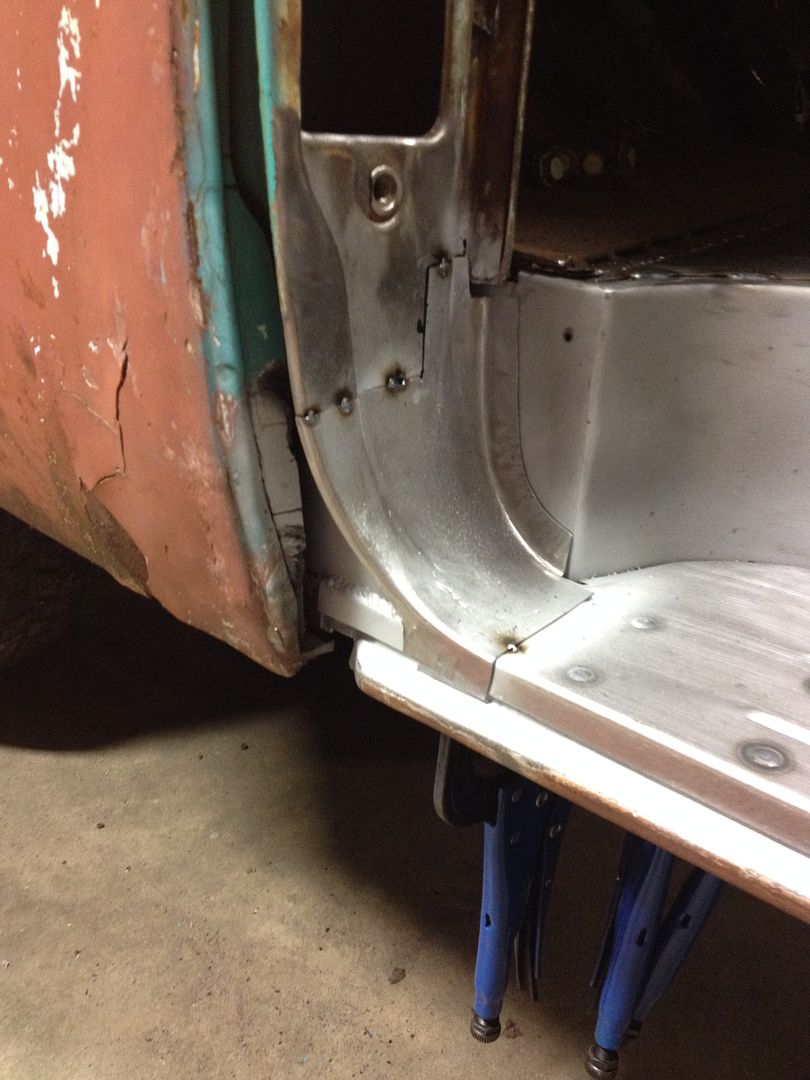
After welding in these pieces, the drivers side is complete.


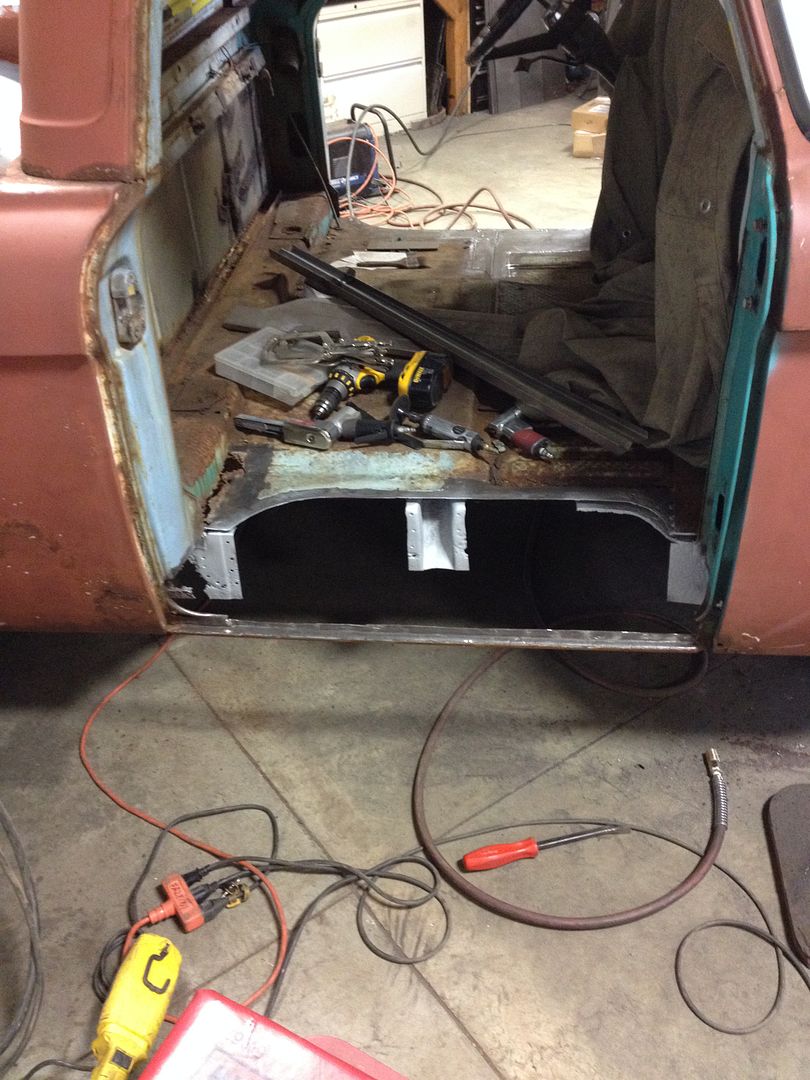
Now onto the passenger side.  This should go a bit faster since I already have the panels made, plus the floor doesn't require any patches on this side.

All cut out


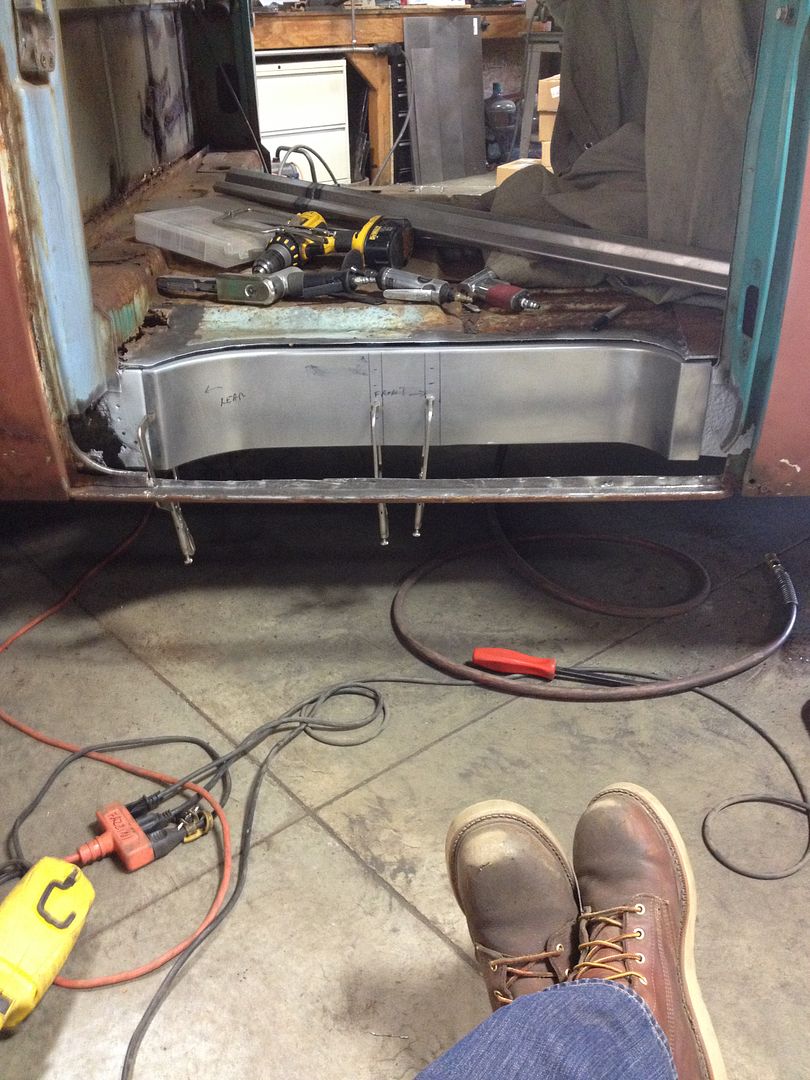
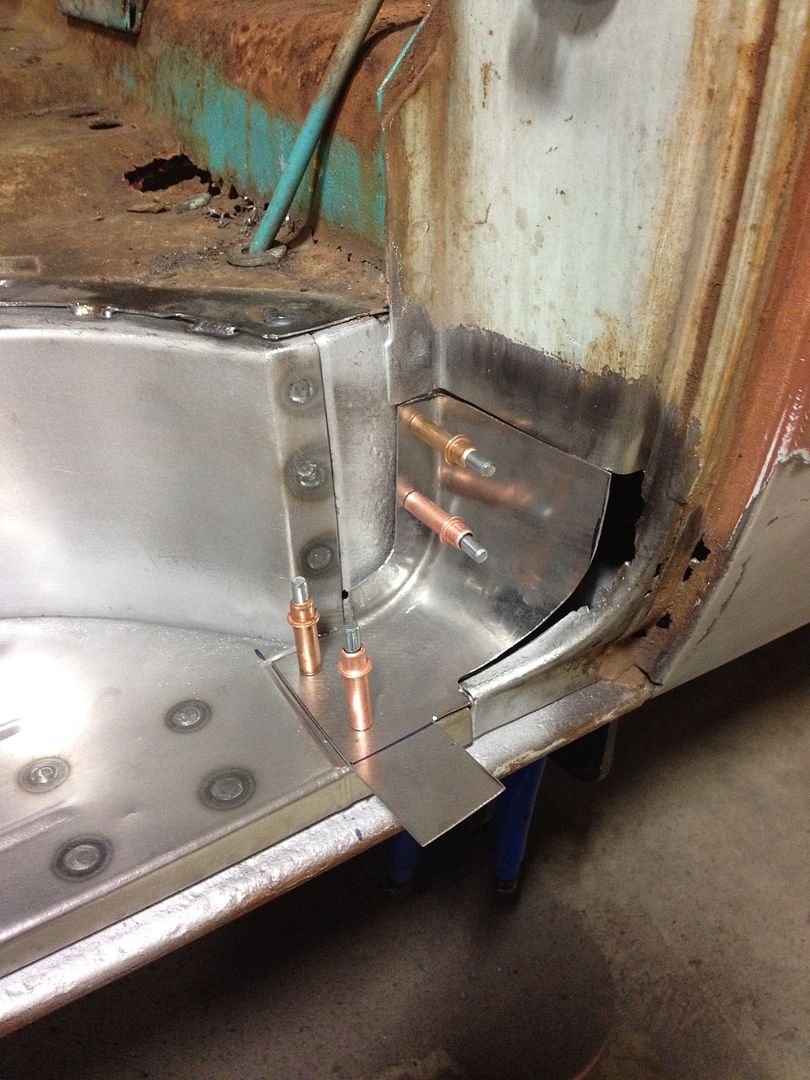
Here is where I left off tonight.  The rocker is welded in and ground smooth, the step plate and kick plate are just cleco'ed in place.  I'm going to double check my measurements, test-fit the door, and then weld it up.

This project is eating a lot of consumables!  This photo doesn't include MIG welder tips, Turner's tea, or coffee.  To be fair, some of these discs weren't quite new, I cleaned out my supply drawer and used up all the half-used discs.

Tuesday, May 20, 2014

F100

I welded in the rocker and ground the weld smooth.  I was able to salvage the outside edge, which is visible below the door.


I aligned the step plate and clamped it down, then welded it in place.


The cab support was toast, so I made a new one.


I cut a piece of 18 gauge for the floor, added a few bends, and started tacking it in.  I'm going to make a separate piece for the center section, I just couldn't get to it tonight.


I have been working much faster than usual on this project, since I'm much more concerned with getting it finished than I am with the quality.  I usually wait a little longer between welds... but tonight I exceeded the duty cycle of my welder.  I managed to melt two .023" tips, they got really hot and started to sag.  And that grinder wheel started out as 4-1/2" diameter, now it's about 1-1/4"!

Sunday, May 18, 2014

I put in some serious time this weekend repairing rust on my old Ford pickup.  I would like to get it inspected, and there are a 'few' holes in the floor that I need to weld up.

I pulled it into my shop to disassemble the interior and survey the scene.


I thought these 1/2" grade 8 bolts were holding the seat in, but it turns out that isn't quite the case.  These were simply acting as stilts to hold the seat at the proper angle.  They weren't actually bolted through the floor, and one of them was sitting on top of a rust hole.

As it turns out, only two of these little machine screws were holding the seat in the truck. 

The fuel tank is inside the cab on these old trucks, so I had to pump out all of the gas and remove the tank.

All stripped!  It's crazy that a complete interior removal is only 5 bolts.

I found some gems in the floor.  This was one of the gas tank mounts, it's completely rusted away.

Wow, what a hole!

I cut away some of the rust on the drivers side and started to make some templates.


It would have cost $600+ to buy all of the pre-formed rust repair patch panels for this truck, and the internet says they fit like shit, so I decided to make them from scratch.  $80 worth of sheet and a saturday spent.

I formed the rocker panel patches from 18ga steel on the brake.  These taper into a straight section, so I made it in two pieces.


I formed the kick plate by folding a flange on each side and using the stretcher.  I don't have a finger brake to fold the edges, so I used a chisel, panel forming bag, hammer and dolly.

Jimmy and Jason stopped out Saturday, and Jimmy brought a Harbor Freight 20-ton press with him!  We spent some time assembling the press, assembling the bike, and disassembling some beers.


Back to work.  I formed the step plates from 20ga steel.  I rolled three beads into each panel.  This isn't exactly the same as the OEM panel, but it's good enough for this truck.  The beads warped the panel a bit, it looks like they're a bit drunk but that's because the panel is no longer flat.

I started tuck shrinking the flanges, but I decided to just relief cut and overlap.  I folded the curved flange on the bead roller with a tipping wheel.

They're not perfect, but they're more than good enough for this truck!

I cut away all of the rust.

I trimmed the original rocker and tacked in my replacement.

I test fit the step plate and kick plate, and it looks like everything lines up well!  I'm happy with the results so far.

I rolled a step into the step plate, the leading edge of the door jamb will come down and lay on top of this piece.  That is going to be a challenge to make!

I have all of the passenger side patch panels all built, they're just waiting for installation!
So I have been collecting Snap-on body hammers for a few years, and I almost have the full and complete set.  I recently won two hammers on eBay, now I only have one remaining!  The first is a BF610 shrinking hammer, which has one square and one round face.  This hammer is still available new today, but it's over $100 and it is a shape that I will never use.  I have been watching eBay for years for a super cheap one, and I finally found one for $14 shipped! 


This model is an un-dated Blue Point, I think it's probably from the 1950s. 

The second hammer is a BF619.  As far as I know these were only branded as Blue Point, never Snap-on.  I don't know what era these were made, but I think they were all pre-war.


 The only hammer I have left is the BF635 door skin hammer.  This is another one that's still available today, but I'm waiting for a cheap one to come around.

More new tools!  I ordered a Lancaster shrinker and some 1/8" cleco pins.  I got another set of $5 imported Cleco pliers because my last $5 imported pair was total crap.  These are even worse.  I have searched high and low for a decent quality version of these pliers, and they don't seem to exist.  I think the pros use a pneumatic tool.


I welded up a stand to hold the shrinker in my vise.  I don't have room to store a standalone floor-mounted setup, so this will do for now.


I've prepared the shop for a weekend of metal shaping, I plan on doing a lot of rust repair on my old Ford.