Sunday, August 24, 2014

I took a break from the hydraulic plumbing to get started on my fuel lines.  These are going to run along the stock location, then switch from 3/8" stainless tubing to braided hose as they pass into the frame rail channel.
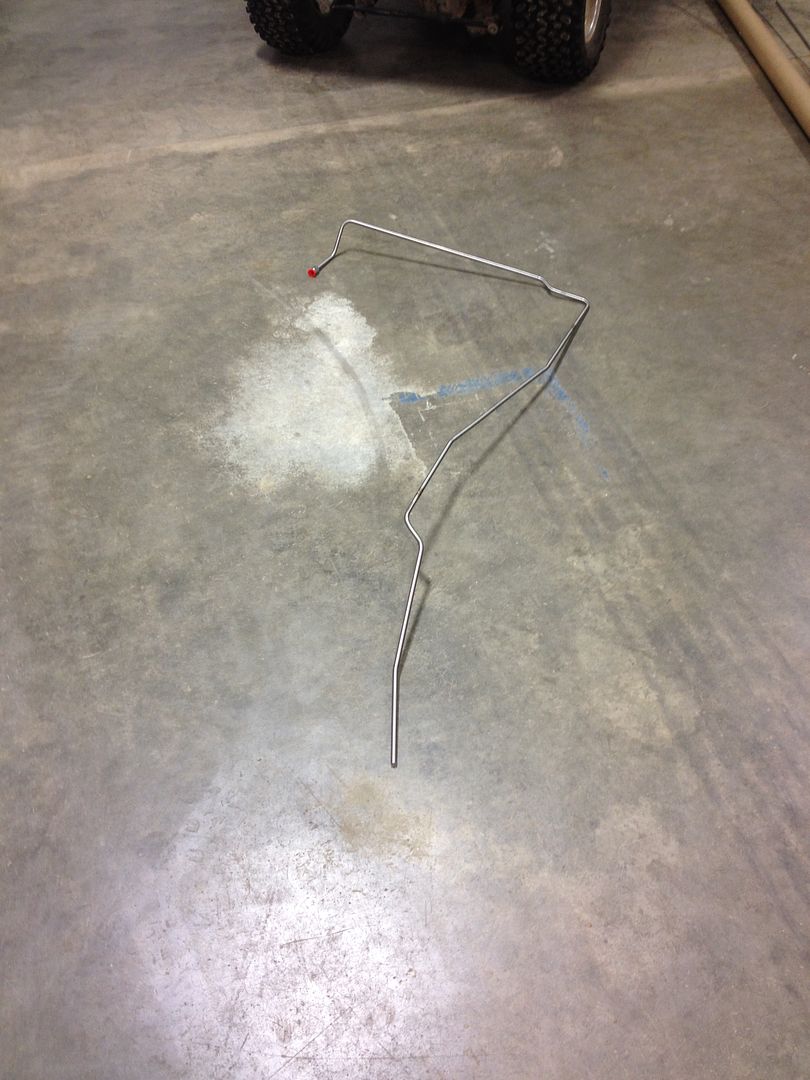
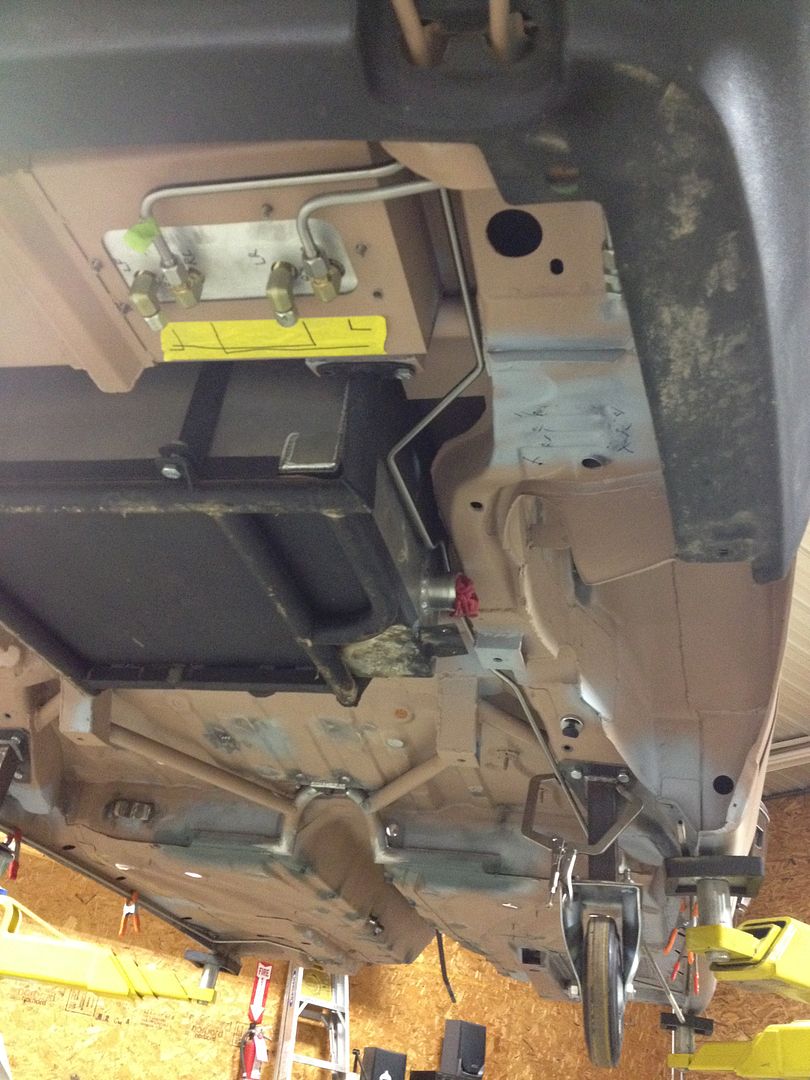
I laid out the route with masking tape.  This will be wide enough for the three lines - fuel supply, fuel return, and fuel tank vent.


I had to slightly widen the entrance where the fuel lines pass into the frame rail channel.  The original entrance was sized for 5/16" OD plastic tubing and slightly asymmetric.


I bent all three lines at a 28ยบ angle.  I am spacing them 3/8" apart, which will leave room for hardware and clamps.

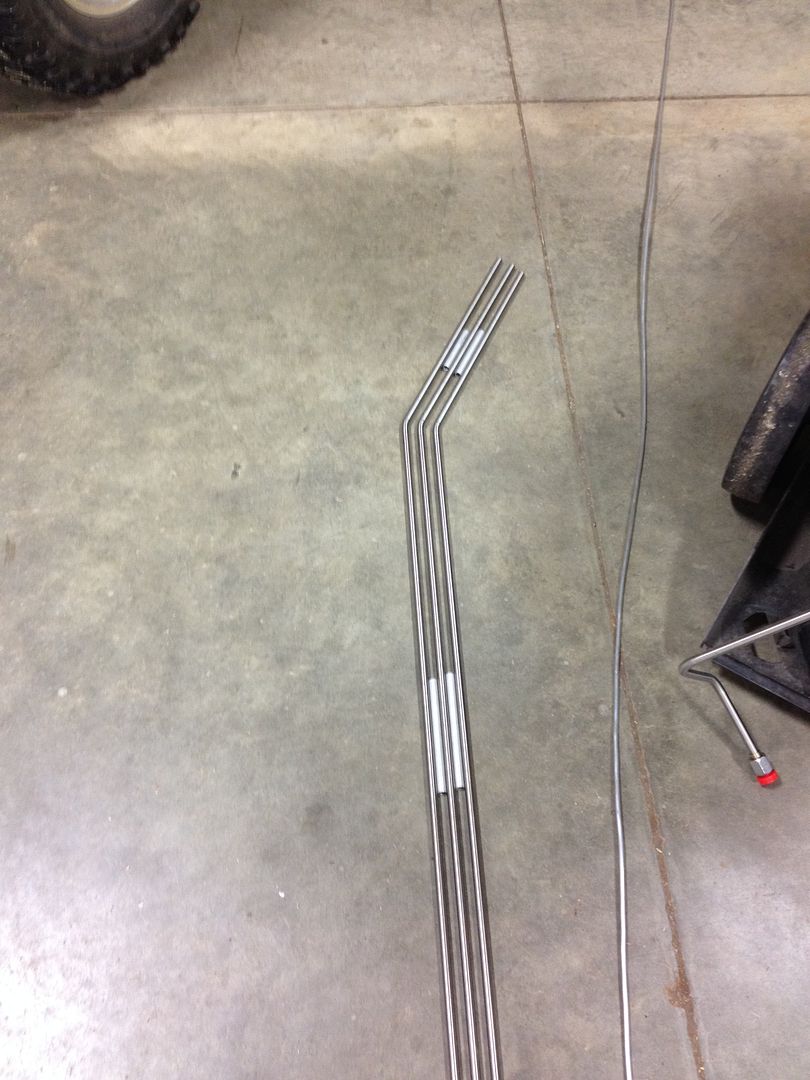
I laid out some of the mounting holes, I will be building straps that clamp all three tubes tight against the floor pan.


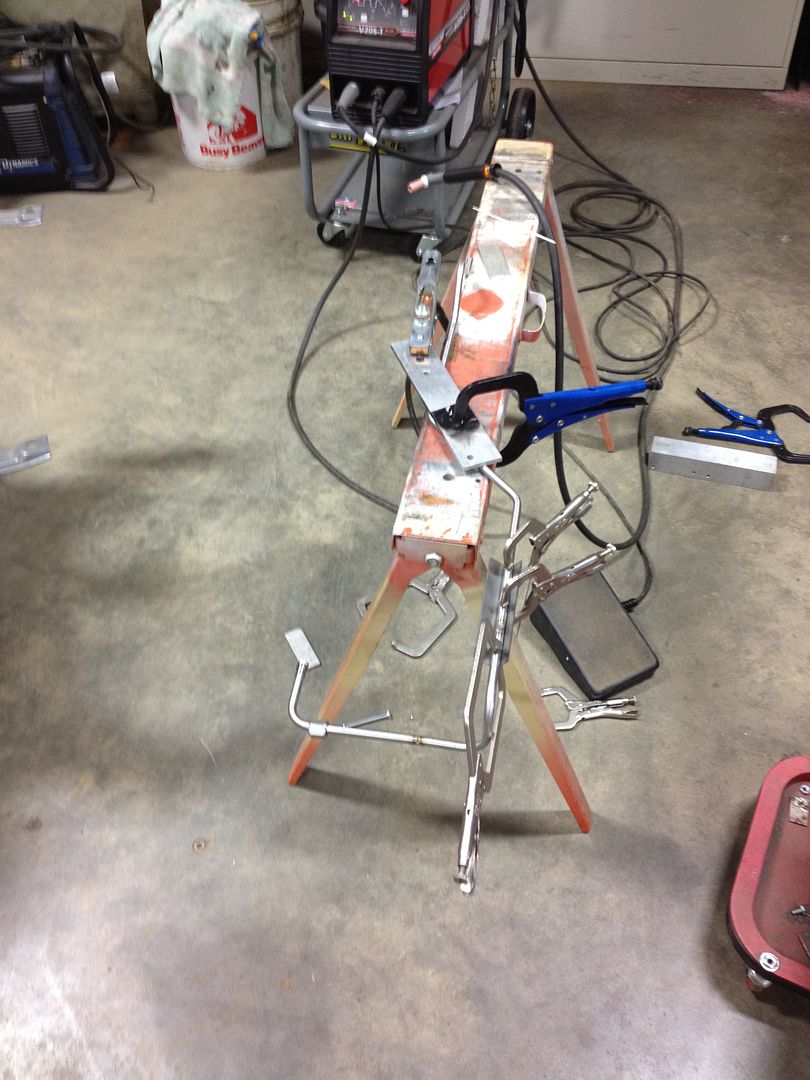
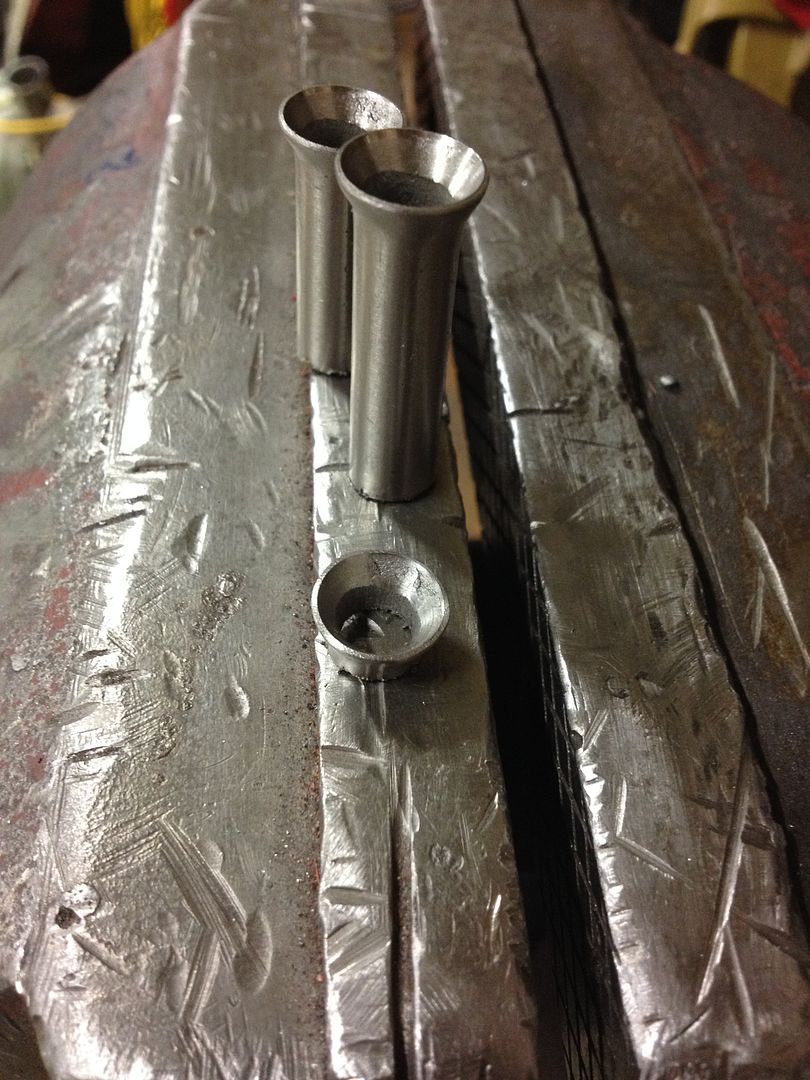
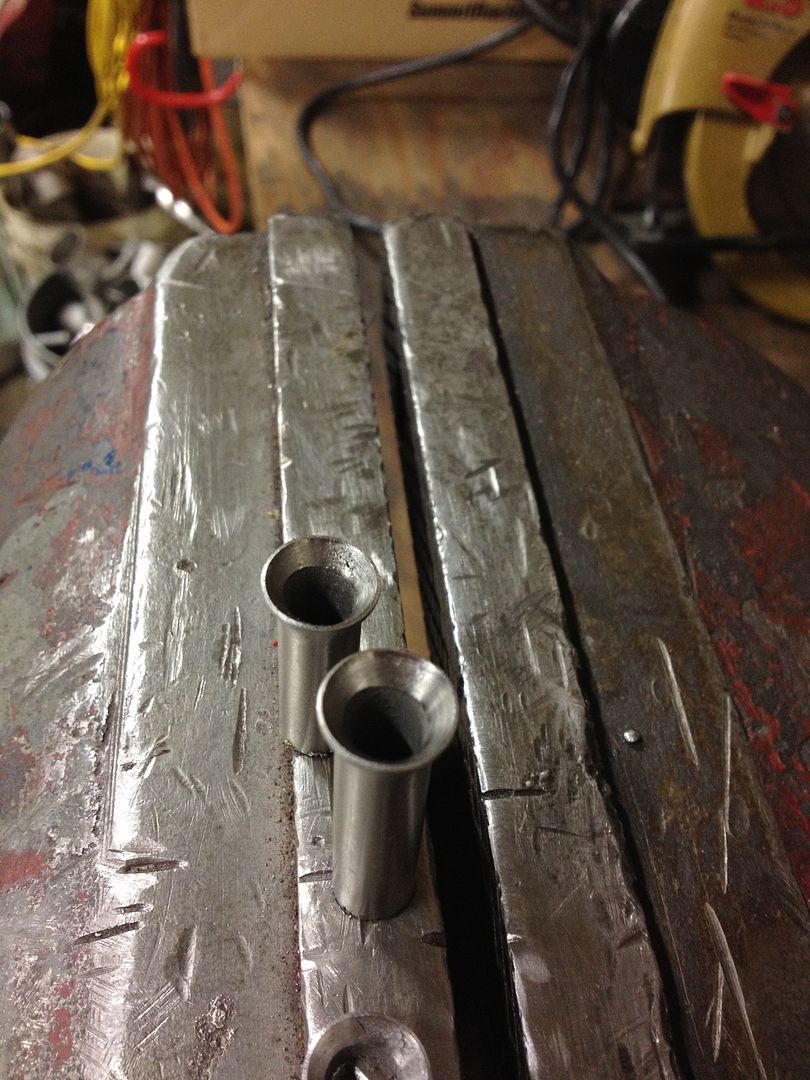
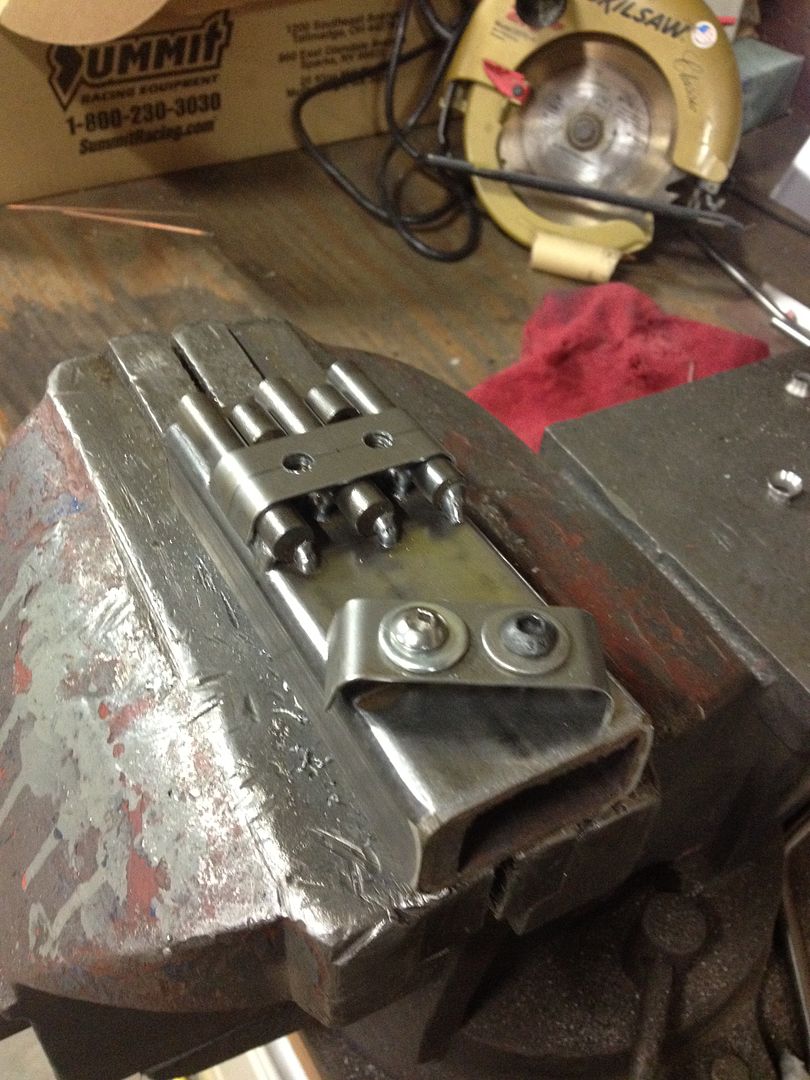
I made up this jig and bent a few test clamps.  The real clamps will be 1/8" 304 stainless, but for now I'm using some scrap 16ga steel just to hold everything in place.

These are my temporary clamping straps.

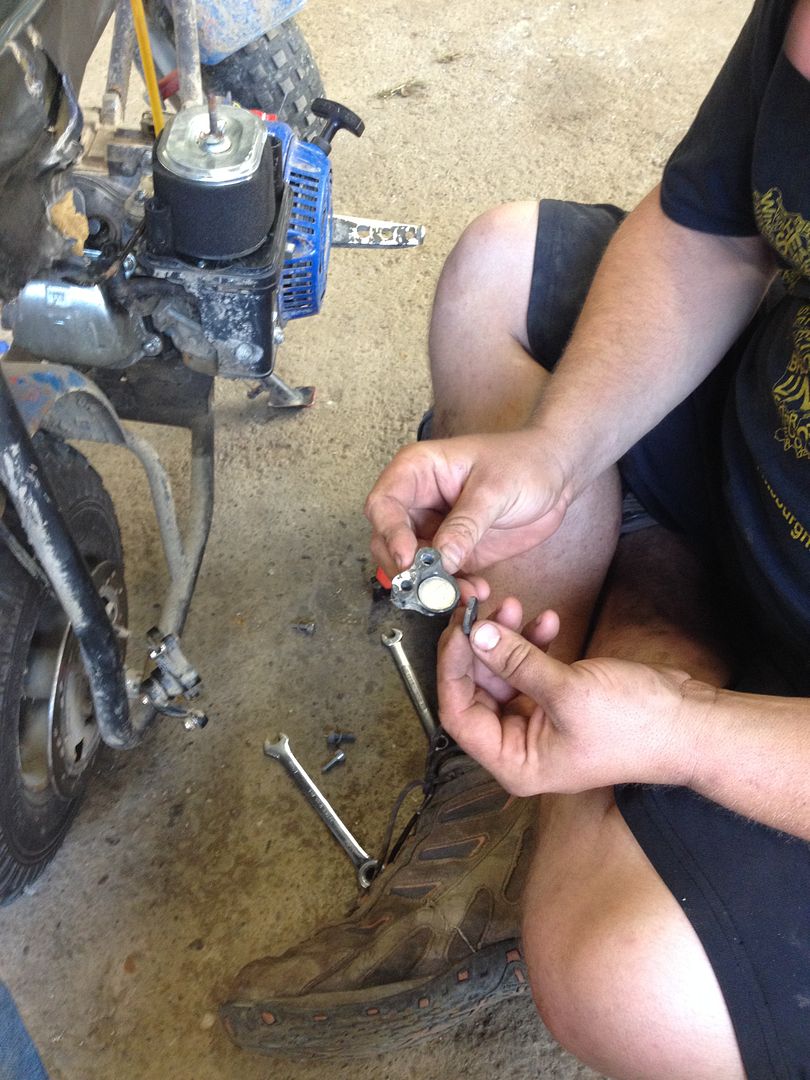
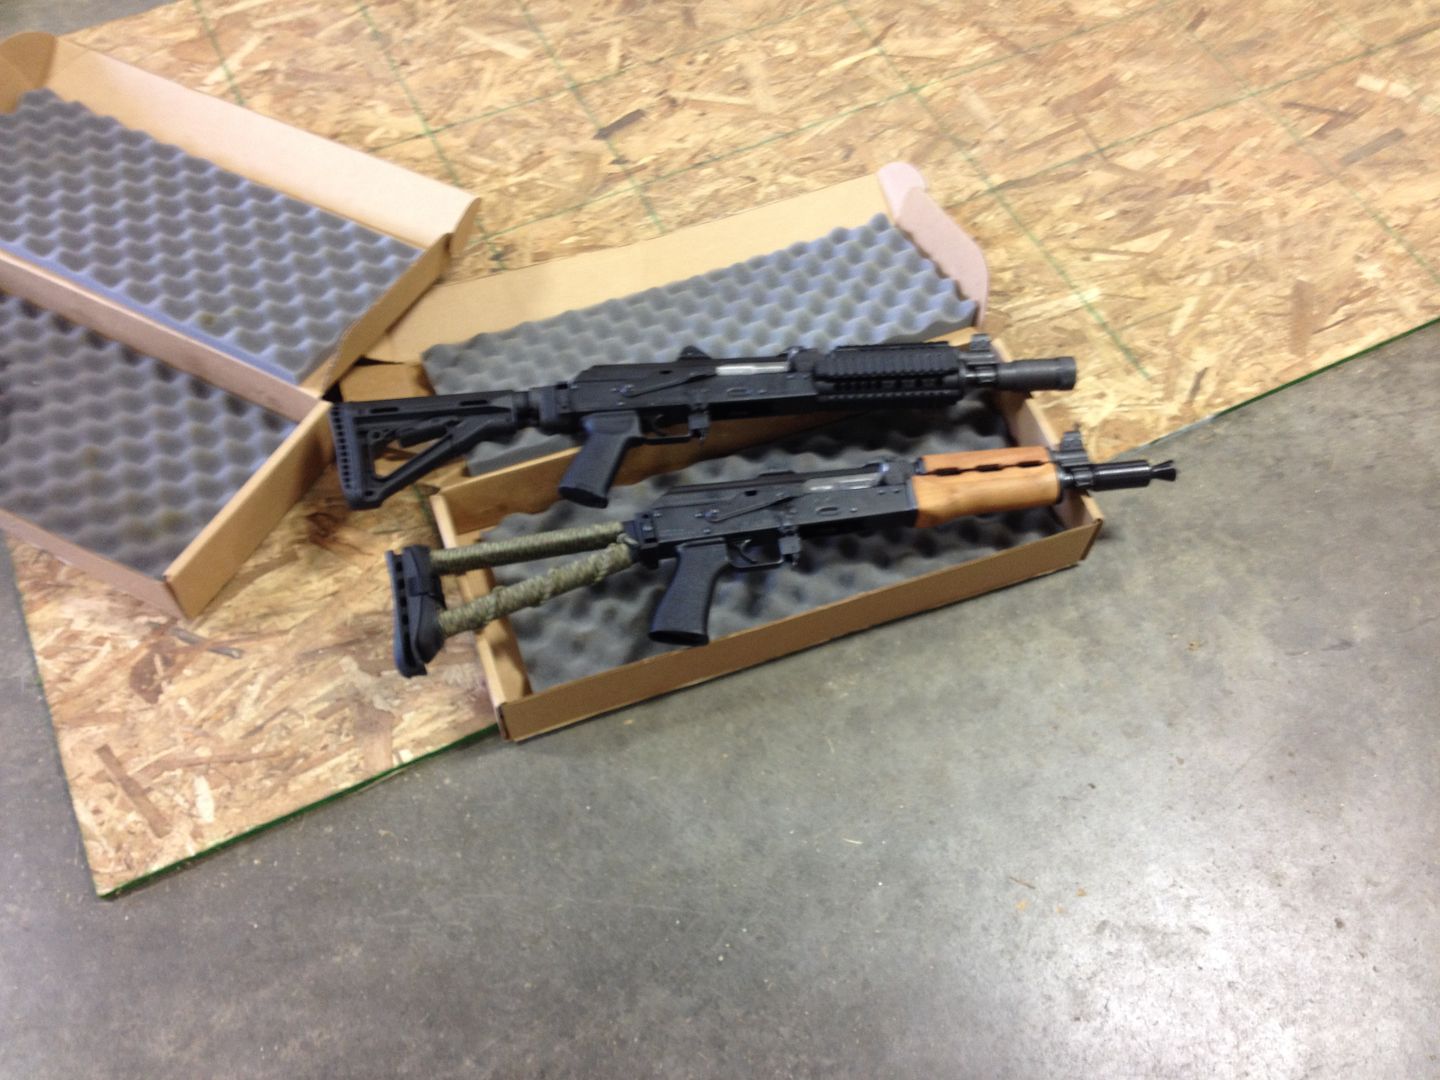
Fro stopped out to check out the progress, and brought some guns with him.

He needed my help to drill and tap two #10-32 holes in the rear of two AK47 lowers so he can mount new stocks.

Success!


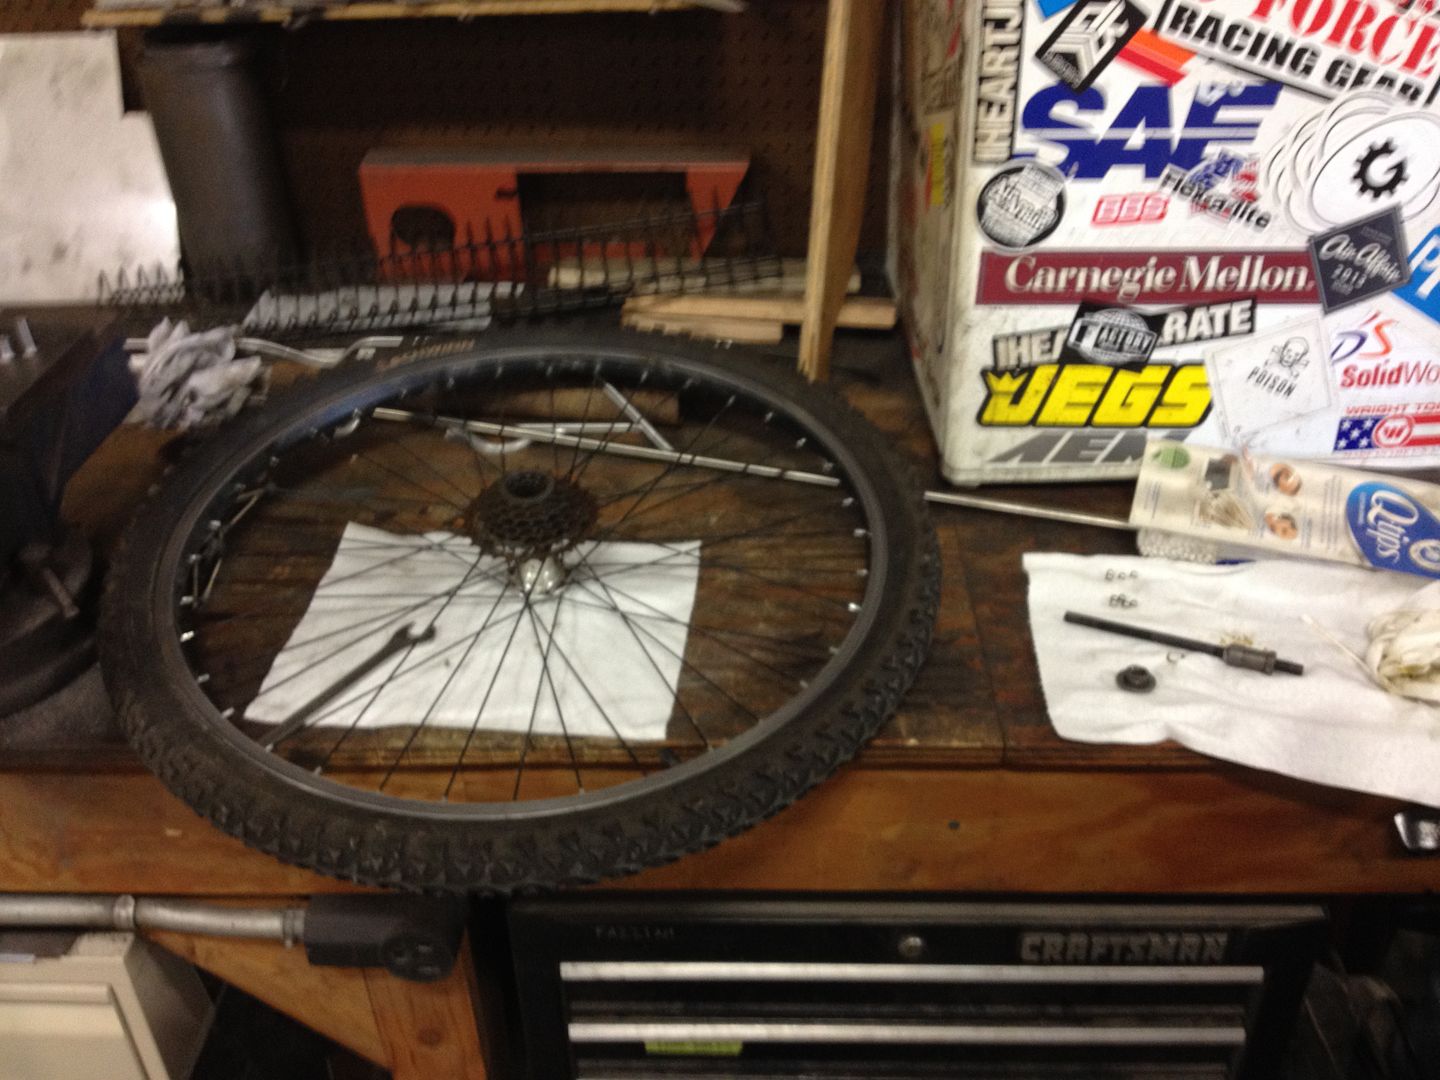
In random news, I got myself an old mountain bike from my friend Phil for the price of a Bud Light 30 pack!  I spent a bit of time getting it tuned up so I can un-fatten myself a little bit.

The rear wheel bearing was in need of an adjustment, it was really loose and wobbling.  I packed it with some fresh grease, and it feels alright now.  By "alright" I mean "it probably won't explode tomorrow."

Ready for a ride!

Sunday, August 17, 2014

I received another shipment of stainless tubing last week from Onlinemetals.com, and the package was destroyed by UPS. They really stepped up though, they sent me another tube the next day!  The only available stock was in Los Angeles, so they sent it UPS Red.  Big thumbs up to ThyssenKrupp OnlineMetals.


I had already made a template for the left front hydraulic line:

After a few bends and some luck, I am now finished with 3 of the 4 hydraulic hard lines.  I have to make two more bends and flares for the right front, but that's it.


I still have to weld the mount for the bulkhead fitting which connects the front to the rear line.


Wednesday, August 13, 2014

New tools!  Woody bought me a new air hose because somebody shot a nail through my last one.   I got the Bondhus hex keys to qualify for the $35 free shipping from Amazon... and who doesn't need more hex keys?


I also bought a set of SK metric wrenches.  These are shorter than the standard Snap-on wrenches, and about the same length as the standard Craftsman wrenches.  My Craftsman set moved into my truck toolbox, and the SK upgrade moved into the main box.

I welded in the mounting points at the ends of my hard lines.  I will run a reinforced rubber hydraulic hose from here to the hydraulic cylinder.  This welded mounting point will support the end of the hard line.


I ran out of tubing this weekend, and ordered more.  Unfortunately, UPS destroyed it.  I really wanted it for the weekend, but I really can't complain because they have successfully delivered hundreds of packages over the course of this project and this is my first claim.

At least they tried!  They taped it back up all nice.  Maybe they hoped I wouldn't notice?   Onlinemetals.com really stepped up though, they are handling the claim with UPS and sending another tube next day air.


After my hydraulic lines and fuel lines are bent, the next step before paint is to clean up some old welds and fab work under the car.  I decided to get a head start tonight.

These welds were so beautiful, I decided to grind them off.  I just couldn't handle how perfect they were.  They were so amazing, I didn't want to make anyone jealous with a 'before' picture.

Sunday, August 10, 2014

More progress!  I finished bending the left rear hydraulic line, and built a mockup of the left front hydraulic line.  I ended up using more tubing than I thought to make the sample pieces, so I have to wait for more to arrive before I can continue.


My friends Ian and Dave had a party at their garage this Saturday.  The highlight of the day were the minibike races, and of course the scramble to get them all running!


Tim's brakes had worn down so far that the pads were no longer touching the rotor.  He needed a spacer, so I loaned him $.05 and it fit perfectly!

The starting line

These things are fucking dangerous!

At some point during the night, they decided to go for a ~2 mile ride along an old railroad trail.  Of course they broke down, so I had to go rescue them in the old Ford.  I'm pretty sure that 4 adult men and two minibikes are over the GVWR of this truck, but nothing broke!


I went to Harbor Freight today, and this nice toolbox was on sale!  I can't believe nobody has bought it yet.  I don't think I have enough hammers to fix this one!


Tuesday, August 5, 2014

Progress!

After months of not really making any progress on the Jetta, I finally got some stuff done tonight!  I've been really struggling with my hydraulic plumbing, these are really difficult lines to get right and I didn't want to waste material with mistakes.

I rounded up a bunch of scrap steel and stainless tubing, and bent each section individually.  Once I got the distances and angles correct, I tack welded it together.

The template:

After I had the mockup piece done, I transferred all of my dimensions to the real piece of tubing.  Then I grew a set of nuts and bent the fucking thing after 2 months of hesitation.  Nailed it!


I struggled to make clean flares on one section of tubing, and it ended up being some sort of inclusion or flaw in the tubing.  I had to cut 8" off of the end of the tube before I was able to get a clean flare.  Thanks a lot Shanghai Crystal Palace Pipe Co., Ltd.  This is seamless annealed 304 stainless steel tubing.


In random shop news, they're building a hunting blind!  We don't take half-measures at the shop.

I went on a Craigslist adventure this weekend with my friend Jimmy, he found an old Snap-on KR1000B toolbox for sale.  

This thing is enormous and really heavy, so we didn't trust ourselves to roll it down the ramp.  We rigged up some ratchet straps and let it down easy.

It's a huge upgrade over his previous Harbor Freight 44" toolbox!  The Snap-on is 29" deep, 54" wide, and almost 48" tall compared to the 18" deep Harbor Freight.  The whole HF toolbox fits into 4 drawers!

I got some new tools for myself as well!  The guy who sold the box was selling some of his other tools, so I snagged a set of hooks and picks for my work toolbox.

I ripped the old Ford to work twice in the last week!