
It is "street legal." The license plate is mounted to the parachute bracket!

It makes a very streetable 1660hp at the crank. Just a regular ol' daily driver.

Runs on regular ol' race gas.
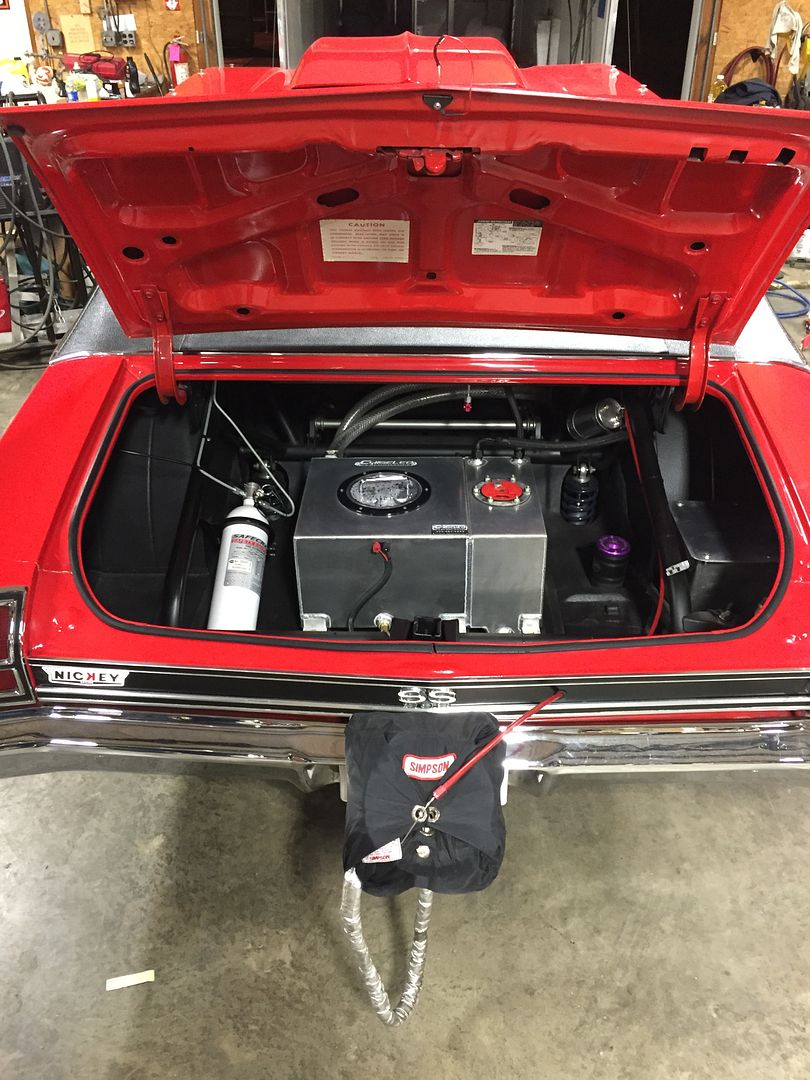
I hope he got a good deal on this junker, the tires don't even have any tread left!

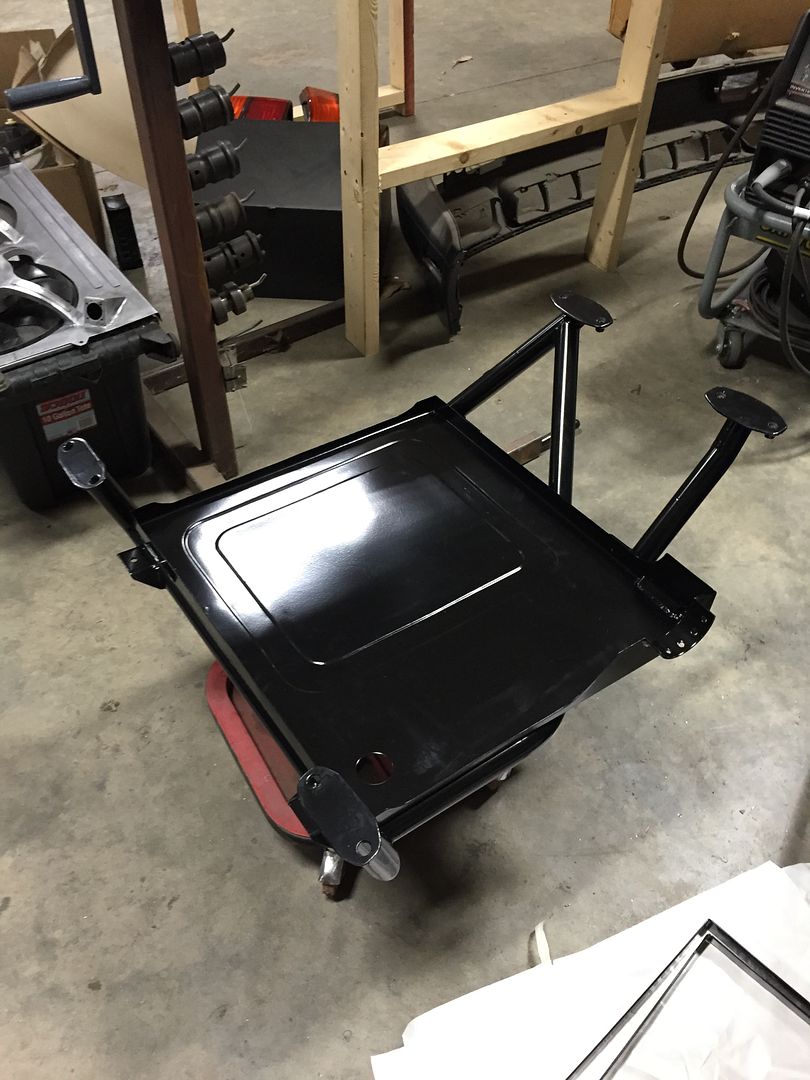
In Jetta news, I received the fuel cell parts I sent away for powdercoat. I wanted these to be sandblasted and primered, but they came back satin black. The color isn't a close enough match to everything else, so I will have to re-spray them.

Fuel cell cradle.
New tools! I bought a Wray Schelin shrinking disc (with instructional DVD), an 18" ruler, and a new chalk line to replace the one I took to work.

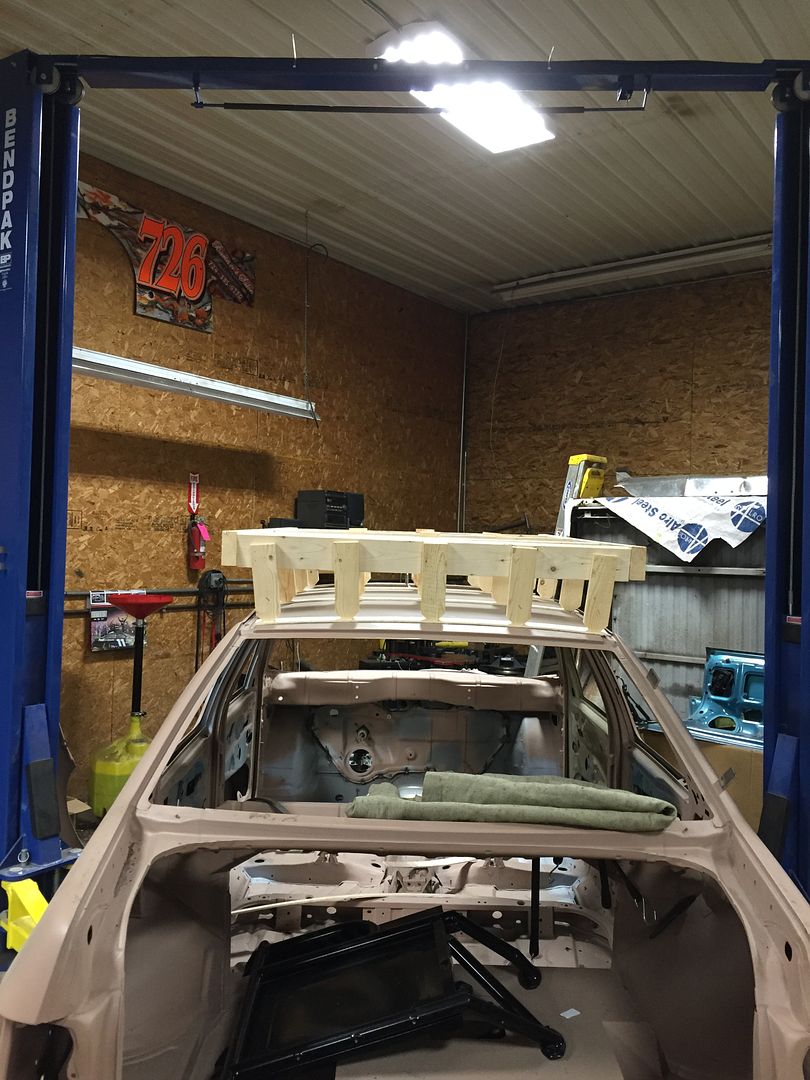
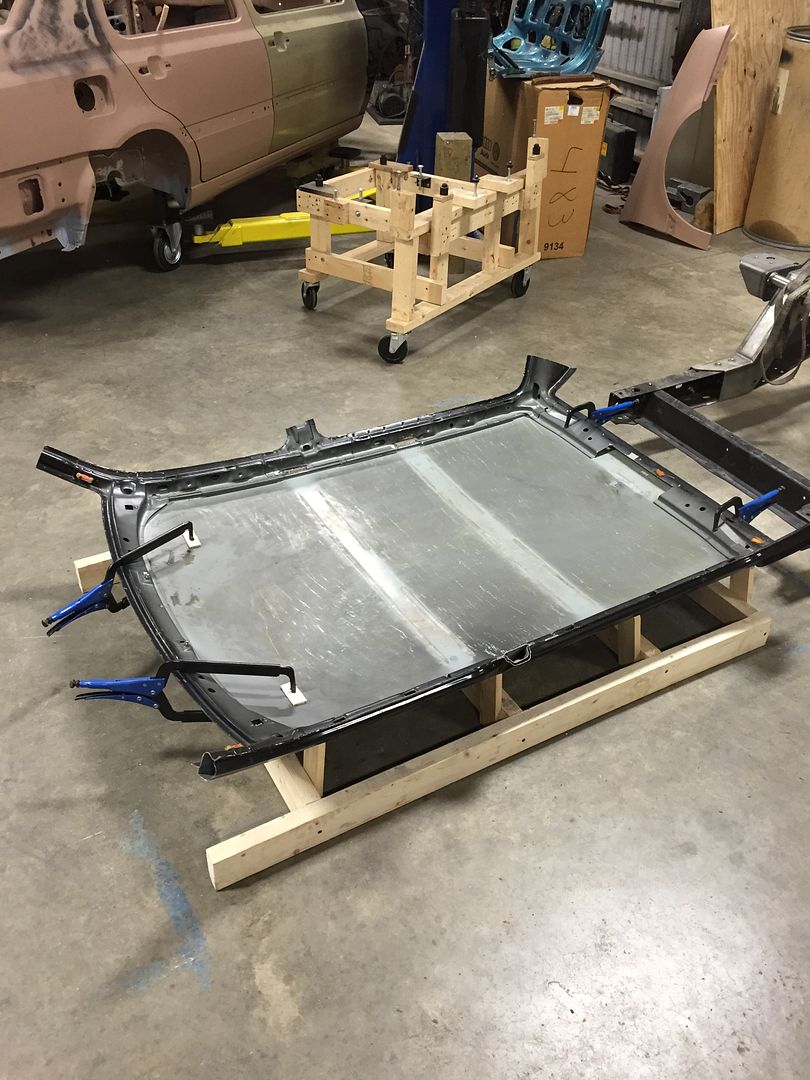
I need to get moving on my roof project, so I built a wood frame to hold the donor roof while I remove the supports from the skin. I used 1/4' plywood, furring strips, and 2x4s to build a frame that matches the shape of my existing roof.


I stripped all of the paint from the donor roof to evaluate the damage. I know it was dented, but didn't know how bad.

It is pretty bad! This was a Trek edition Jetta, which came with a roof rack, and apparently they used it pretty frequently. They also dropped heavy things on the roof quite often.

I flipped the roof over onto my new frame so I could strip the underside.

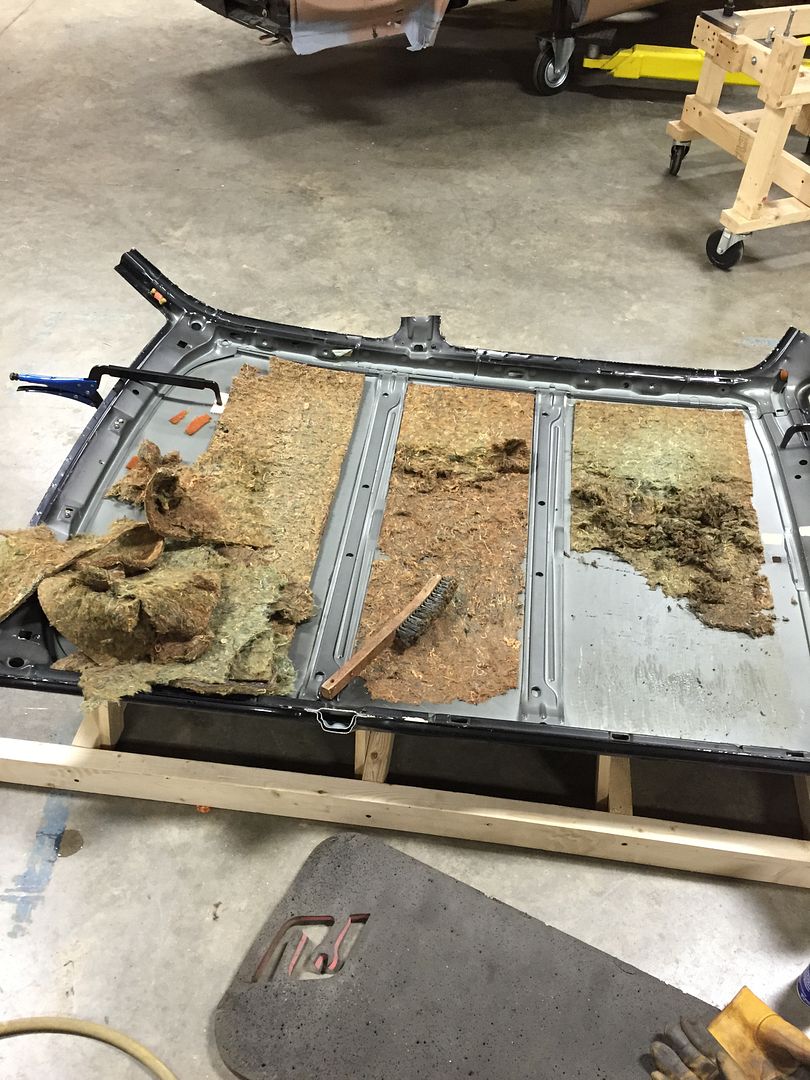
After stripping all of the sound deadening and carefully removing the crossmembers, I was able to clean the bottom of the skin.
With everything removed from the bottom, I started to work out the dents in the top. I also had to weld the antenna hole, since I will not be using a roof-mounted antenna. Woody is doing a little welding on Big Woody's '64 Chevy frame in the background.

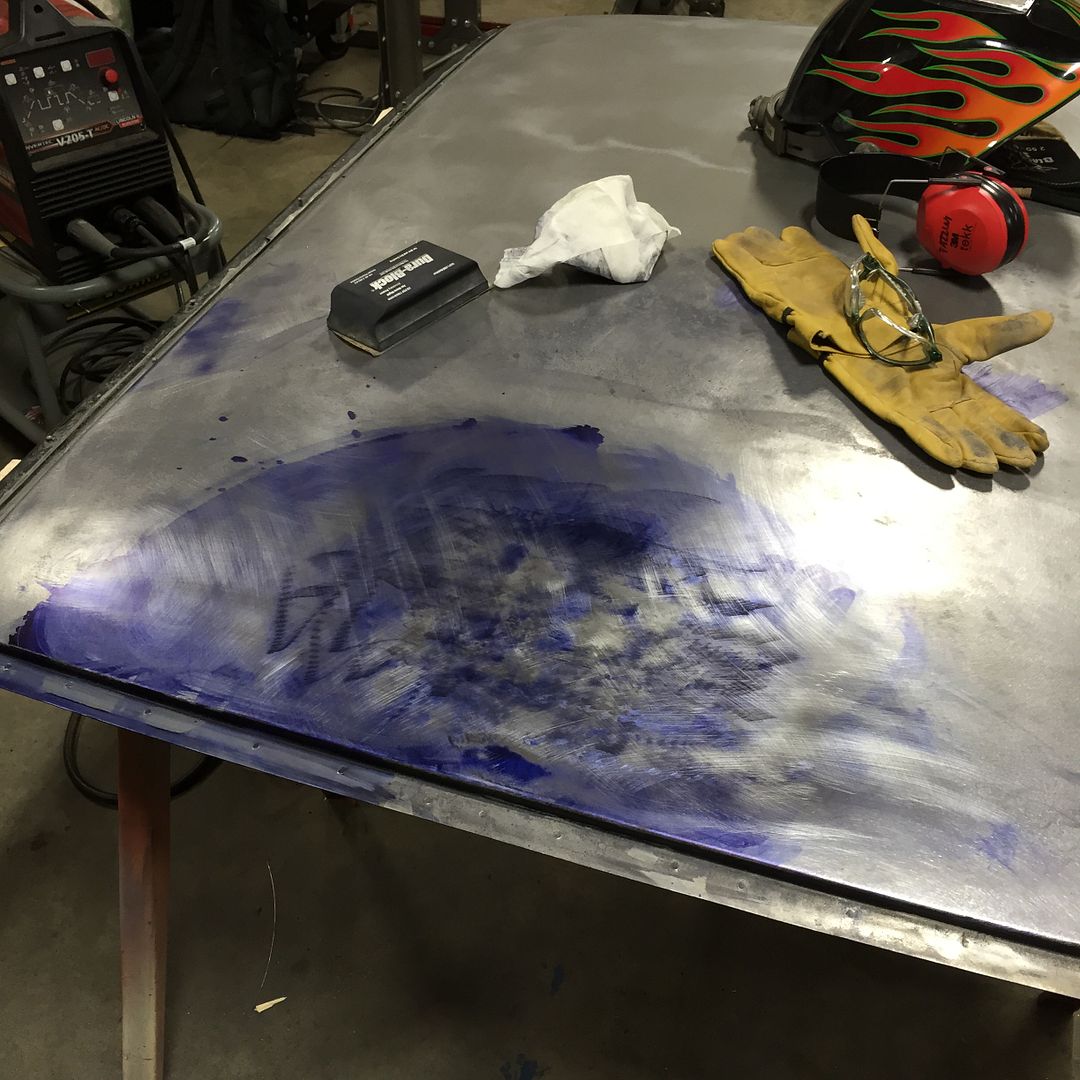
After marking up the surface with bluing and sanding it to mark the high spots, the whole rear area was filled with tiny dents.


I worked it until it was a little more straight, then cut out a filler piece for the antenna hole. I cut a tight-fitting piece of 22ga steel to match the factory skin thickness.


I TIG welded it in place. It went really well, except for one corner where I blew through. The extra heat definitely caused some problems, but oh well.

I fired up the shrinking disc on my new Makita 9" grinder. This is just a smooth stainless steel disc. The theory is that it rubs on all of the high spots, which heat up and shrink down until they're level. It has been used successfully for decades, and it was cheap enough that I decided to give it a try.

I could see progress being made, but it's not there yet. This is only one of ~40 bad spots on this roof, so it may not be worth the time to straighten it out. But this is good practice using these metal shaping techniques.
And then the cap popped off of my Dykem bluing jar and spilled everywhere. I decided to call it quits after I cleaned this mess up, I'll get back to the roof next time!

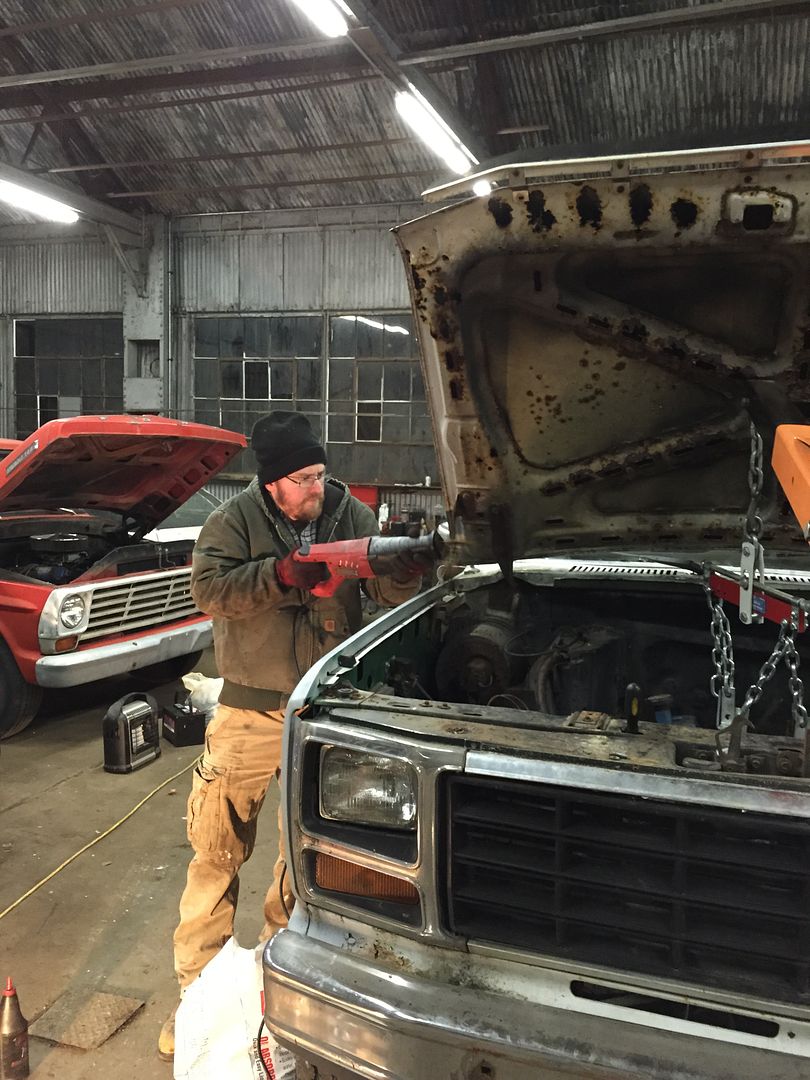
Earlier this weekend, I helped my buddy Dave remove the engine in his old '82 Ford. This is the same engine we installed about 3 years ago, outside in the freezing cold with no tools. This time it was a little warmer, we were inside with lights, and had a decent selection of tools!

Dave removed the bolts on the exhaust with this funny looking wrench.

The engine bays are spacious in these old trucks!

Ironically, the hood hinges require the same size wrench as the exhaust, wiring, and power steering lines.
Success! Hopefully the Craigslist clown doesn't back out and this thing sells next weekend.

Here is a little flashback to the day we installed this motor. These photos are dated 11/28/2010, which pre-date this blog. It was about 2 degrees above zero, and the only tools we used were an adjustable wrench, 8' long 2x6 (shown here), and a 1970s tow truck. We're getting soft.


