Sunday, November 29, 2015

Now that the fan shroud, hood, and shift linkage are coated in epoxy primer, my next project is the lower control arms.  Since I'm using two front suspensions, I have four lower control arms to deal with.  

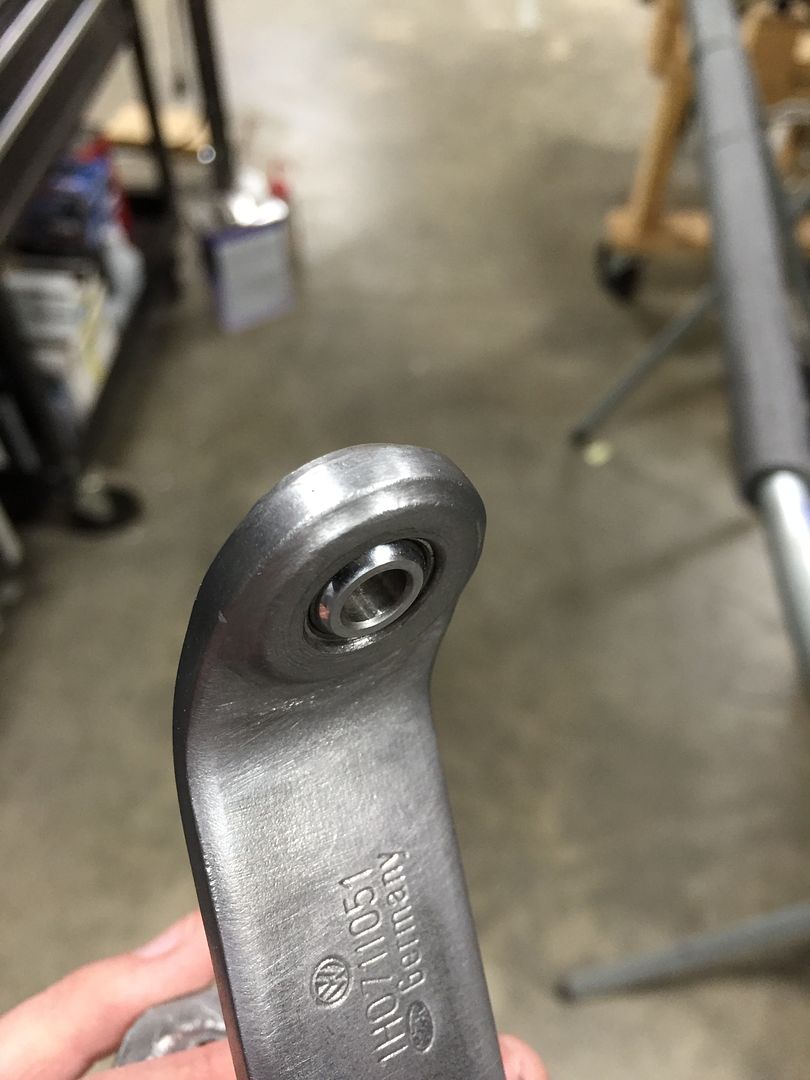
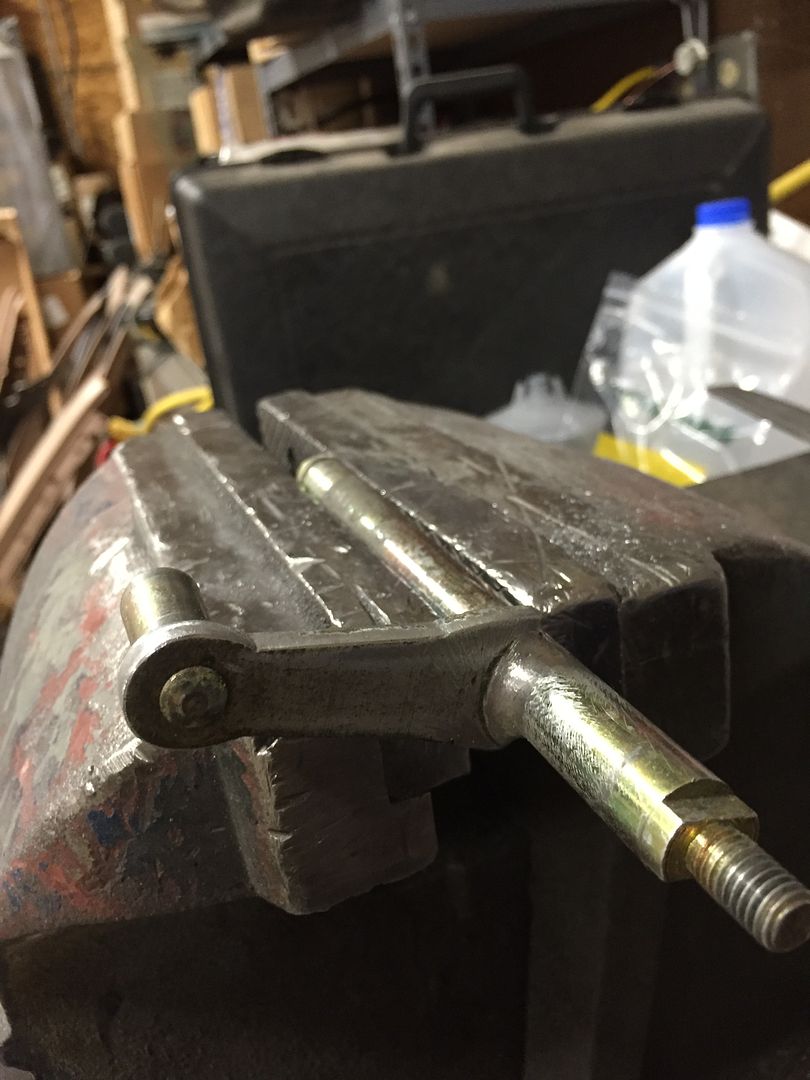
I had the arms sandblasted a few months ago, so I wiped off the protective oil and started work.  I ordered high-misalignment spherical bearings from Southern California Cylinder Heads a few months ago.  I had previously machined my own set ~10 years ago, but they were pretty well worn and corroded.  Without access to a high precision lathe, I purchased this set.  They're really nice pieces!  I'm pretty picky when it comes to workmanship and design, and these are very nice.  


I chose anodized aluminum housings, stainless steel spacers, and Aurora HAB-10T high misalignment spherical bearings.  These bearings are rated to ±20ยบ of travel, which is just enough to lay the subframe on the floor with 205/40/17 or 215/35/18 (!!!) tires.  

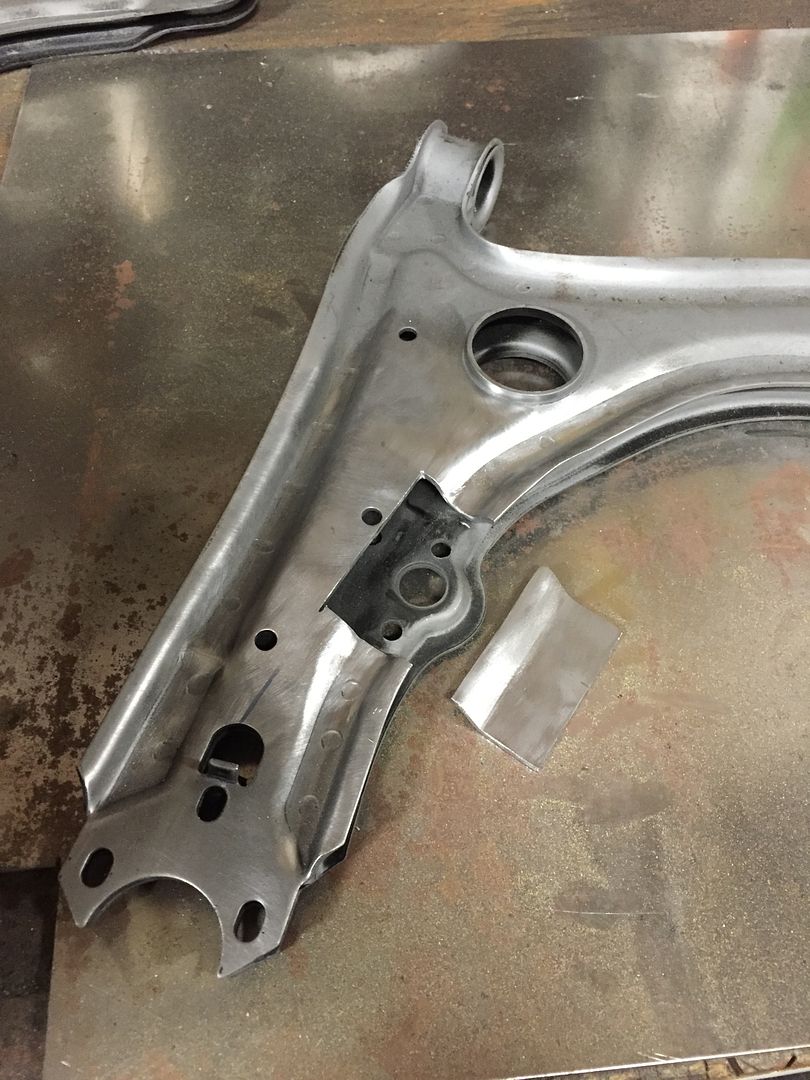
I'm not running swaybars in the front, so I decided to cut away the mount and rework the control arm.

I made a press tool and stamped out some 12 gauge mild steel plate to match the contour.


I was in the zone and forgot to take pictures, but here is a photo of one of my welds before I ground it off.

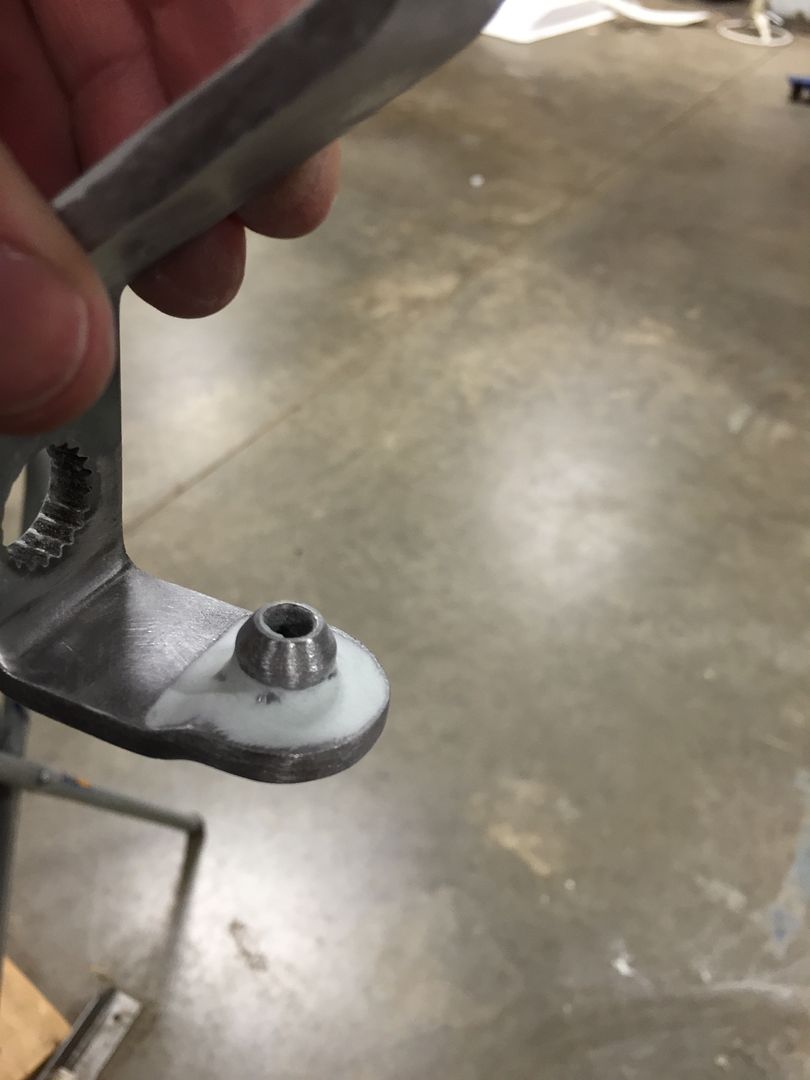
One side done!  Here is a comparison with the stock arm as well.


Moving on to the back side, I took a photo of the weld-prepped patch in place.  

Ground

Now that the subframe mounting hole is gone, I'm moving on to a project that I dreamed up over 6 years ago.  It's cool to finally see it coming to life!   I started by splitting a piece of 1-1/4" x .065" wall tubing along its length.

Here is where it will go.  Obviously it will require some shaping!

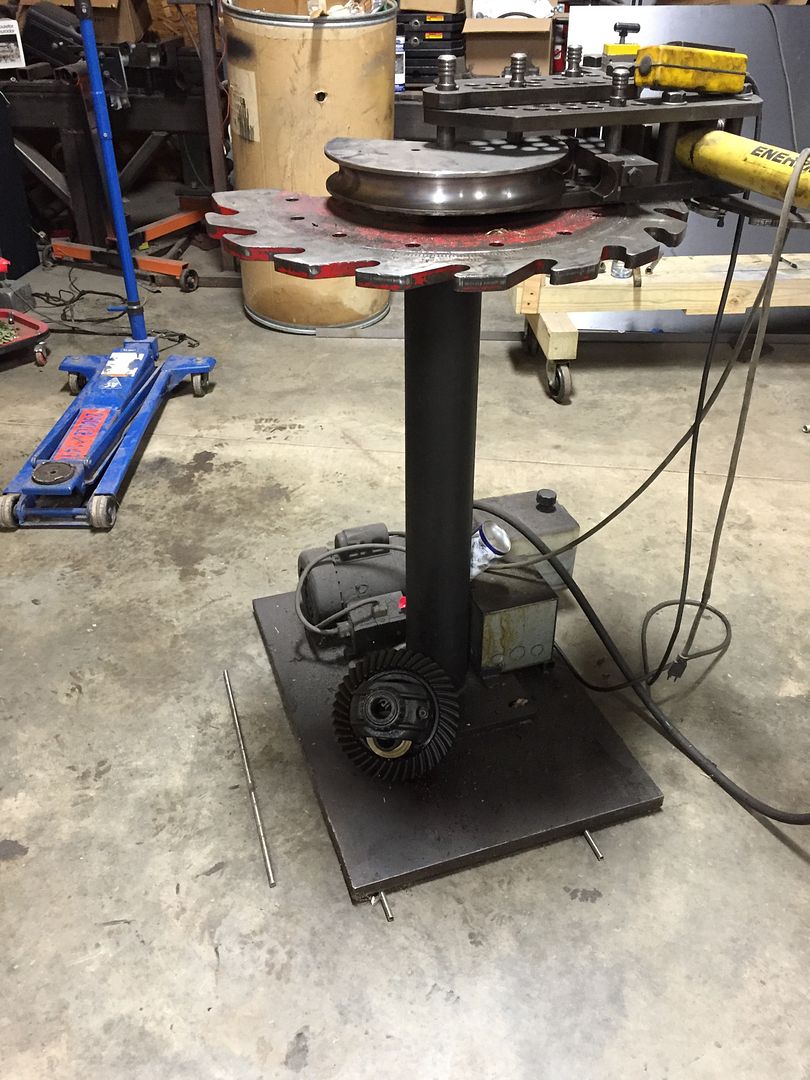
I busted out the tubing bender to match the tubing to the contours of the arm. Some of the subtle bends were made by hand after the tubing was split, the larger bends were done on the bender.


Fast forward a few steps:


One arm is all tacked up and ready to weld.  I still have to do the final trim on the contours, but the finished edge will have smooth, continuous curvature.

I tapped the edges down so they flare out and meet with the original stamping.

My next step will be the opposite side, which requires a bit more fitting.

Wednesday, November 4, 2015

Tonight I finished spraying all of my shift linkage parts with DP50LF epoxy primer.

I finished all of the putty work, sanding, prep, and masking this weekend.


Here is everything after two coats of epoxy primer.


Sunday, October 25, 2015

New tools!  I bought a Snap-on TRLL72 extra long, quick-release ratchet.  This was a total impulse buy, I got off of the highway to avoid traffic and happened upon Snap-on Dan.  Oops!


Here is a comparison against a standard T72 ratchet and a TX72 locking flex ratchet, which I already had.


Now, will it fit...


Back to work.  A few months ago, I spent some time reconstructing the shift linkage to remove all of the rubber bushings and replace them with spherical bearings.  I took a break to work on some other things, but now I'm back on the finish work in preparation for primer.

Here is the weighted link, I had new tabs welded in place and I have decided to clean it up.


After some grinding.  It's not perfect, but I'll add a bit of putty to get everything perfectly symmetric.

The tab itself was a bit asymmetric, so I blued it up and traced out a circle concentric with the hole.

After a bit of trimming I was happy with the radius.


After reworking the edges tangent to the new radius, I was happy with the look considering this tab was hand-cut.

Here was the input linkage just after welding by Bill Lewis.  Not too bad!  Since I'm smoothing all of the other welds, I decided to smooth this one too.


Almost good enough without putty.

This piece got a little more work as well.  The original stampings were really rough, so I smoothed them out.  I also ground out the stock weld, re-welded some portions, and smoothed it into a nice radius.


Mud.


Tuesday, October 13, 2015

New tools!

I bought my first big-boy set of dial calipers after using junkers for many years.  These are Mitutoyo 6" dial calipers, I prefer dial calipers over the more popular digital option.  I also picked up a cheap deburring tool and a Mitutoyo center gauge.


I finally got a chance to make progress on my fan shroud.  I finished the putty work and got it sprayed with epoxy primer tonight.


I normally try to do better than this, but sometimes you have to spray primer outside.  At night.

PPG DP40LF epoxy primer.  It's not perfect, but most of the imperfections are fine enough to sand out in the primer layer.


I have a break from school coming up, so hopefully I can make some decent progress on the Jetta.  Until then, back to less interesting things.