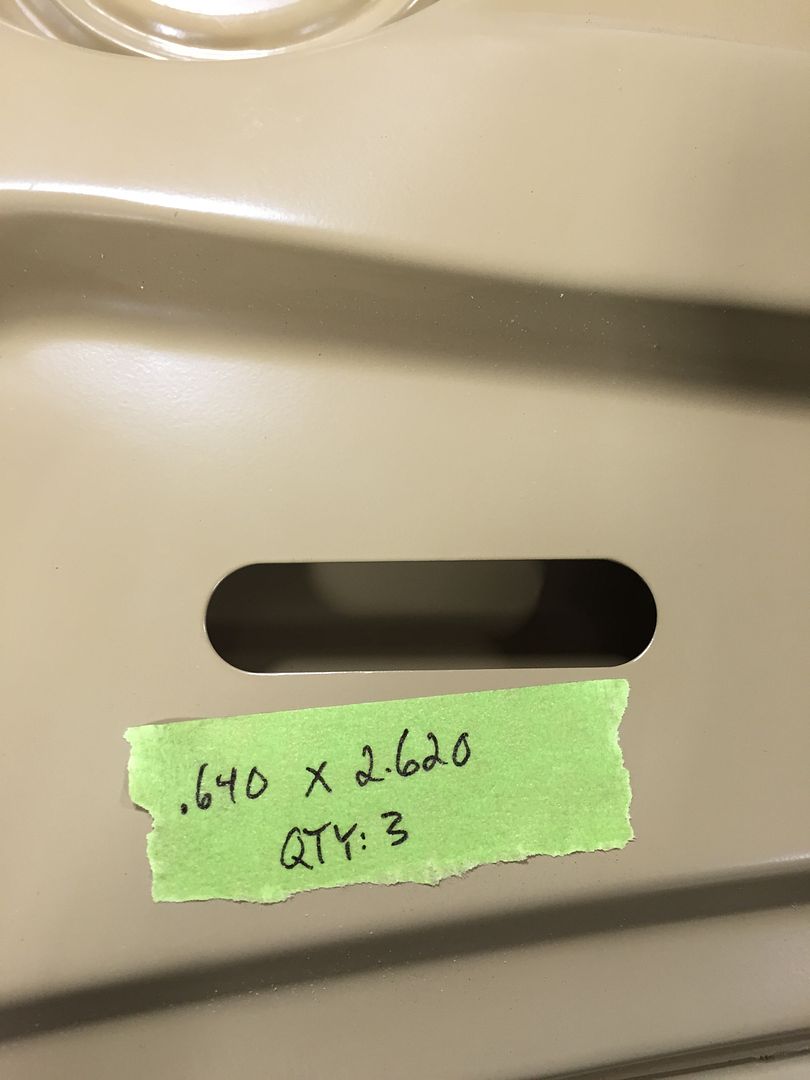
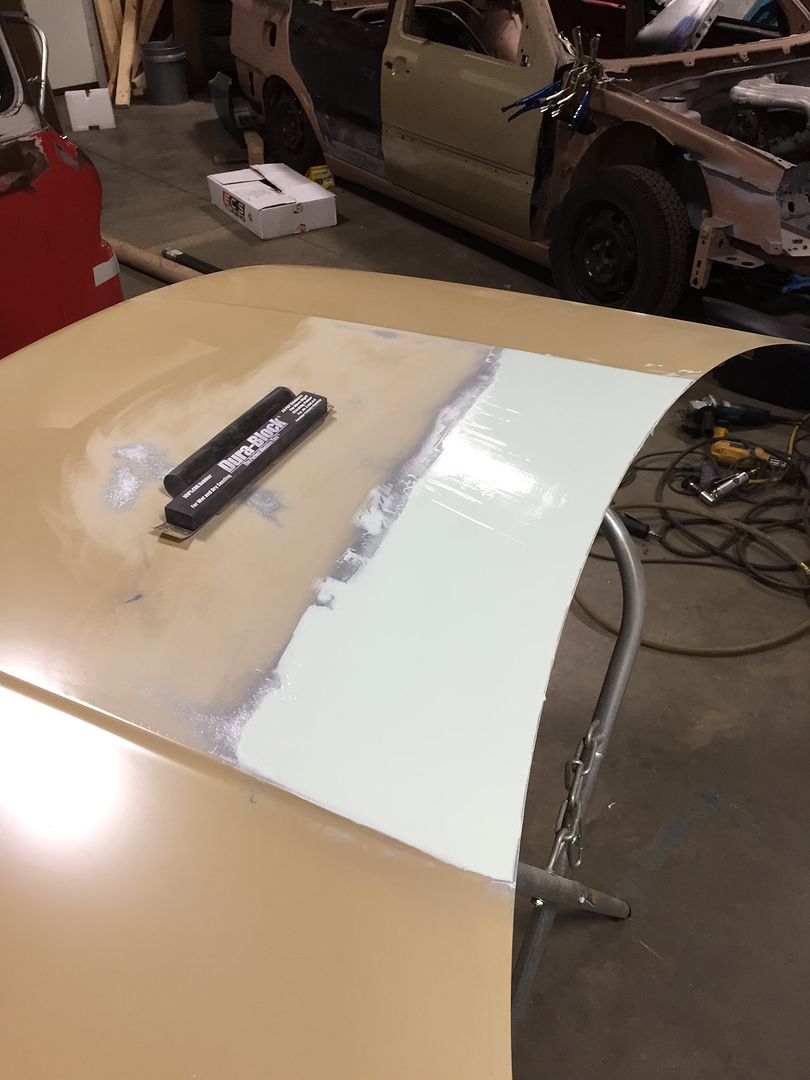
For some of the contours, I used tape to get clean edges on the putty. The Evercoat Quantum One small repair formula I'm using is self-leveling like putty, you can pull the tape while it's wet and get a clean edge. You would never want to do that in the middle of an open panel, but it was working pretty well for detailed areas.

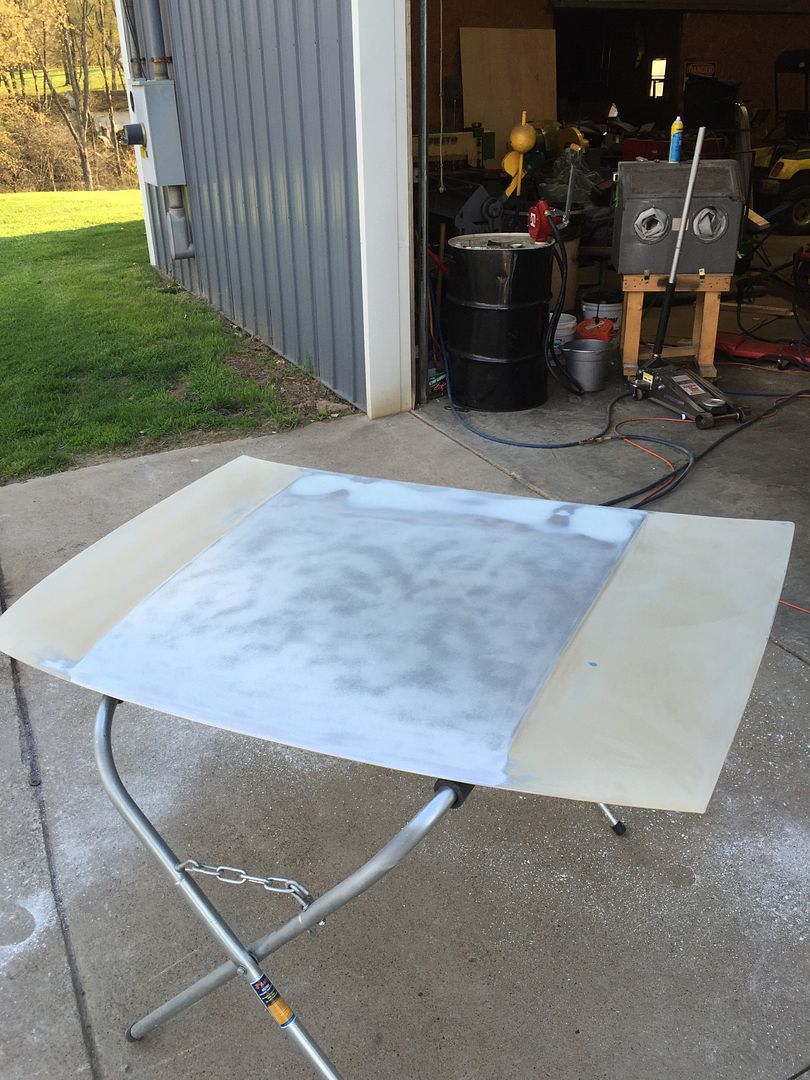
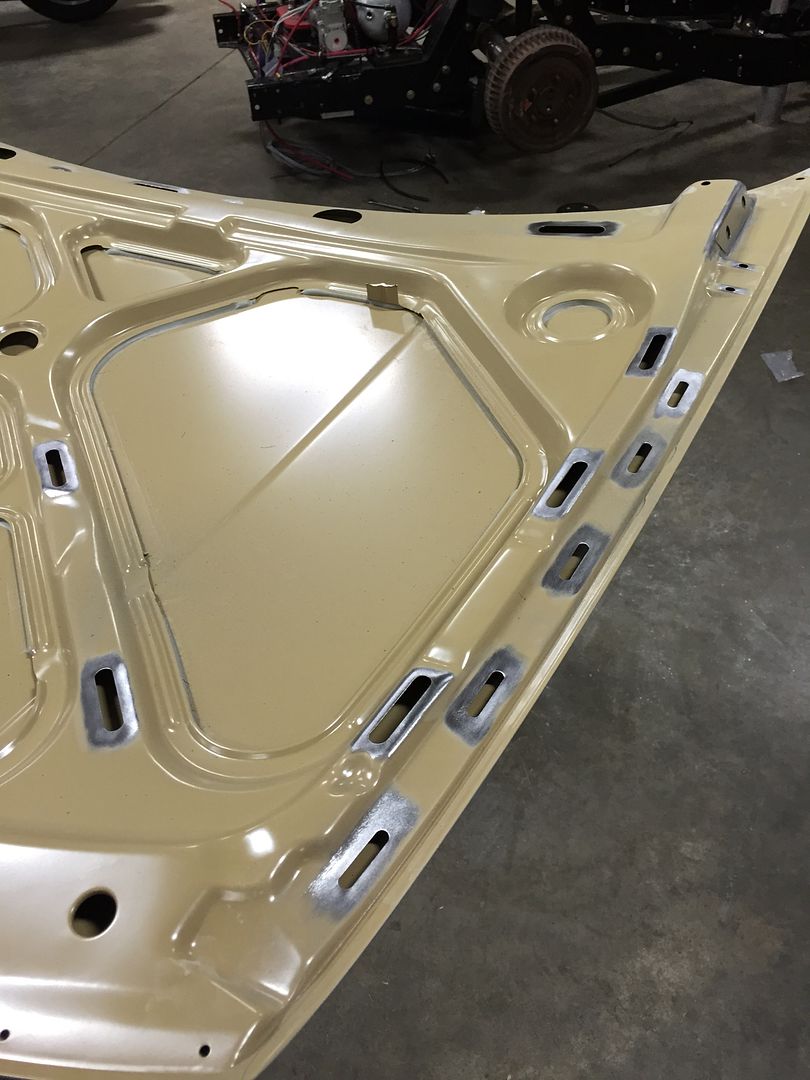
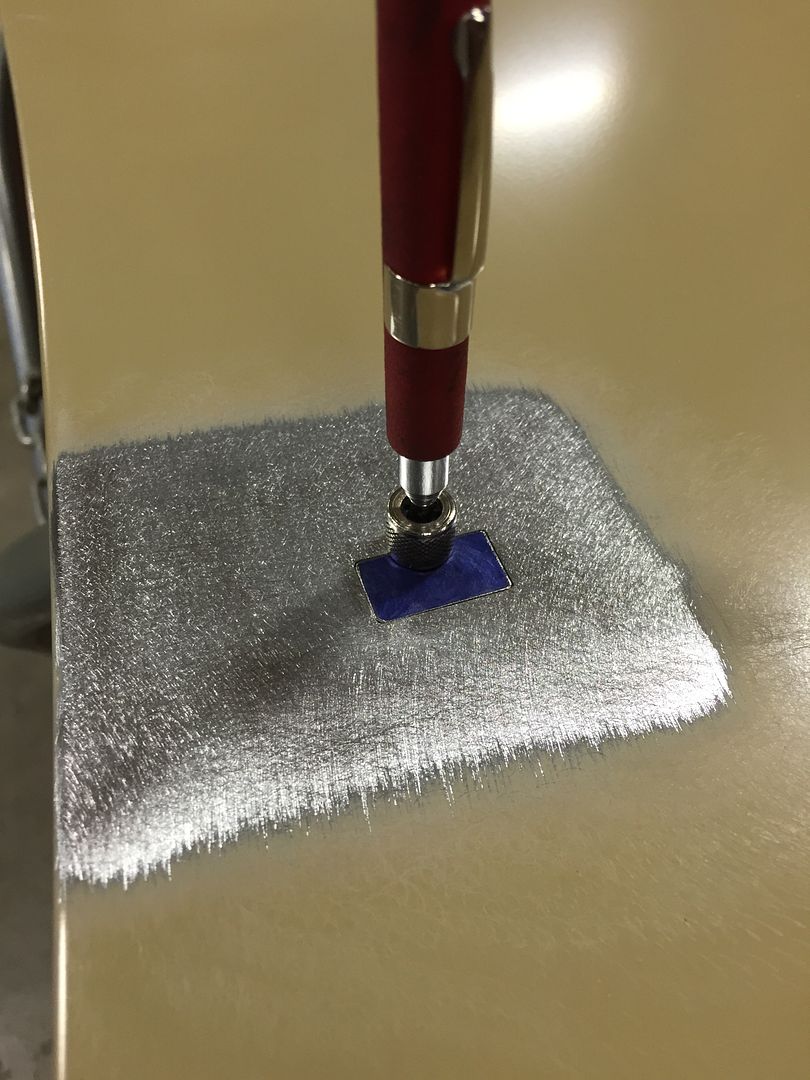
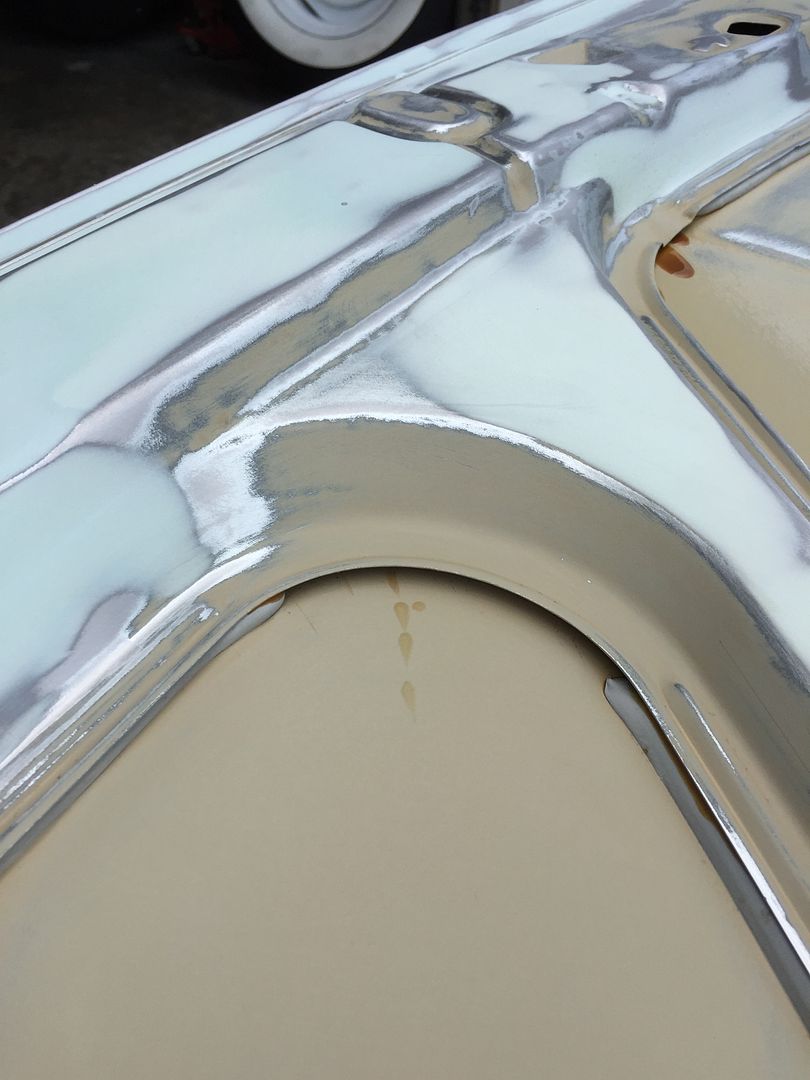
The factory stamping are really bad, there are blemishes everywhere. Rather than leave them, I spent some time filing, sanding, and puttying them.
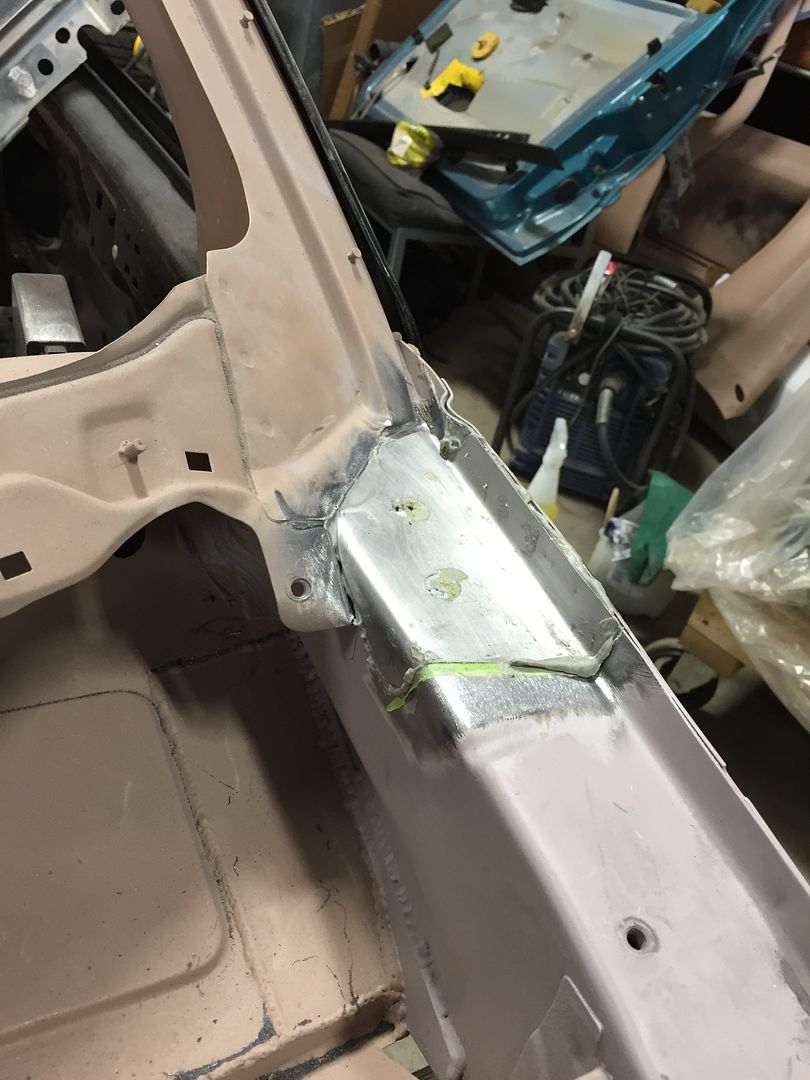
Before:
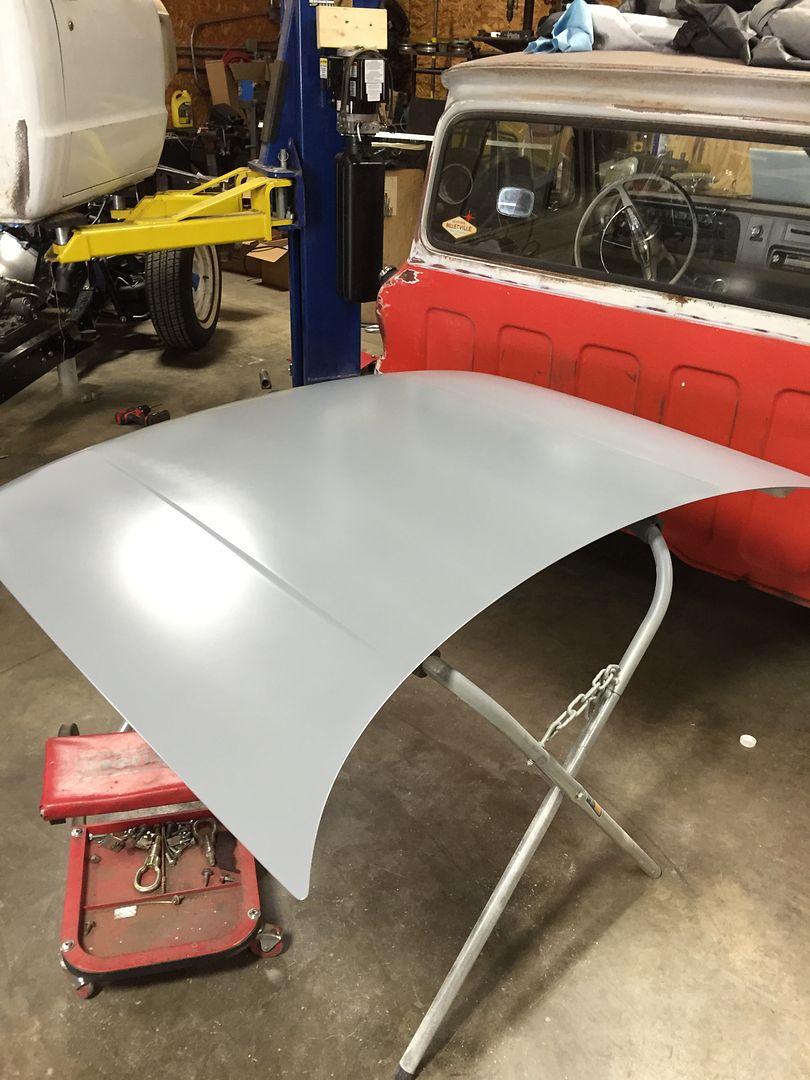
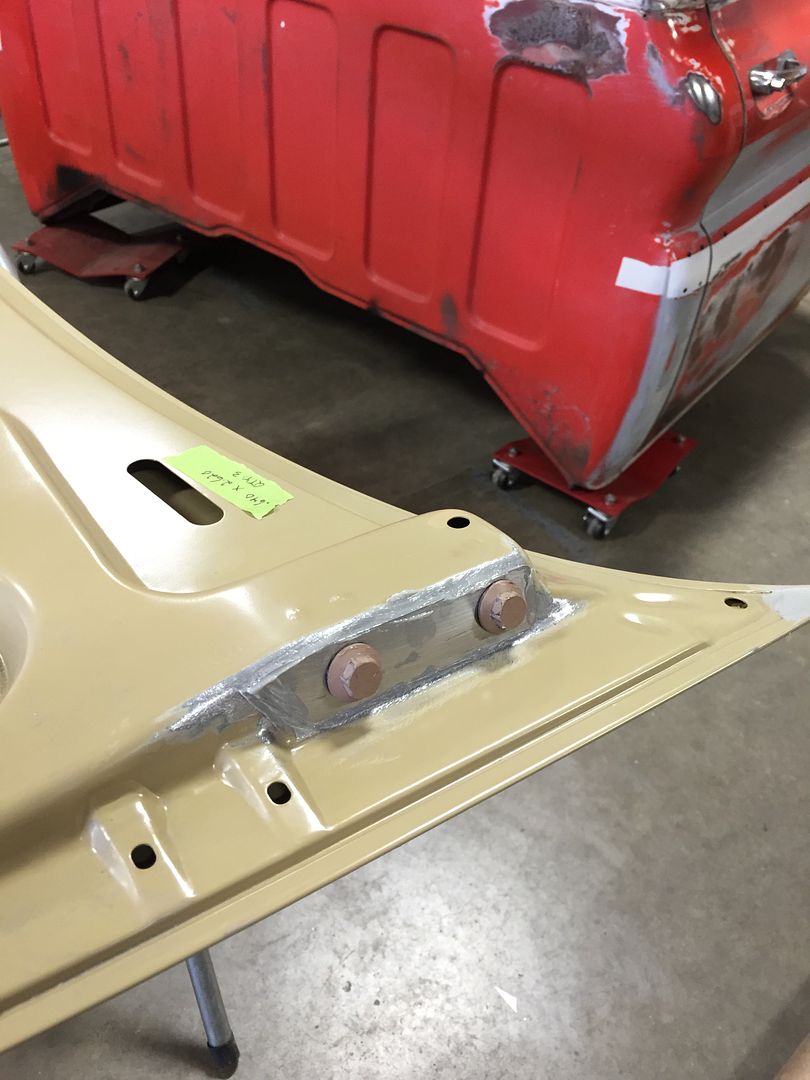
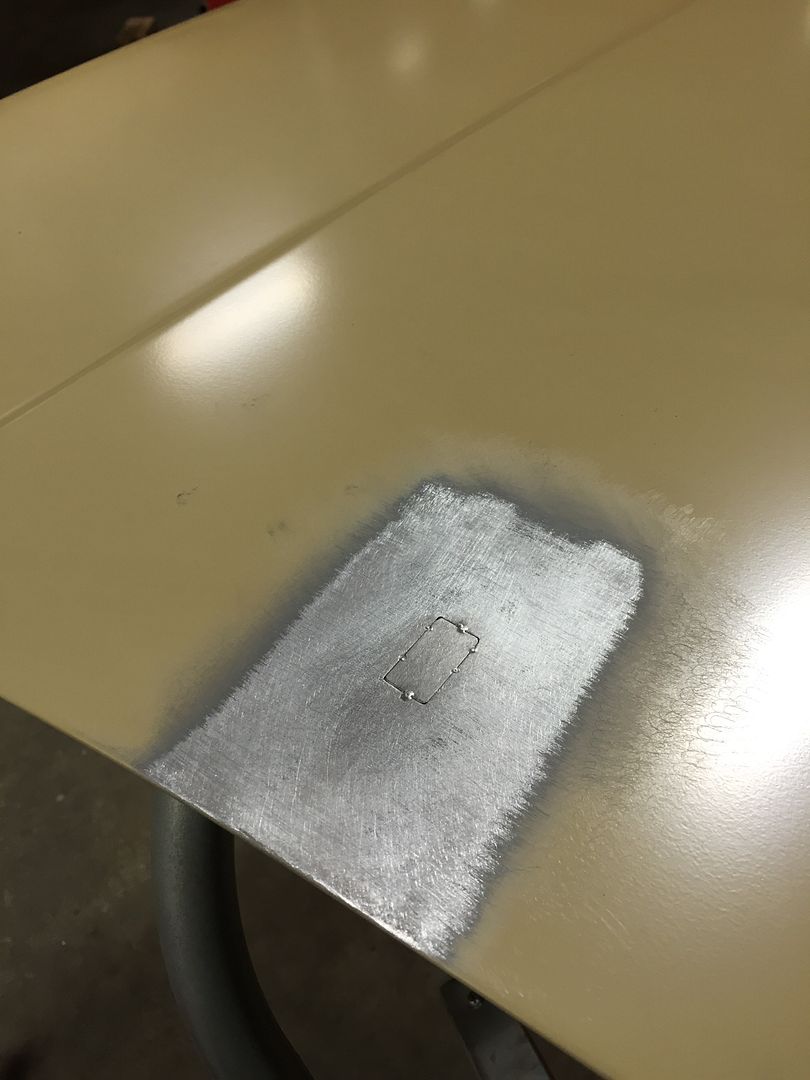
After:

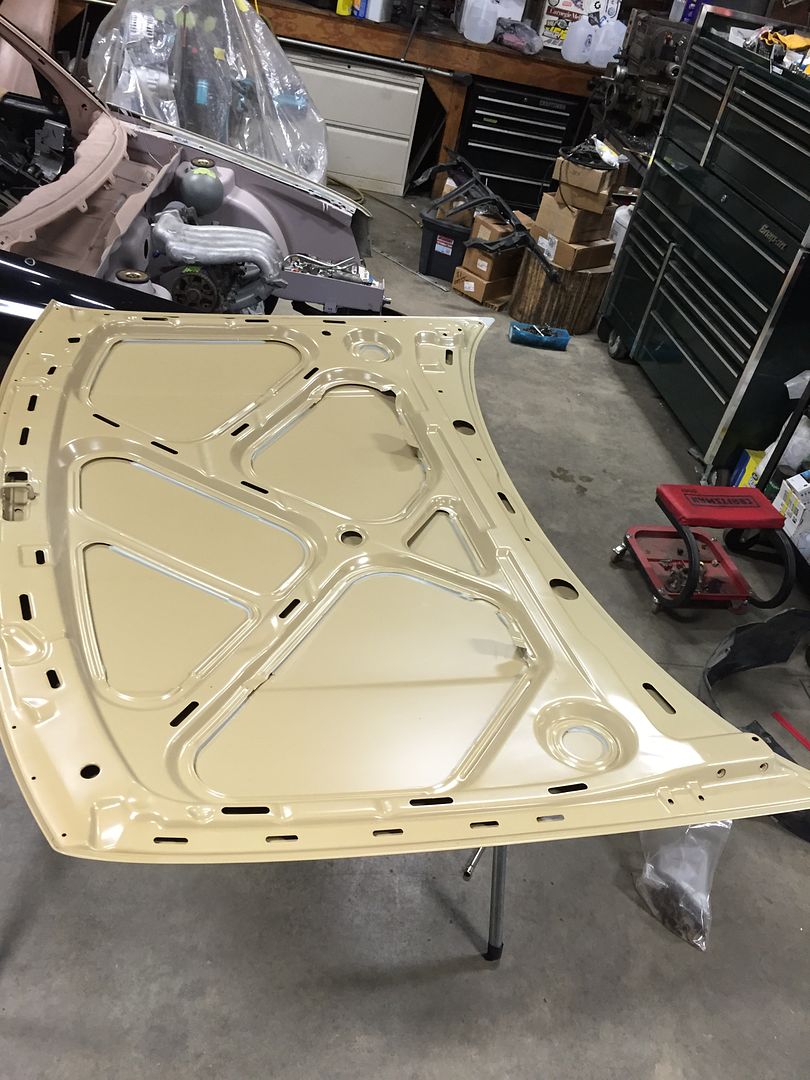
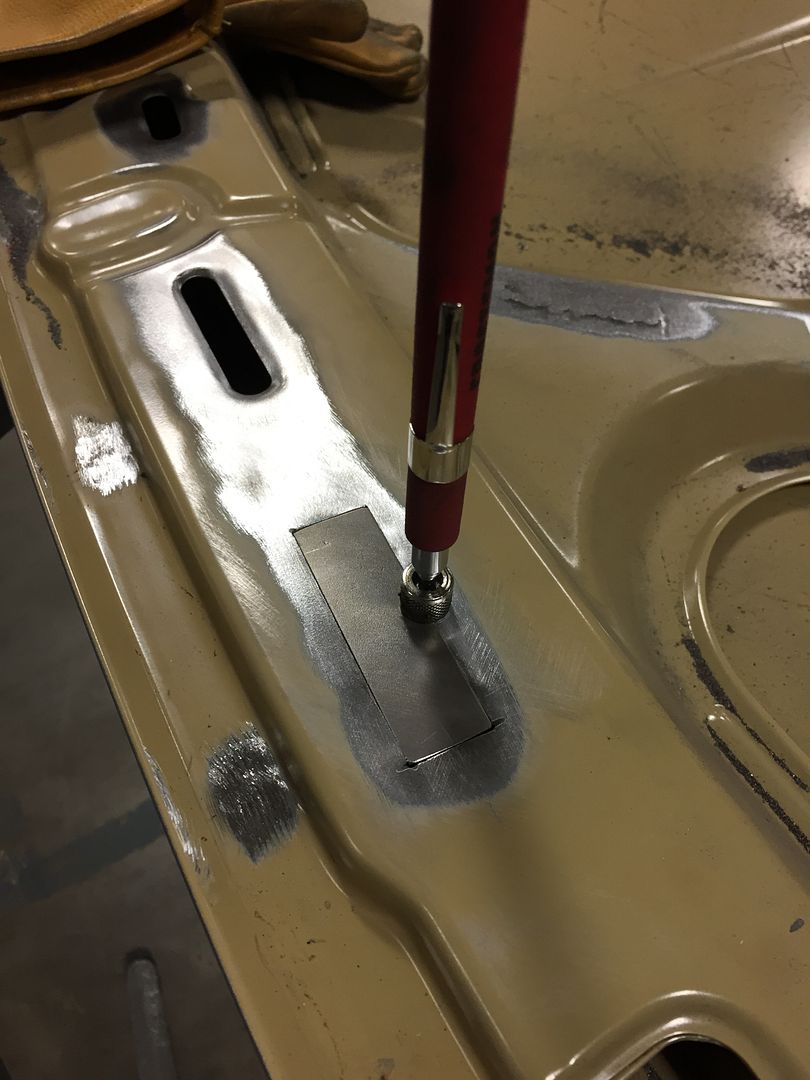
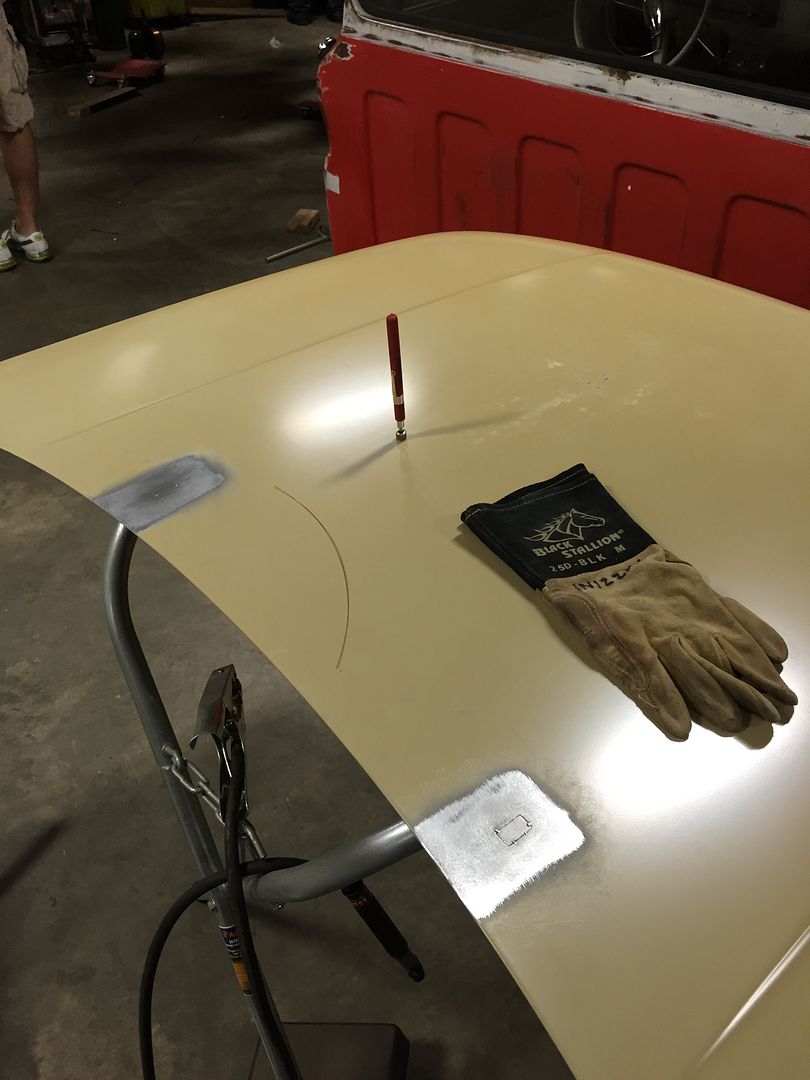
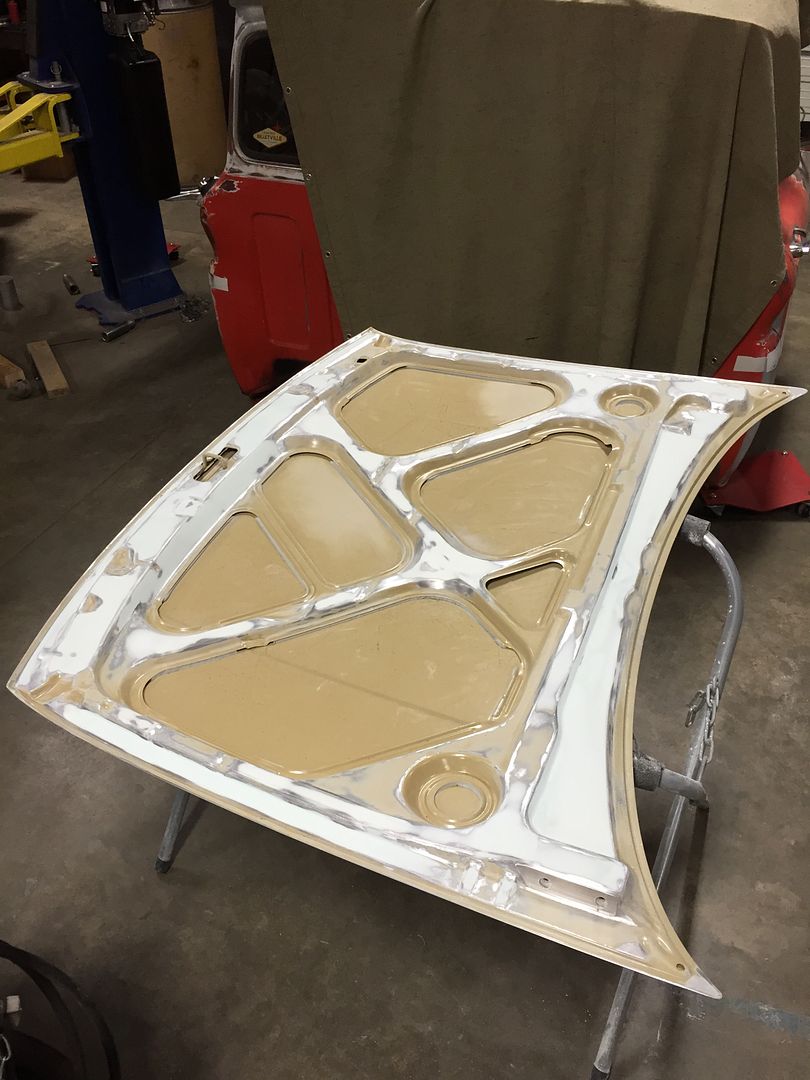
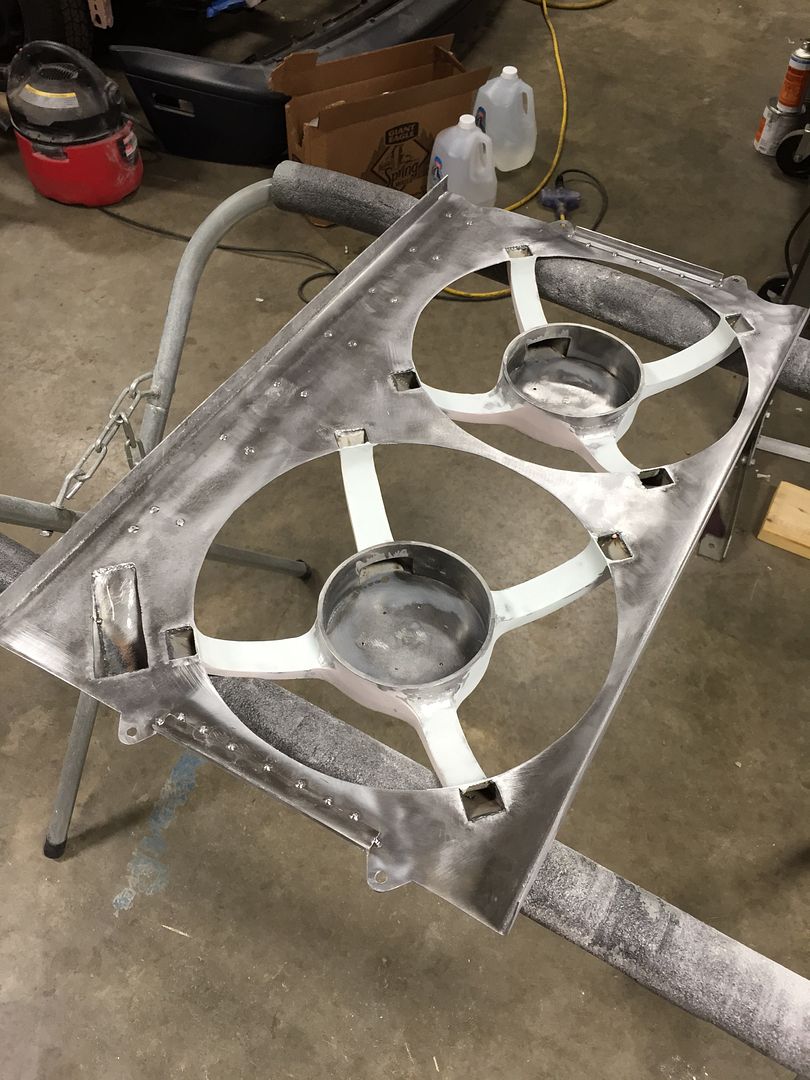
I even sawed apart an 8" file to get smaller pieces so I could file imperfections out in the center of the skeleton. Most of the edges were really sharp and lumpy, I filed them all flat and smooth.

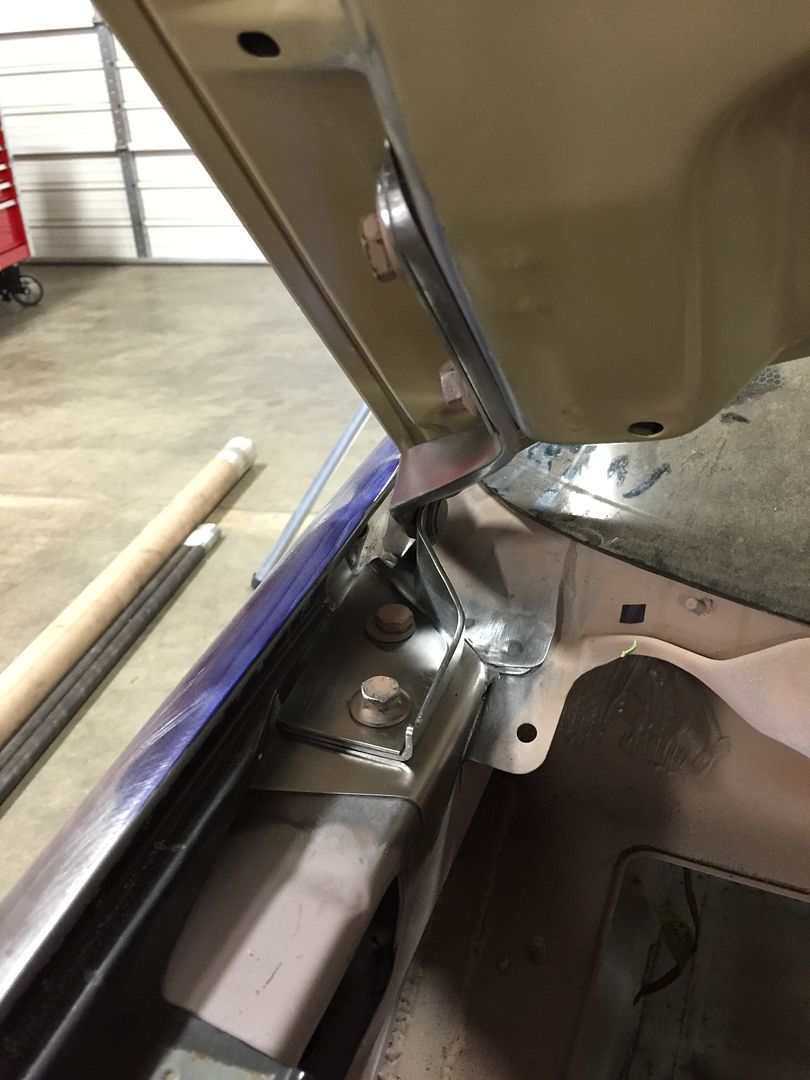
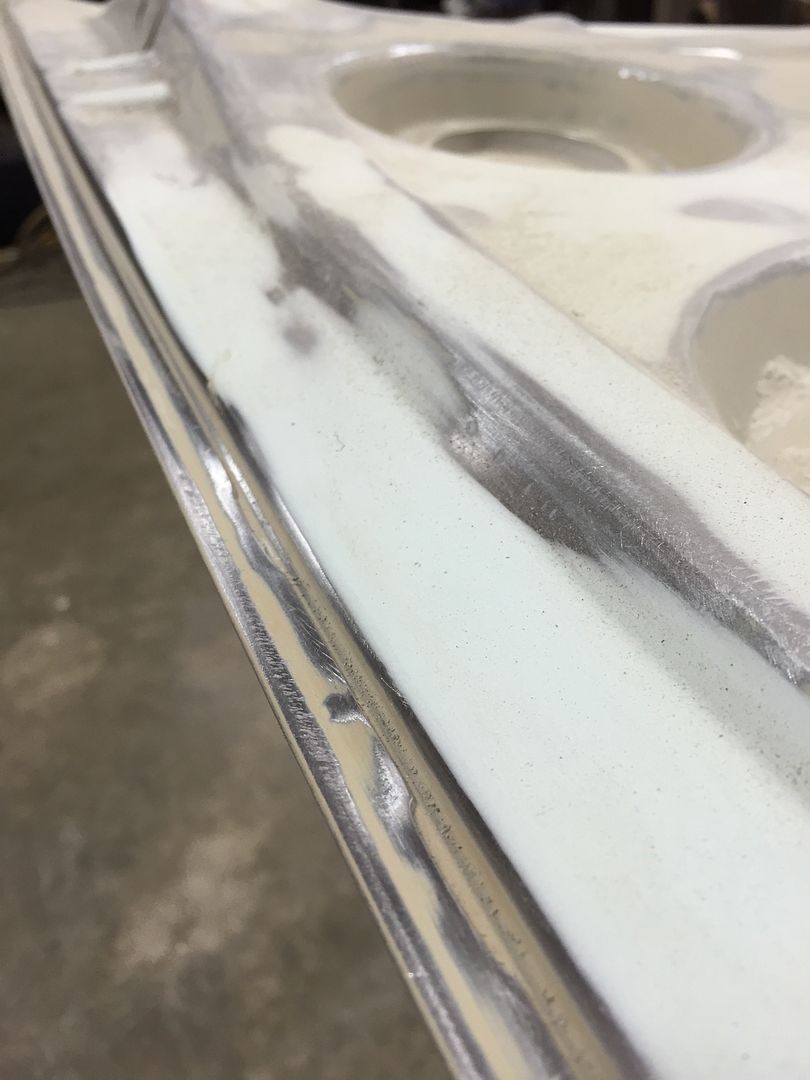
Putty work complete! Some of the worst areas were the spots I didn't even modify. The quality of these underhood stampings is not good.

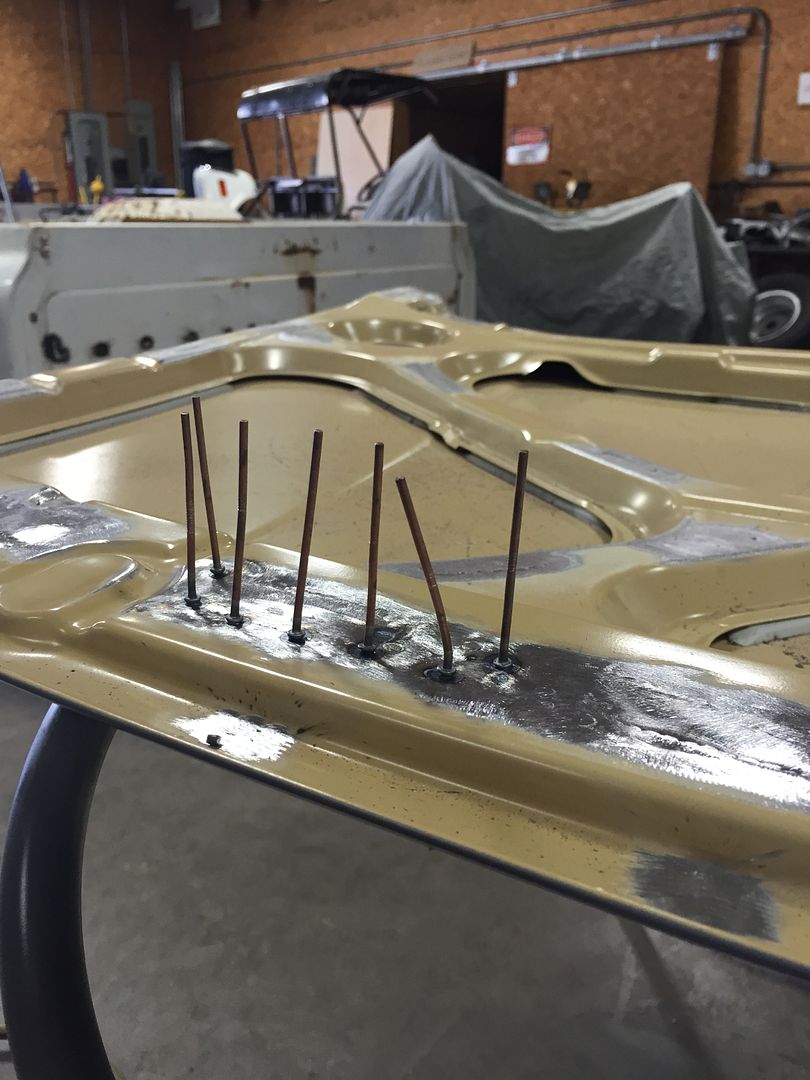
Next I sprayed around with a bunch of Transtar Amber Rustproofing. This is like a waxy coating that you spray into channels to protect the back side of welds.
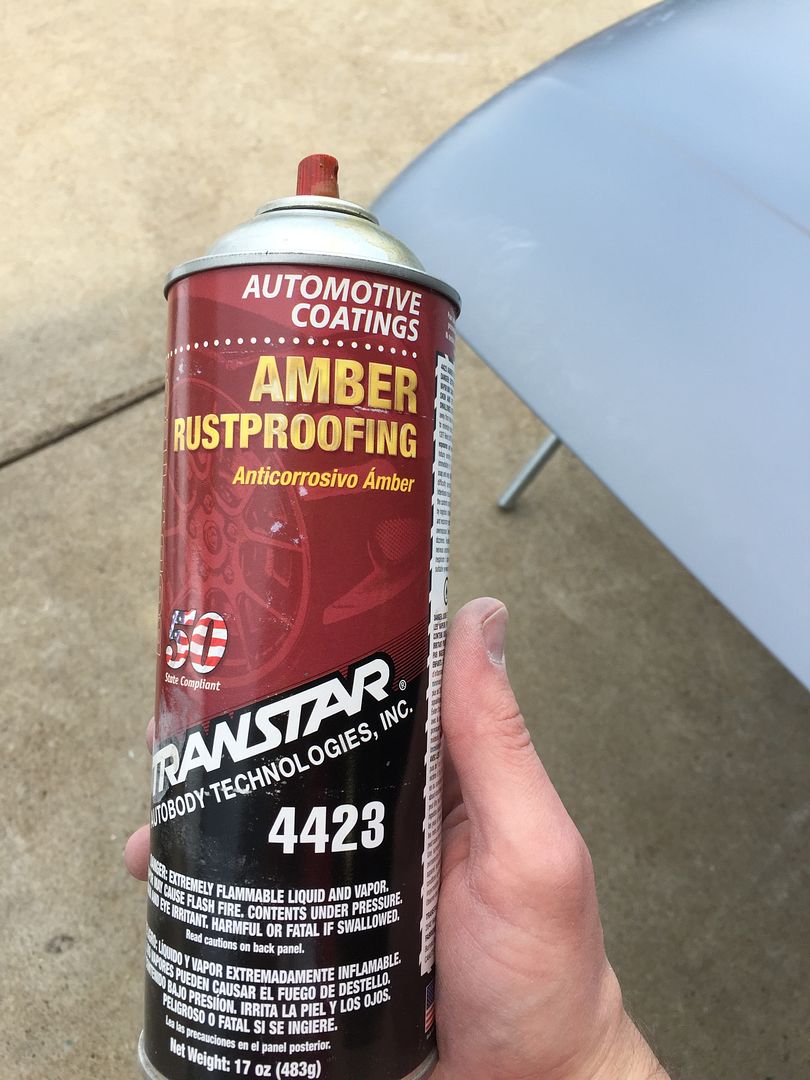
I poked the nozzle through all of the openings between the skeleton and the hood skin to coat as much as I could. This, in addition to the weld-through primer I applied to the patch panels, will help prevent the hood from rusting from the inside out.

Milo the crazy cat helped. He was covered in sanding dust, he kept laying down under where I was working so I would pet him.

I have some cleanup to do before primer, but I think I got pretty decent coverage in all of the channels.
New radiator! The old one was questionable, so I bought a new one.

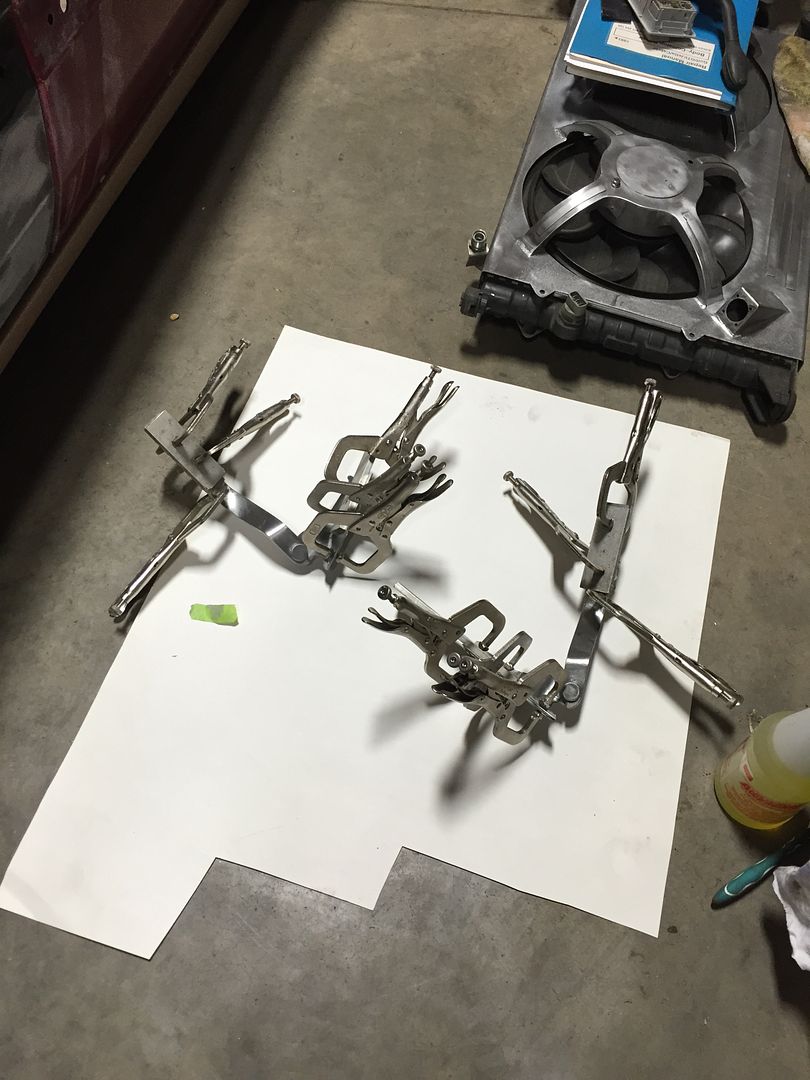
And while I'm on the subject of radiators, I started puttying and sanding the fan shroud I made a few months back.

New tools! I received a vintage Lufkin 6" combination square from eBay. I already had the 12" and love it, so I have been watching for a smaller version.

I also received an SK 10mm combination wrench back from a warranty return, so my wrench drawer is complete again!

I went to a gathering at our friend Shek's house. Jimmy brought his dog Mia. Racedoge.

Then Jimmy and Jason test drove Shek's Both-Hand-Drive Honda S2000. I probably shouldn't have leaked these pictures, but BHD is going to be all the rage this show season.

I also went to visit my friend Dave and Ian's garage, and their buddy Andy was working on a Suburban he just purchased for parts. He drove it home from Cleveland like this!!! He said it was cold driving without windows, but otherwise it drove 'straight.' It was only caved in about 2 feet.

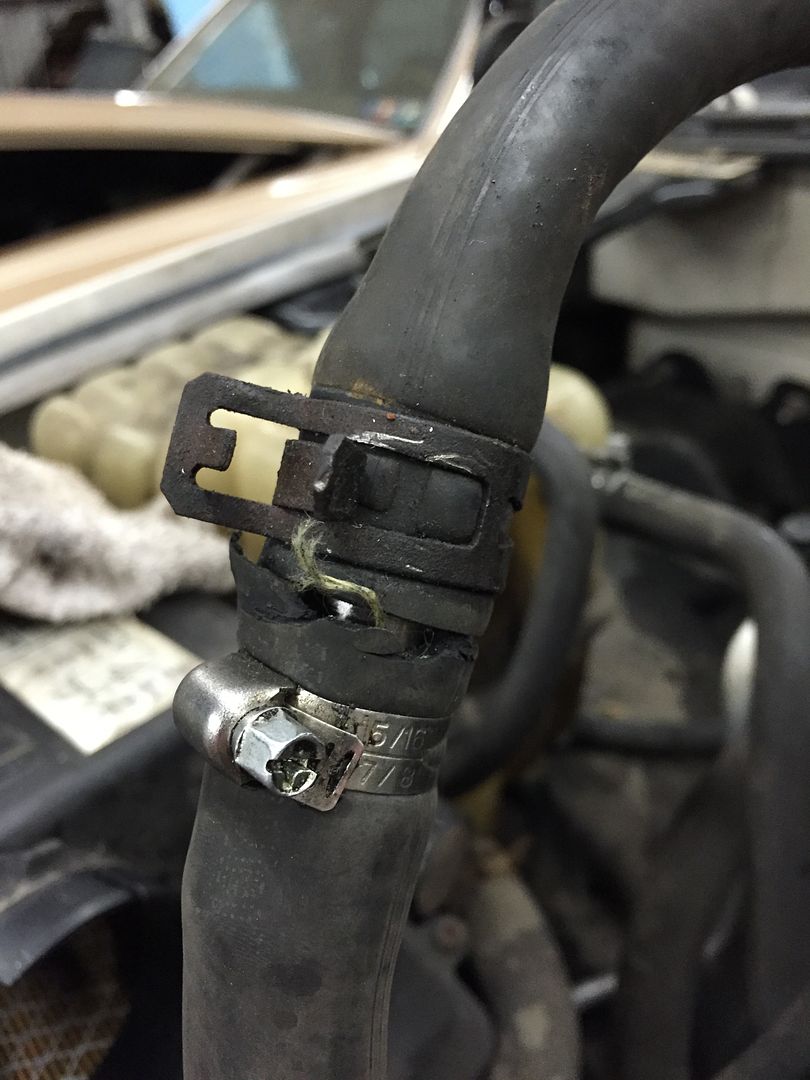
He also sprung a leak from the heater core during his journey. He decided to loop the line...


...With a 12mm deep socket and two hose clamps!
That's all for now. More bondo this week!