Back to my lower control arms, I finally got the metal work finished! Some of this work has been done for weeks and I'm just getting around to posting it, but I busted my ass this weekend and finally got them finished.
When I left off, I had just finished the jig to form the curve around the swaybar mounting points on the rear lower control arms.
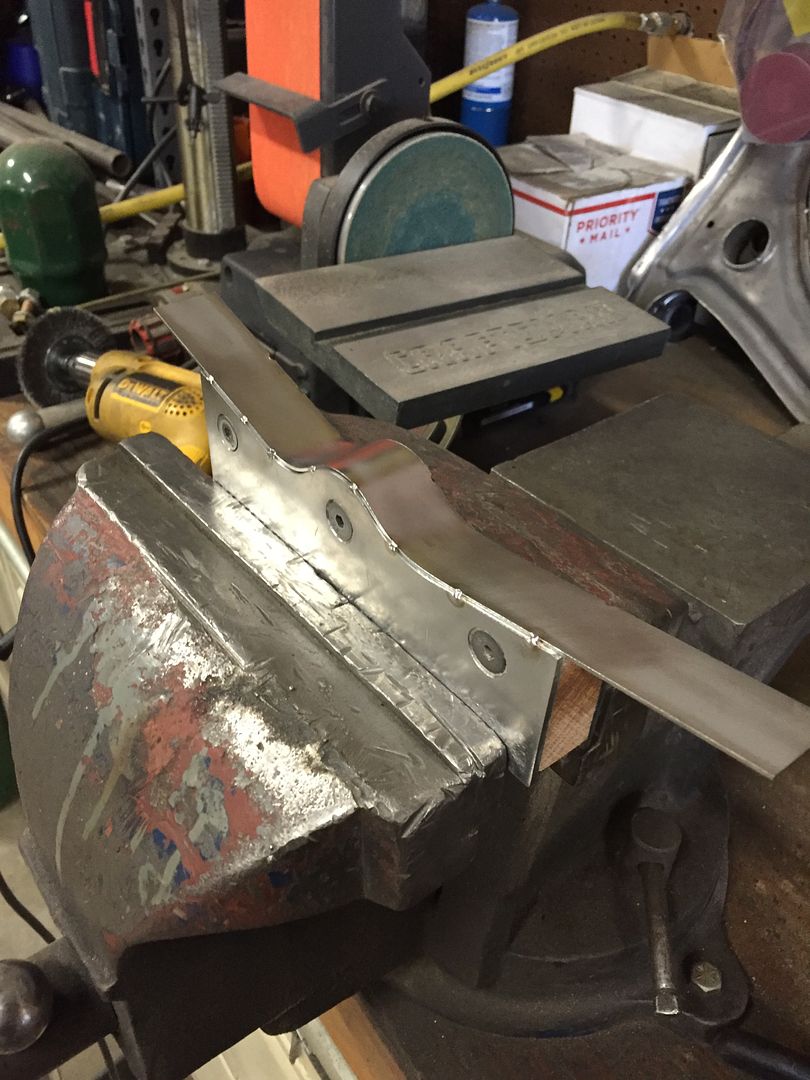
After a considerable amount of fuckery with the air hammer, they were roughed in to shape.
Not perfect, but they're close enough to tweak into final position by hand with hammers.
After adjustments and trimming, I MIG welded it in place. I TIG welded some of the rear arms to get some practice, but I decided to MIG these to save a bit of time.

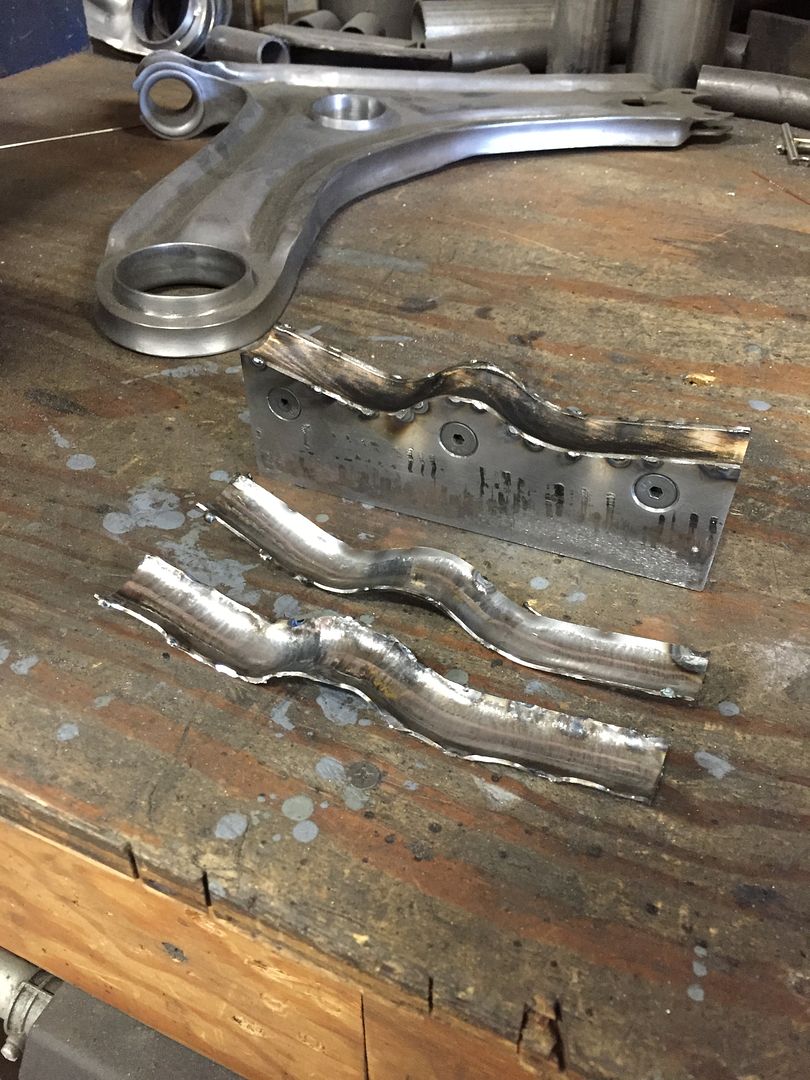
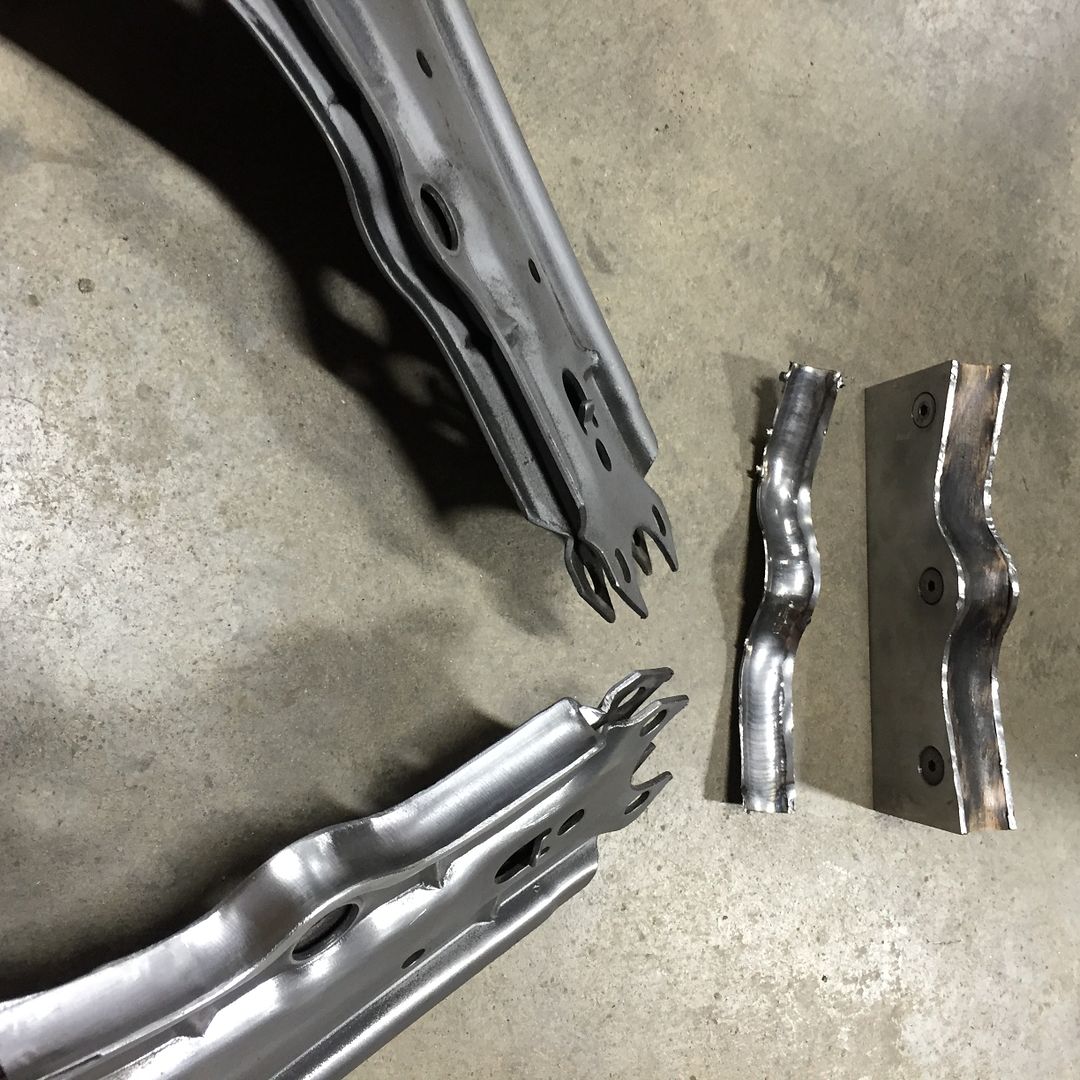
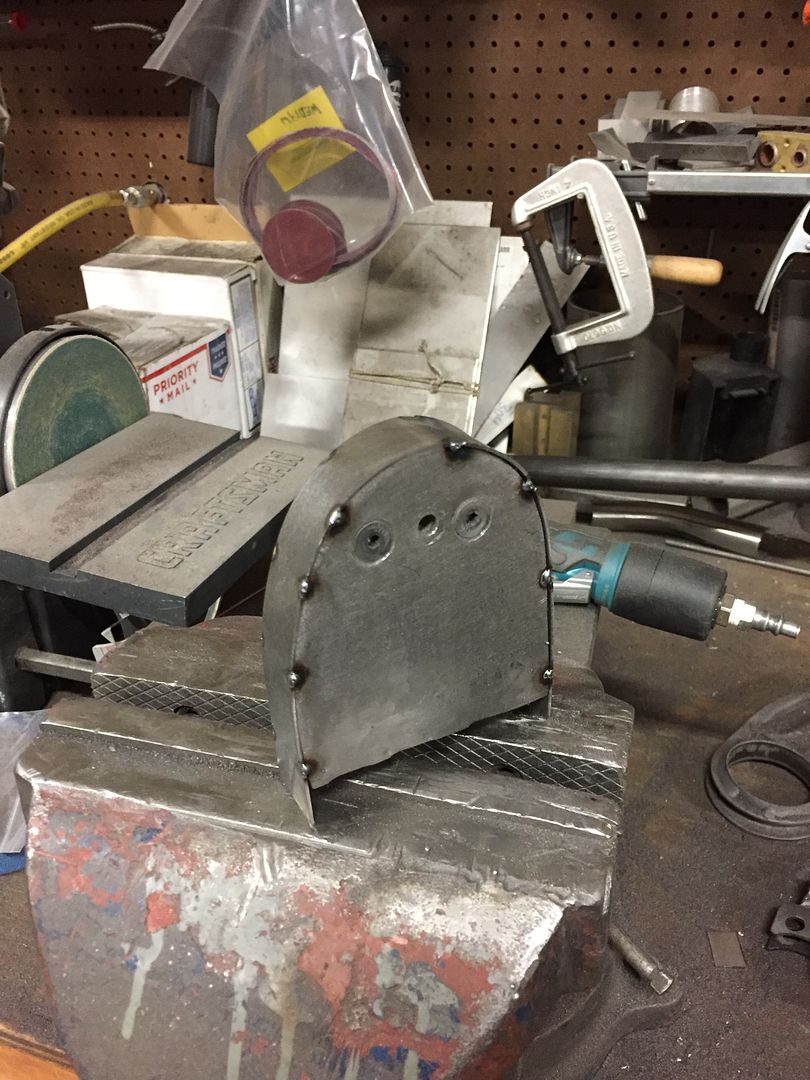
Here is a nice step-by-step of the process. The 'before' arm on the right, the hammerformed piece, the hammerform itself, and the finished product on the left!
Another angle to show the compound curvature.

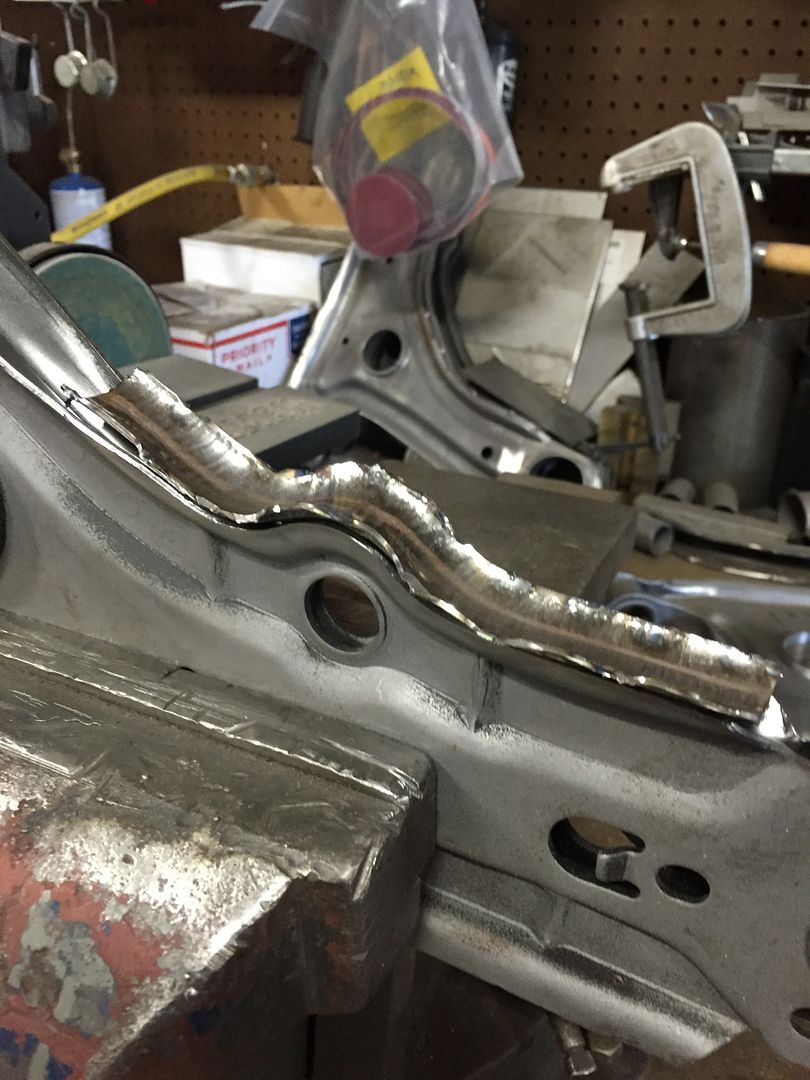
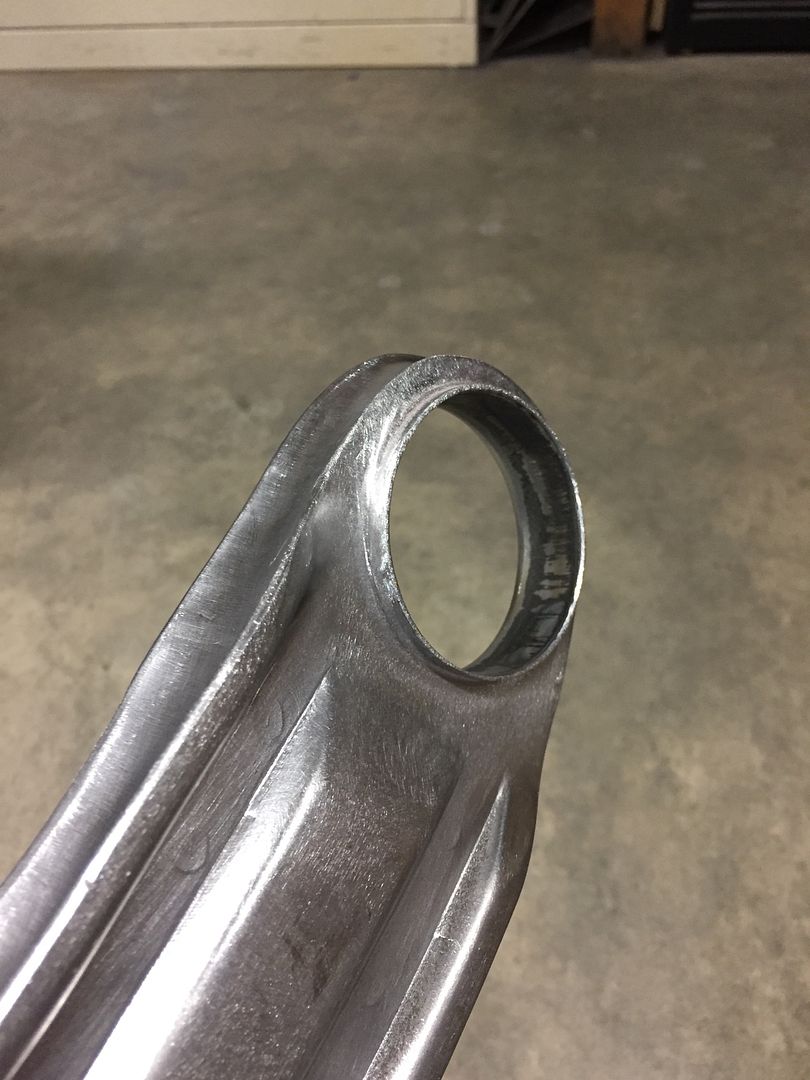
Instagram angle

At this point I took a break to TIG weld the remaining portions of the 2nd front arm.
Not perfect by any means, but this was the perfect opportunity to get a few feet of practice welding in.
I also finished welding and blending some unused holes in the front arms.


Grinding forever.

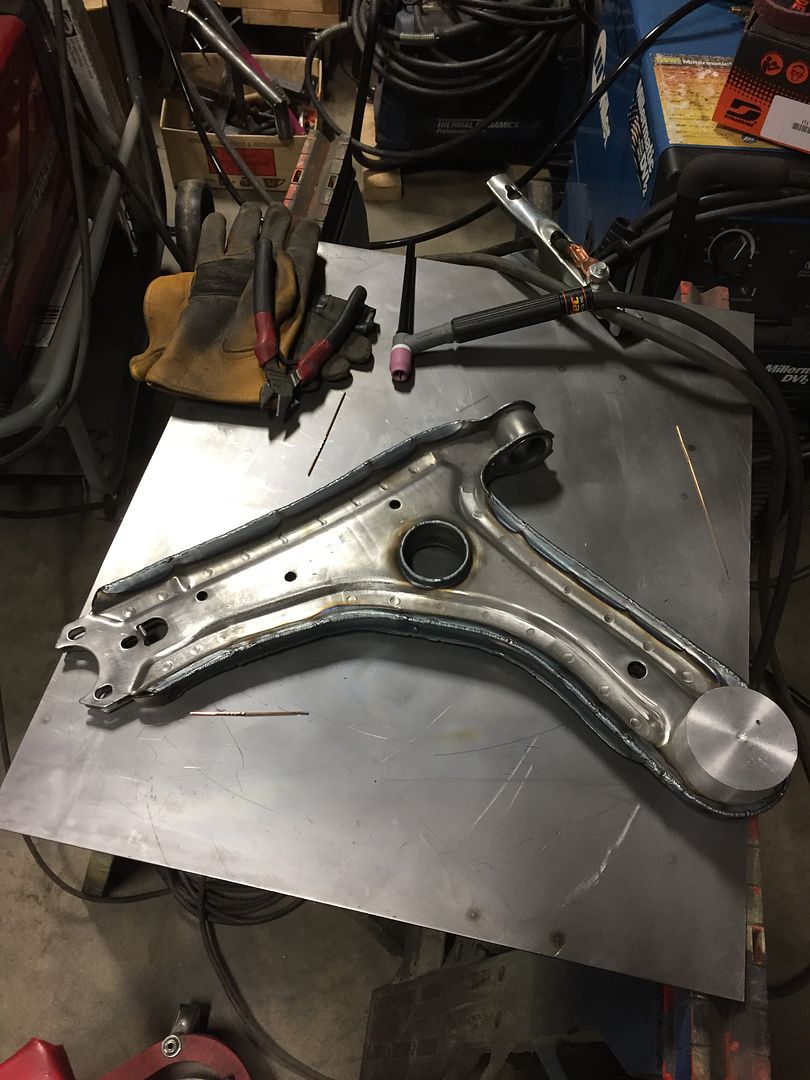
And with that, the front arms were finished!


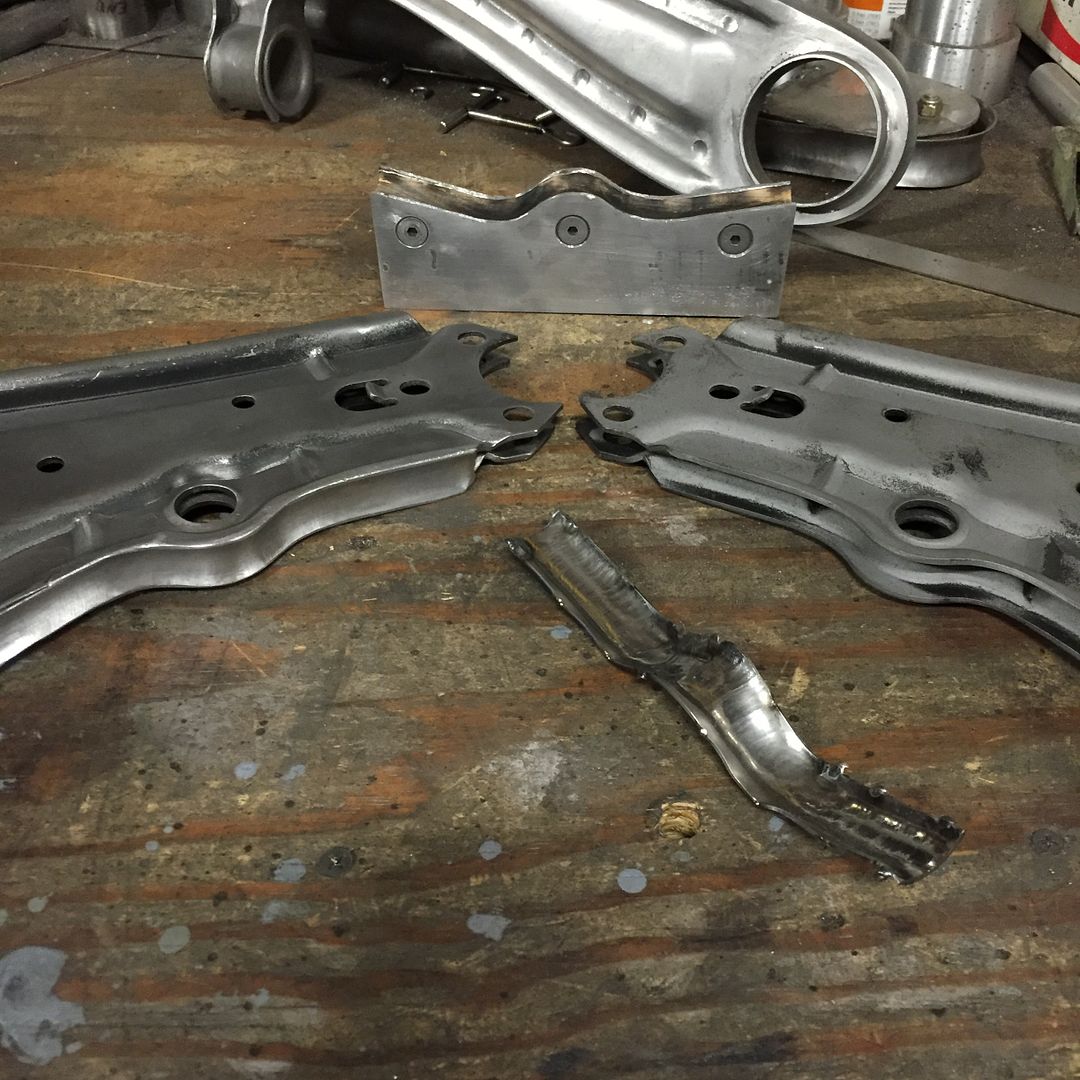
Back to the rears, I'm reusing the hammerform I used on the front arms to make the curved filler around the pancake bushing. I modified it slightly, I added two screw holes to hold it together better. The original design, with one screw, moved a bit while hammering.


The arms I'm using for the rear, which are actually MK2 Golf/Jetta front lower control arms, had a lot of random notches formed in the edges. I decided to hammer them all smooth before forming filler panels. .
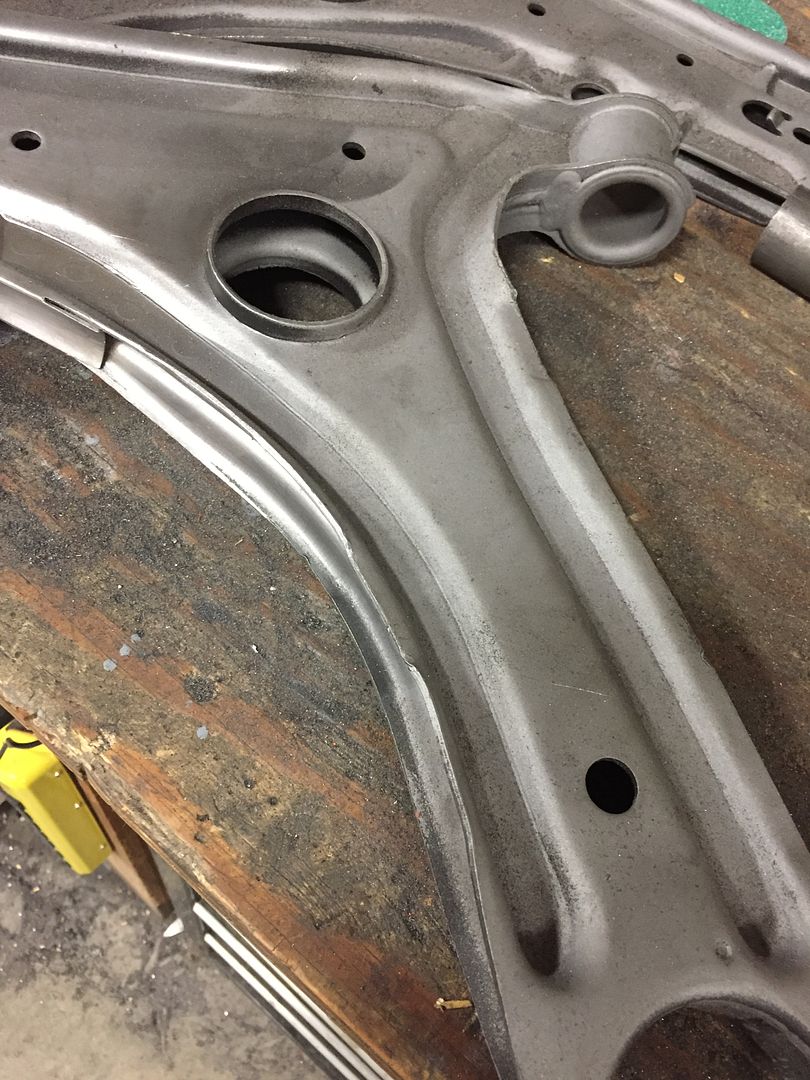
Here you can see them a little more clearly...


...And here you can't!


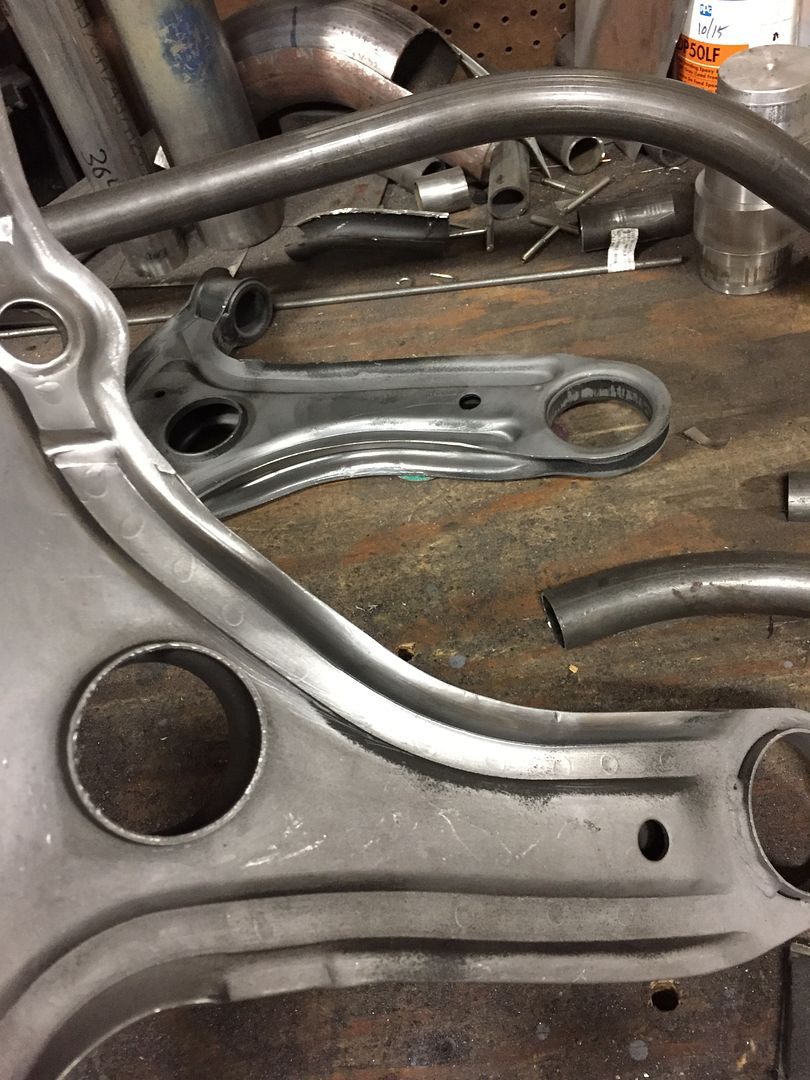
Here was another spot before...

And a little before/after for comparison.


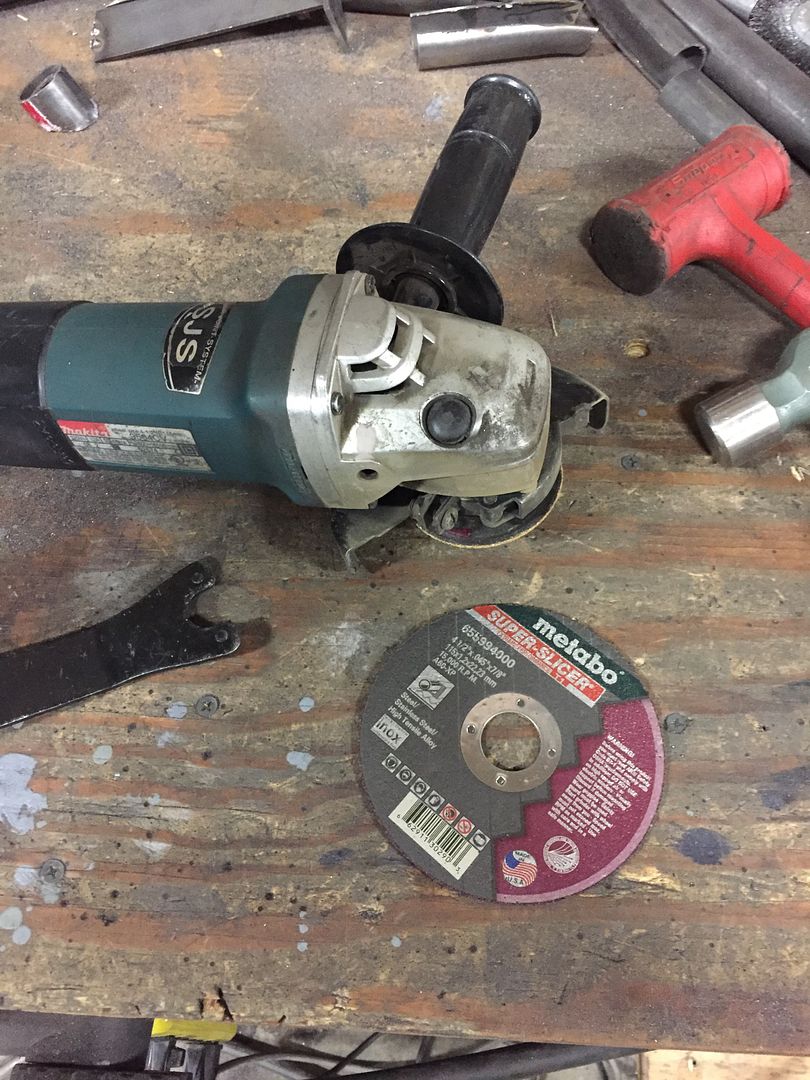
Pro tip: keep the worn down cutting discs around, sometimes they come in handy to make cuts in tight areas.

I skipped a few photos, but I followed the same steps as the front: bending 1-1/4" tubing, cutting it to fit each curve, and trimming away the excess.
Welding forever.

The curve on the leading edge of the arms is more subtle, so sharp bends from a bender wouldn't work. I cut the edge of a tube to weaken it, then formed it with hammers to match the gentle curvature.

Metabo Super Slicers are the best.
Trimmed and ready for welding


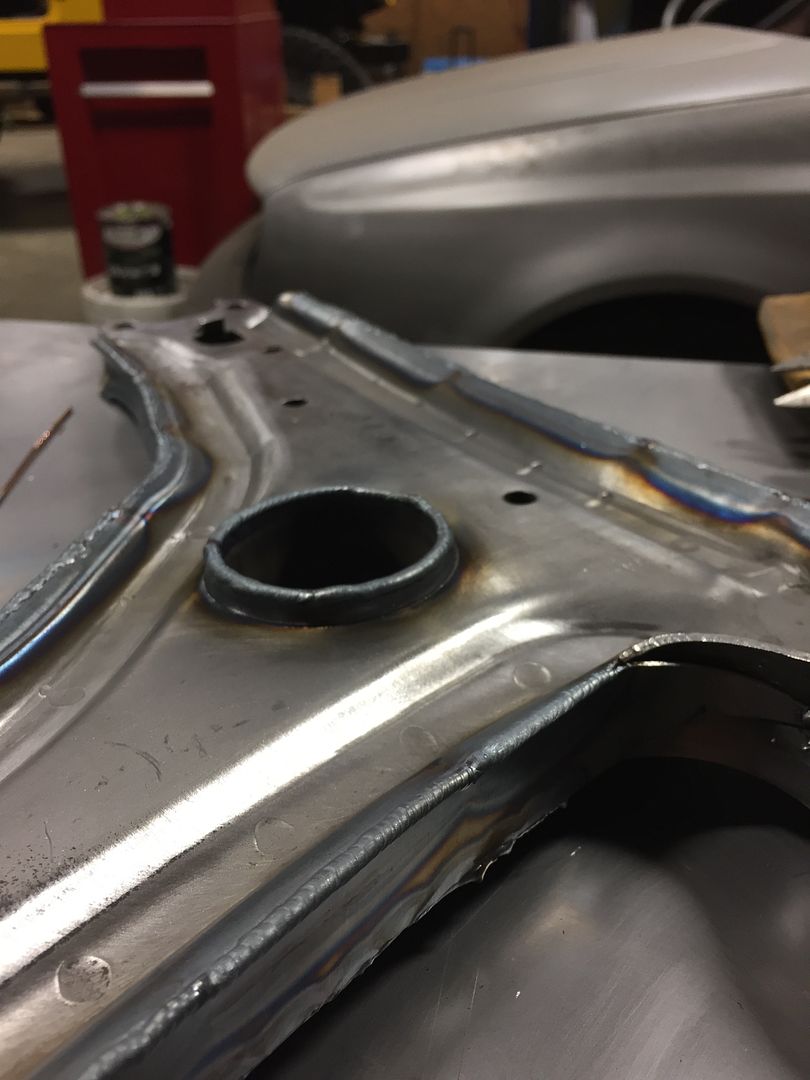
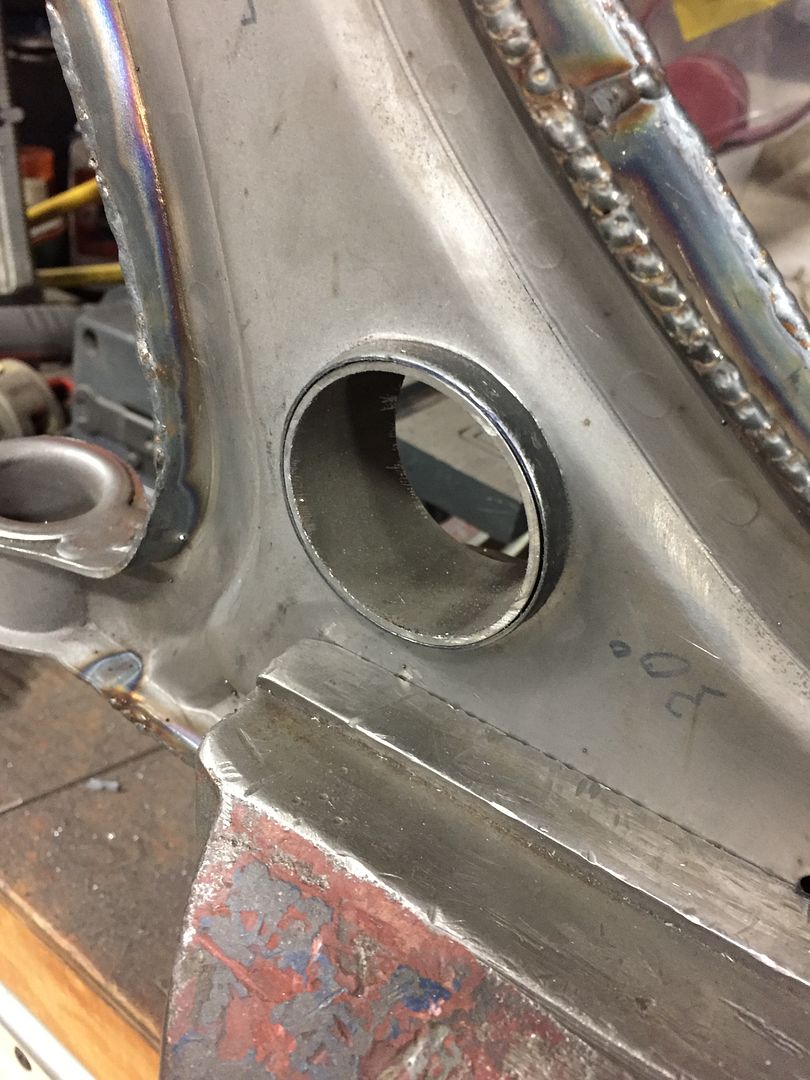
I also followed the same procedure as the fronts on filling the subframe bolt access holes: open up the bore with a carbide burr, trim a piece of 2" tubing to length, and welded in place.

All welded up!

I had the full arsenal out in force to finish all these welds.


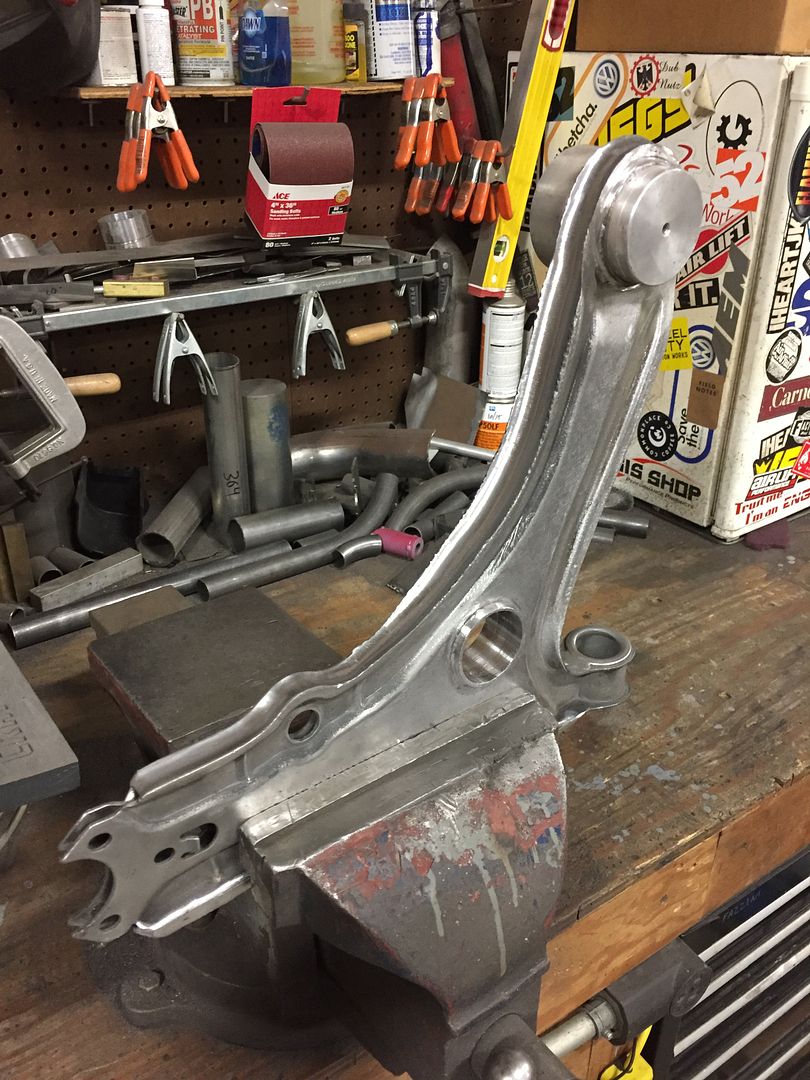

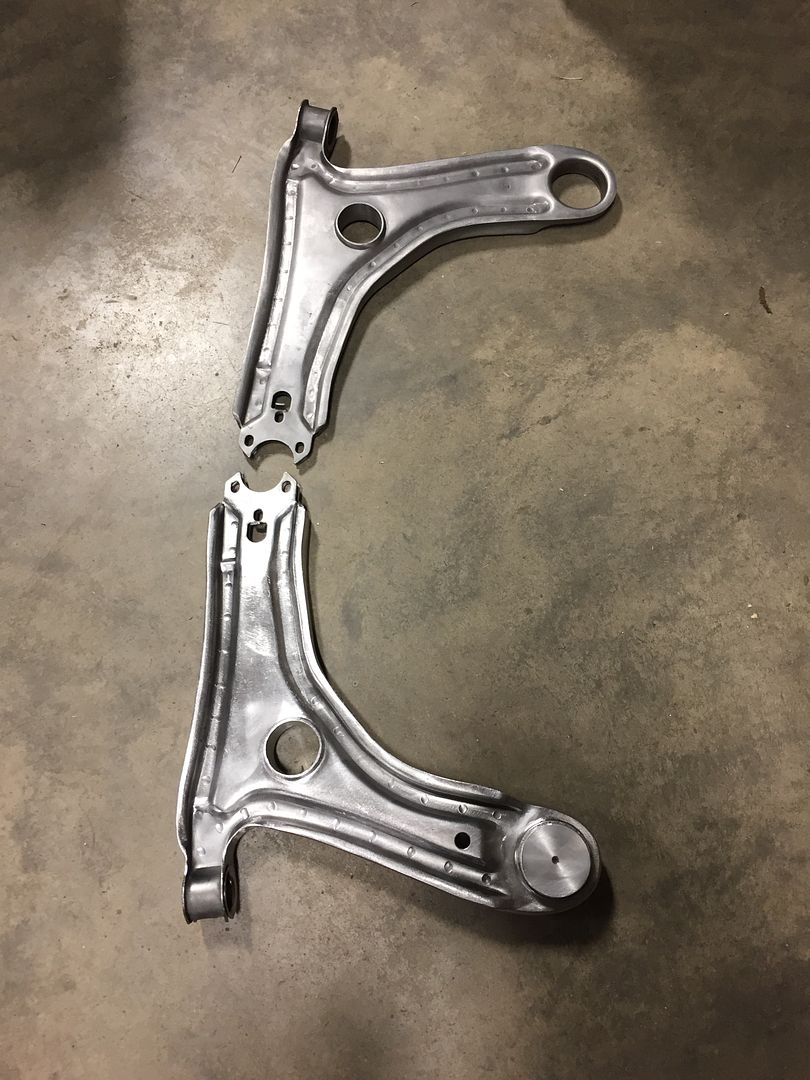
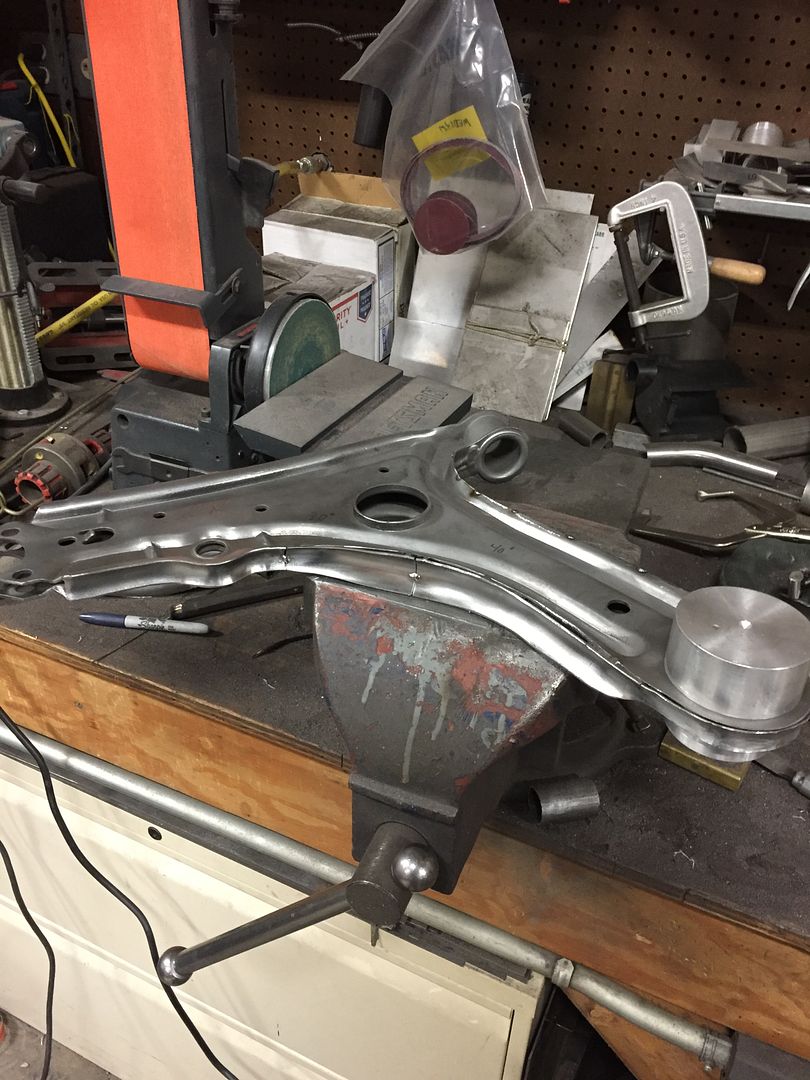
A few hours of grinding later, and the metal work is complete! I pressed out the aluminum plugs I was using to keep the holes round and snapped a few photos. They're not perfectly metal finished, they will require some bodywork before paint, but I'm happy with the results.

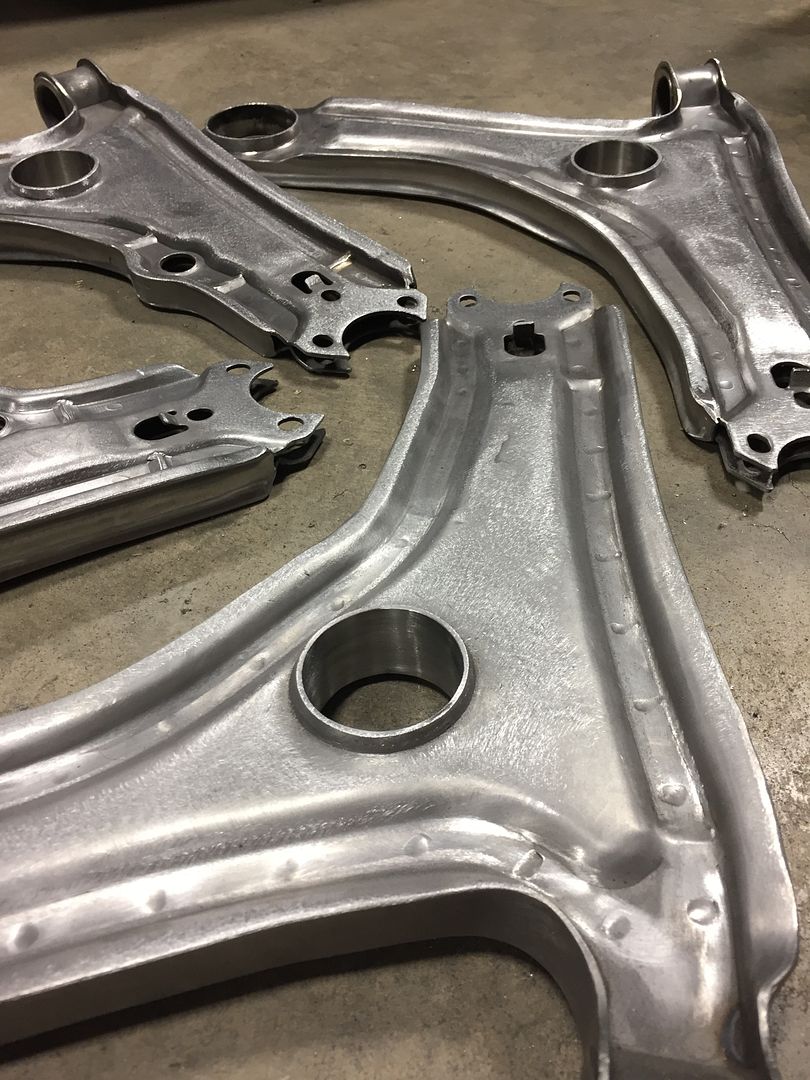


And with that they're off! I'm having them re-blasted and coated in epoxy primer by a local shop.
