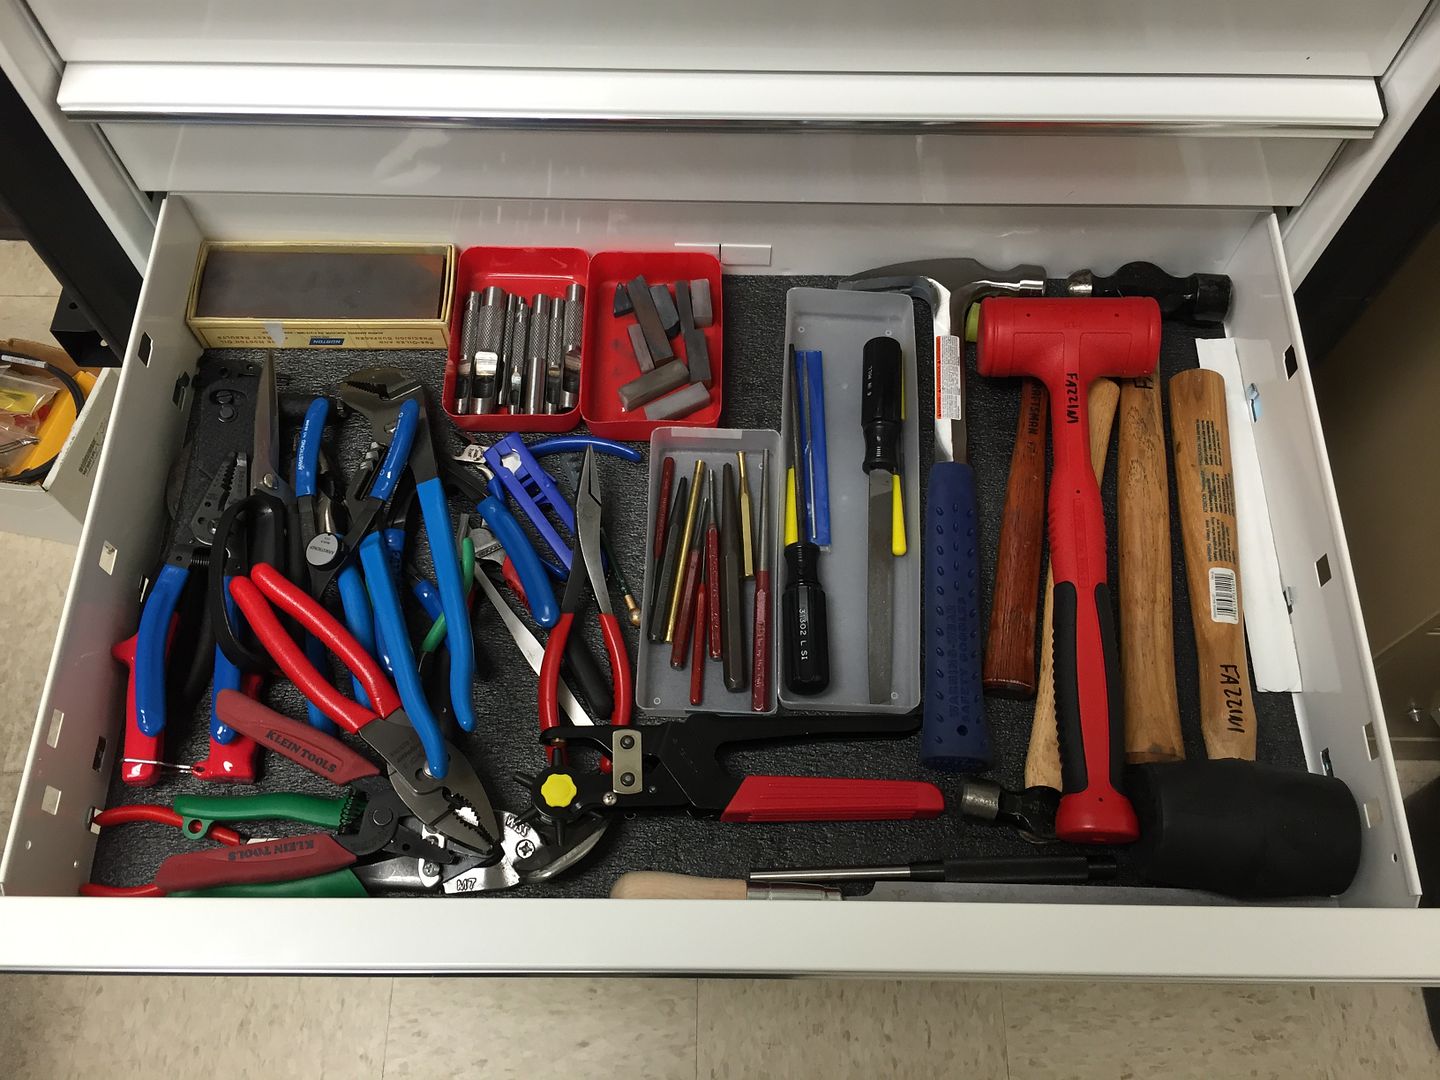
Before getting into the work... new tools! This is my Black Friday haul from PB Swiss and Cripe Distributing. The chisel will be handy for autobody stuff, and the 12-point sockets round out my 1/2" drive sets. The PB Swiss hex key set is for work, we use hex a lot and it's nice to have a non-ball-end set.

I started down the slippery slope of collecting Blue Point body hammers. In the 1950s, Snap-on sold their line of body hammers under the Blue Point label. They had a lighter color handle and red paint, but otherwise many of the shapes were similar. I stumbled into a nice BF612 and BF613 on eBay - two of the most useful shapes - so I picked them up!


The handle on the BF612 is warped slightly, this may be a woodworking project someday to straighten it out.

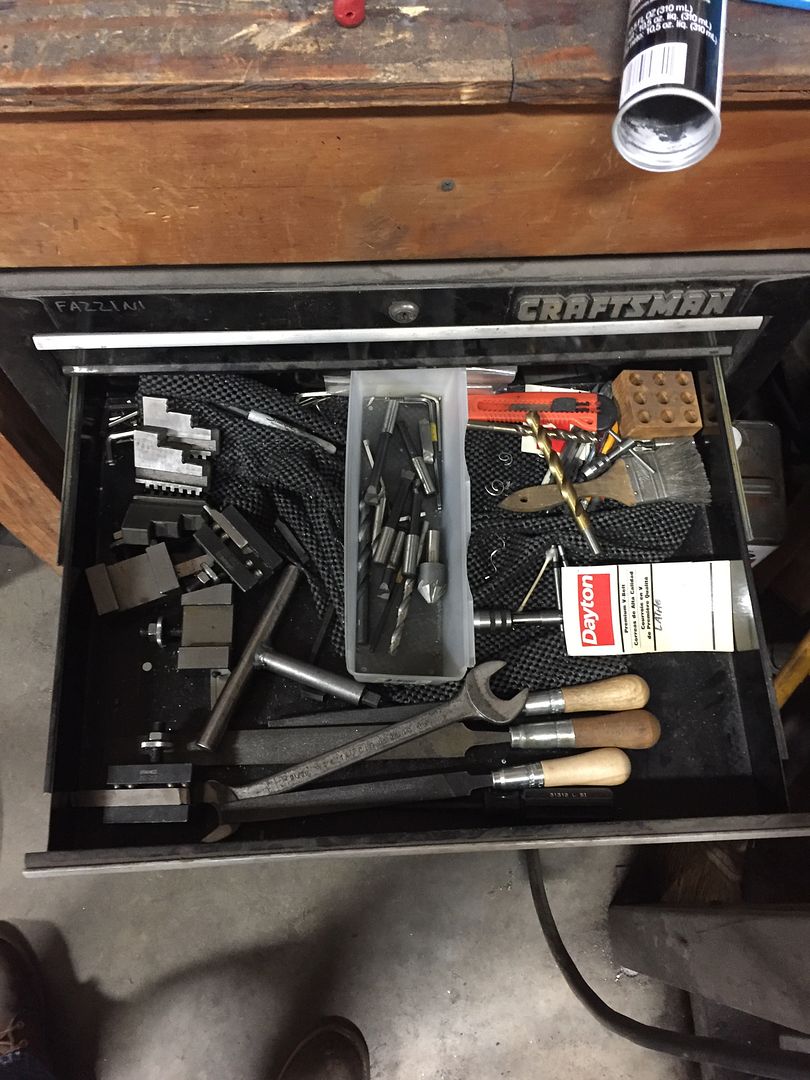
I also picked up a few more things for my work toolbox; a nice mixture of Snap-on and Harbor Freight!

It's getting quite full!
I had some metal shaping to do, which I will get to in a minute, that required an air hammer. I ended up buying an Aircat 4x rivet gun. I don't plan on any rivet work in the immediate future, but the rivet sets and bucking bar were only an extra $20 so I picked them up to start practicing.

I also did a bit of re-arranging at my shop. My lathe tools drawer was a disorganized mess:
Target $7 Yoga Mat. This color was on sale, so I guess blue works!

Much better.

I left off on my control arms at the point where I was ready to cut the tubing for the curved side.

After a bit of trimming and cutting, it's all fit up!

Next I added a tube to fill the hole in the arms.
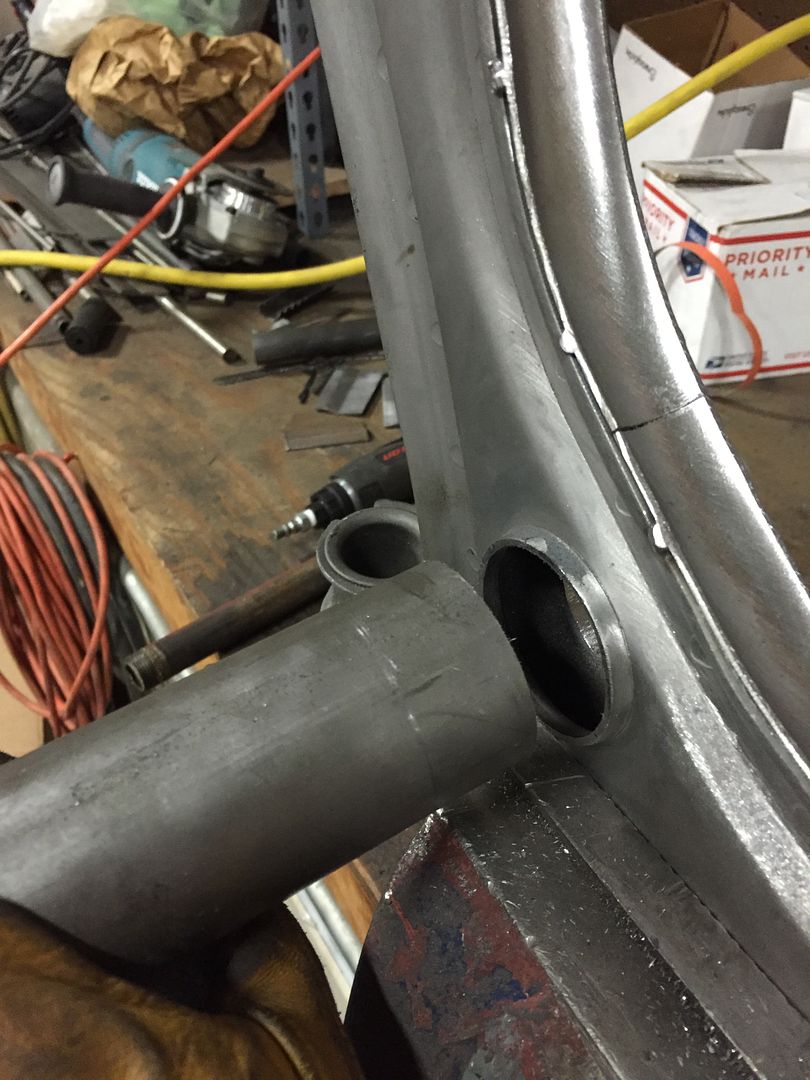
The 2" OD tubing was slightly too large to fit, so I opened the hole up slightly. It only took .040" or so.


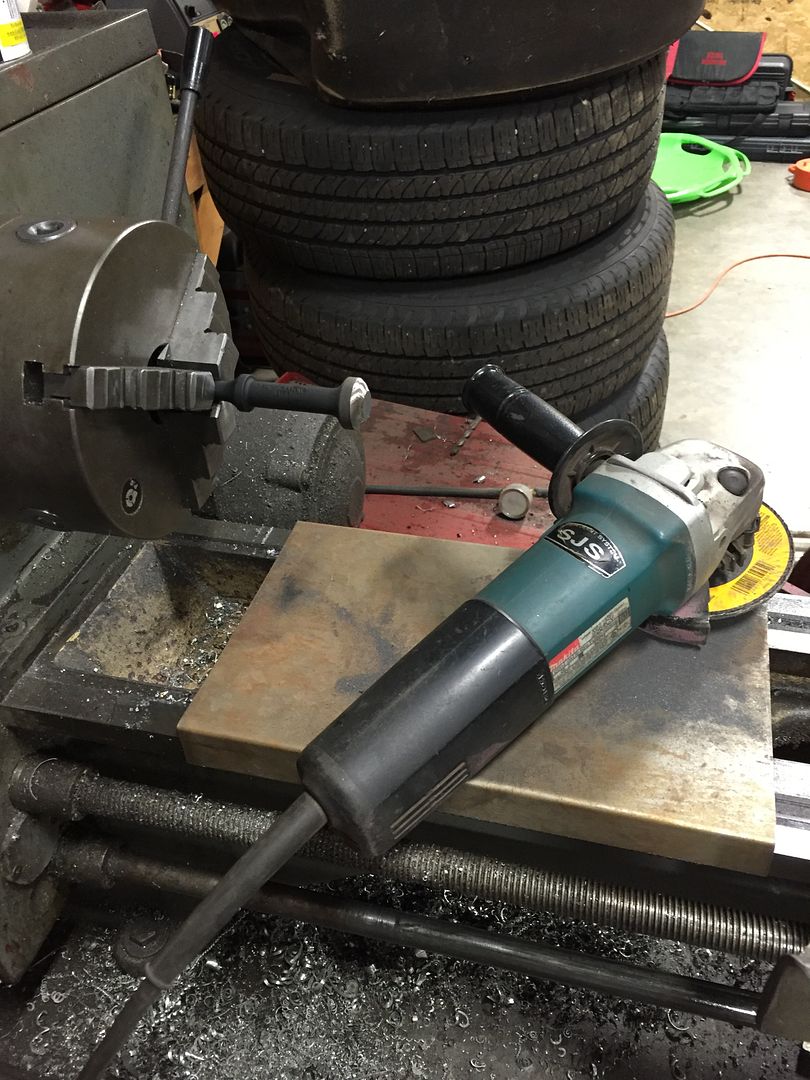
Next I had to make a bit for my air hammer to curve the piece around the back of the arm. I started with a cheap flat air hammer bit and ground it into the radius of my tubing.

I made a form of two pieces of 1/8" steel plate with a piece of 3/4" birch plywood sandwiched in between, then tacked a strip of 18ga steel around the edge. This will be my hammerform.

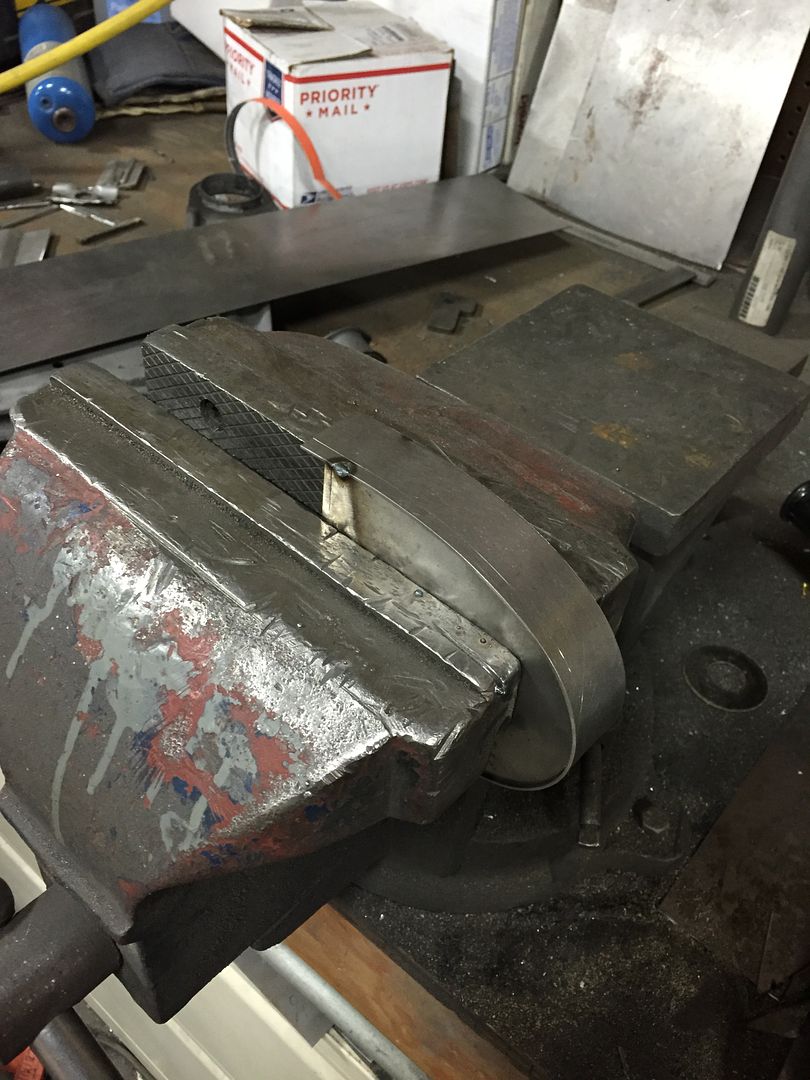
After a considerable amount of air hammering and swear words, it turned out well enough to use!


It was not as easy as the picture suggests. Half of my toolbox was empty.


Clamped in place:

Trimmed and tacked in place.
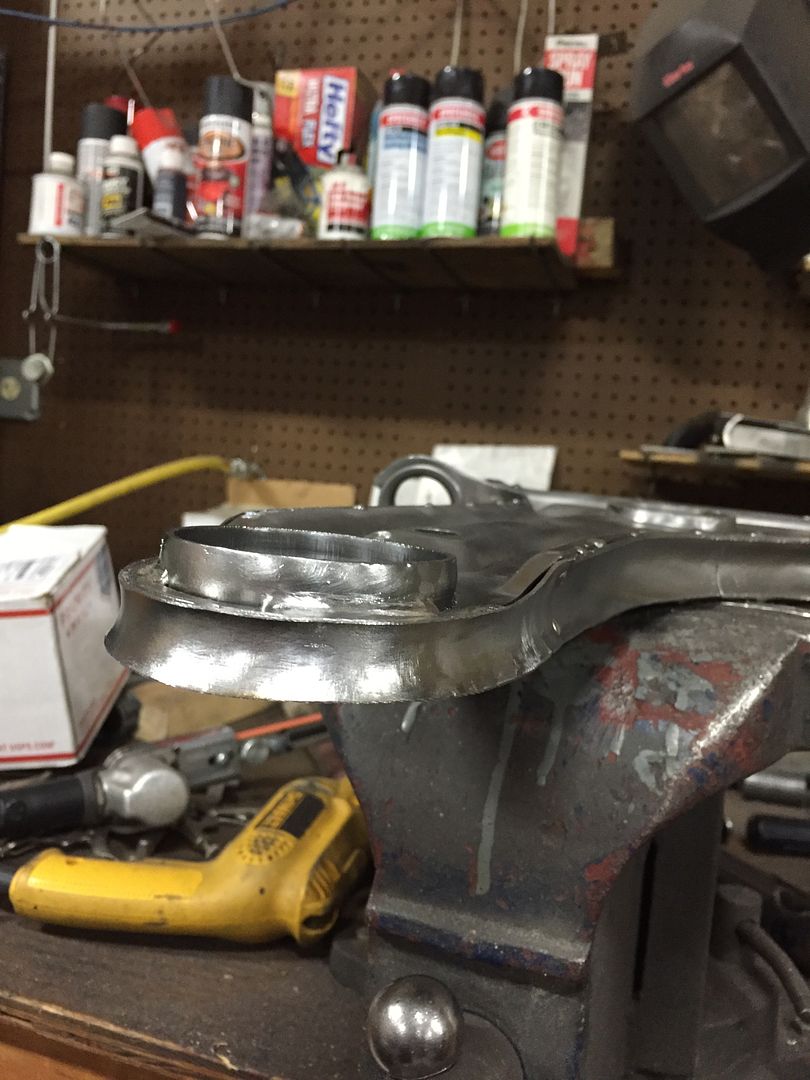
Around the inside of the arm, I'm boxing it in with flat sheet rather than tubing. I had to get creative at the end, the stamping was pretty ugly and had a big globber of MIG weld from the factory.


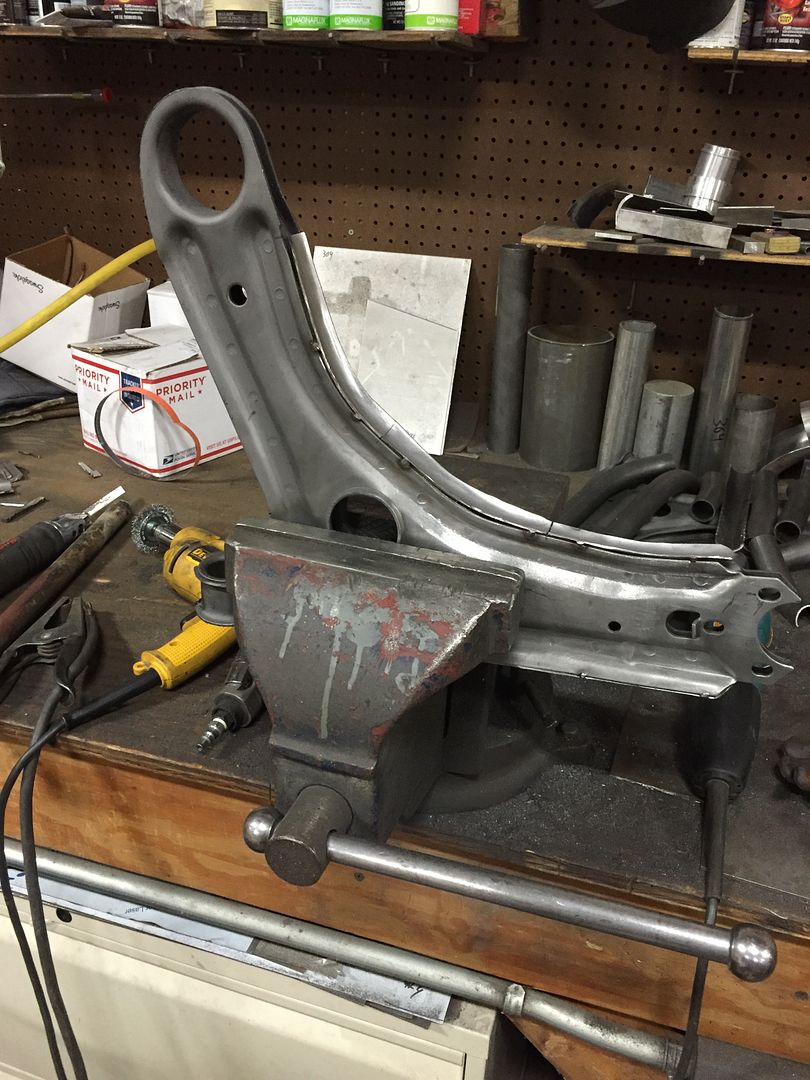
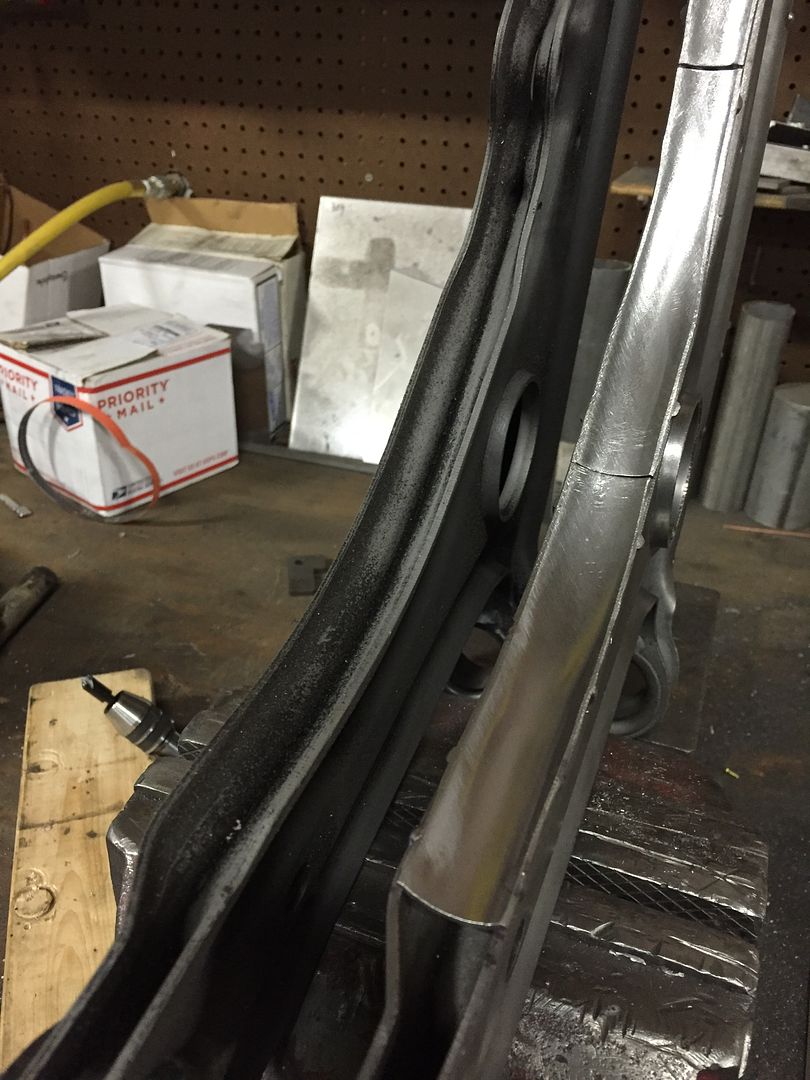
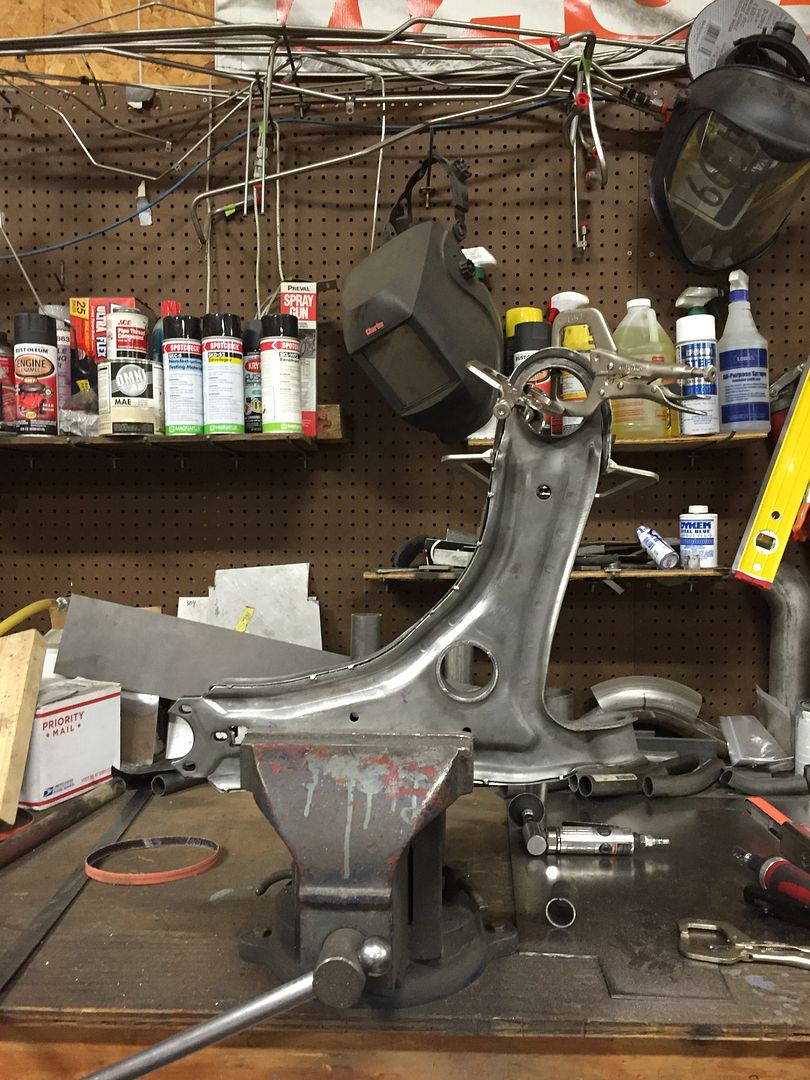
After several hours of welding and grinding, here is the result. This is a before and after of the same area above:

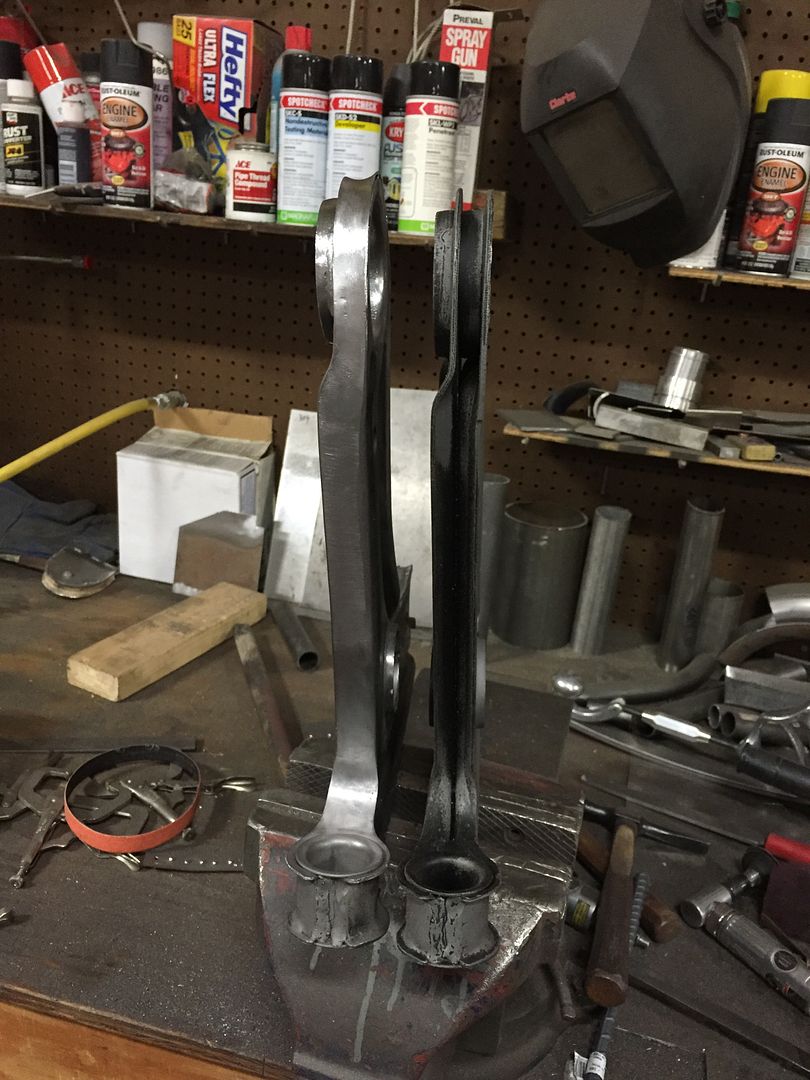
It isn't completely welded around the rear busing area yet, I'm going to machine some plugs to keep them round first. This picture also shows the result of my swaybar mounting point removal.


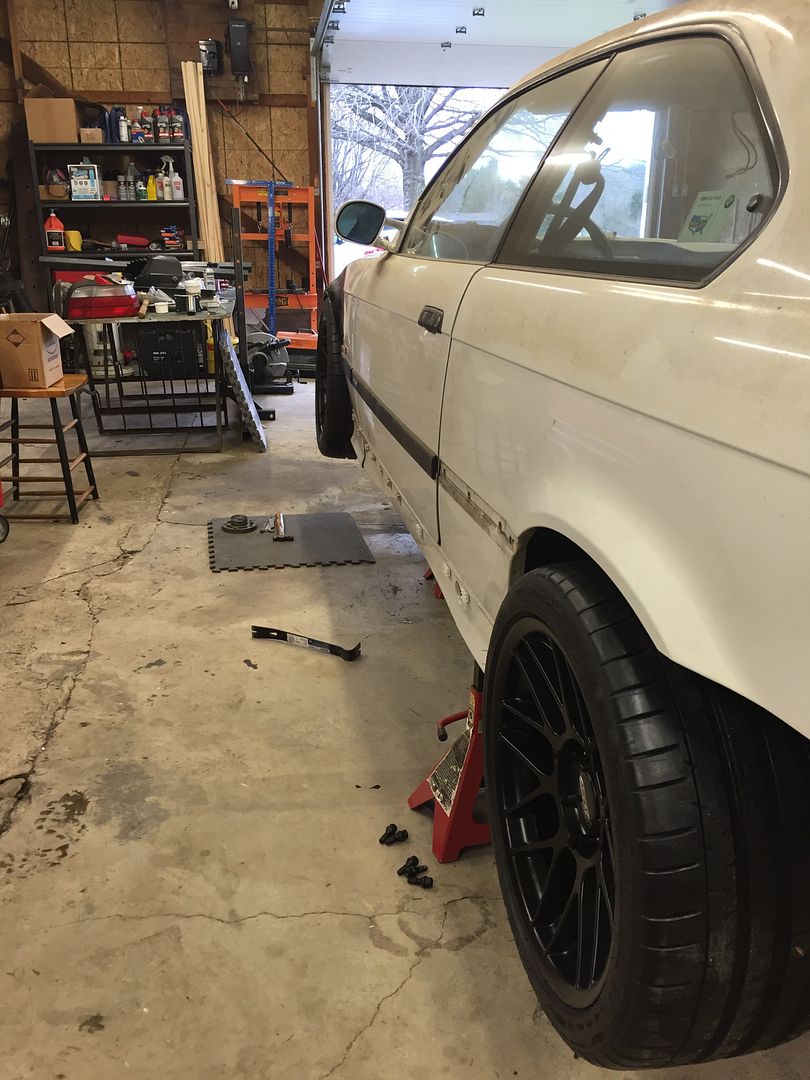
I had a chance to visit my buddy Chuck's garage over the weekend. Chuck is building himself an E36 M3 with a built LSx powerplant... it's going to be insane. He's on my schedule though, so we can cruise together in 2025 when they're both finished. http://getoffmylon.blogspot.com/
Yep.

He's in deep!

This weekend he was welding E46 front flares onto all four corners to fit some big fat meats. These 275/30/18 tires don't quite fit under the stock arches!
He's building a lot of cool parts as well, he has spent a considerable amount of time building his own set of stainless headers. They came out pretty well!
