I got these a few weeks ago, but I never posted the pictures. I bought a set of Snap-on T-handle hex keys and a USB-rechargeable Streamlight for my work toolbox. I also took in a set of old Crescent US-made locking pliers from my grandpap's tool collection.


A few posts back, I posted a picture of some brass punches I restored from my Grandpap's estate. My buddy Tommy D works in the tool and die industry where they use brass punches every day. I decided to give some brass punches to him, especially since he had given me some impact sockets from his grandfather's estate a few years back. A few days after I delivered them, he sent this picture of two miniature brass hammers he had made from some old pin punches and my brass stock. They're super cool!

More new tools! So a few weeks back, I learned through Instagram that Snap-on had released a new body hammer. Since I have all of the others, I HAD to have this one. I made some calls, and 6 weeks later it finally showed up. This is the new Snap-on BF612 compact body hammer. I found it interesting that they re-used a part number from the old Blue Point line, and the old-style BF612 happens to be one of my favorites.
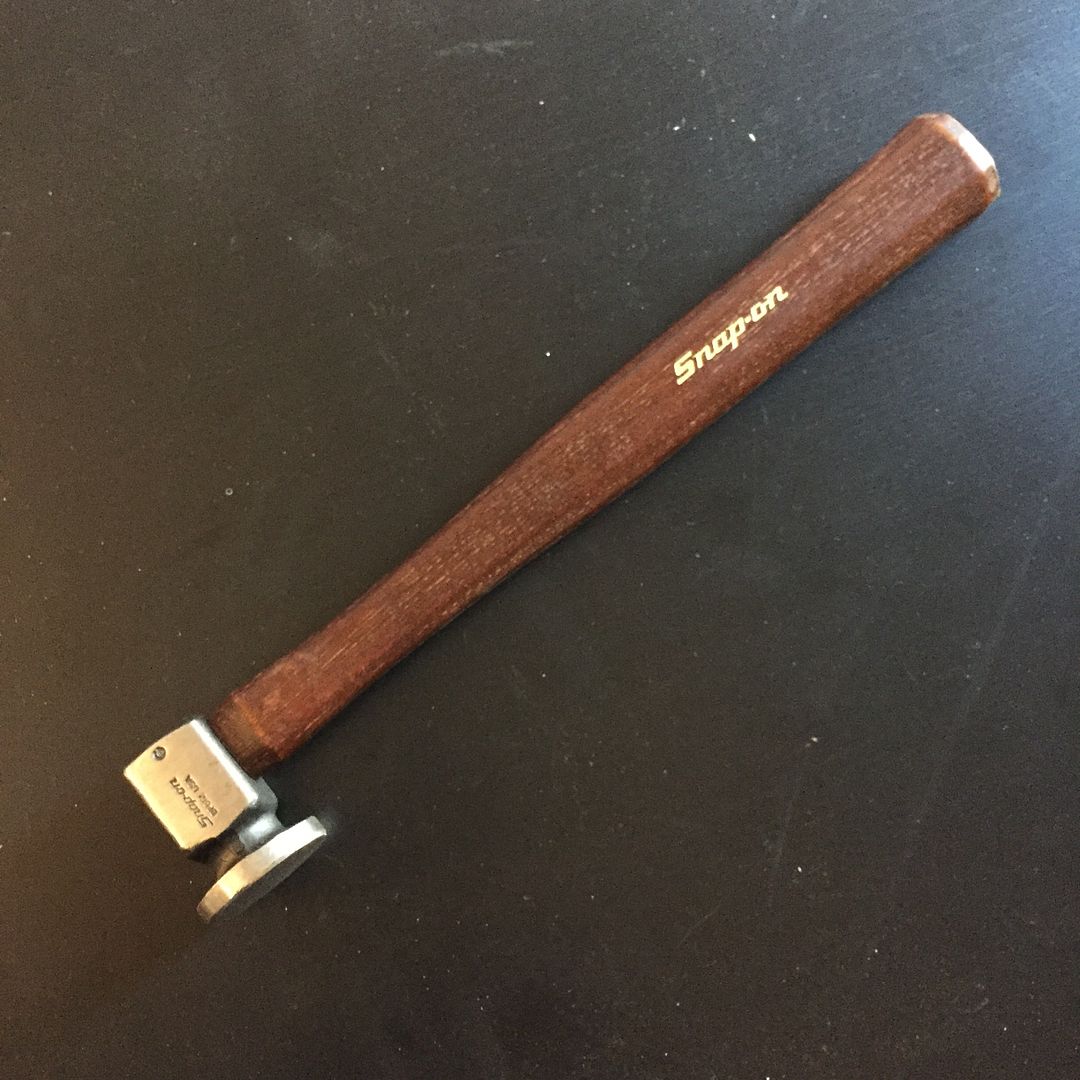
2016 date code!

Seeing the photos, I was worried that the head would have an odd balance. What they did was widen the forging around the handle eye to get more mass toward the rear of the hammer. It is also super stubby, so the center of gravity isn't too far off of a regular pick hammer. It swings quite nice, it will be a useful addition to the set.

Luckily the new hammer isn't very big, otherwise I wouldn't have space! I was able to tuck it in between the BF603 and BF632.

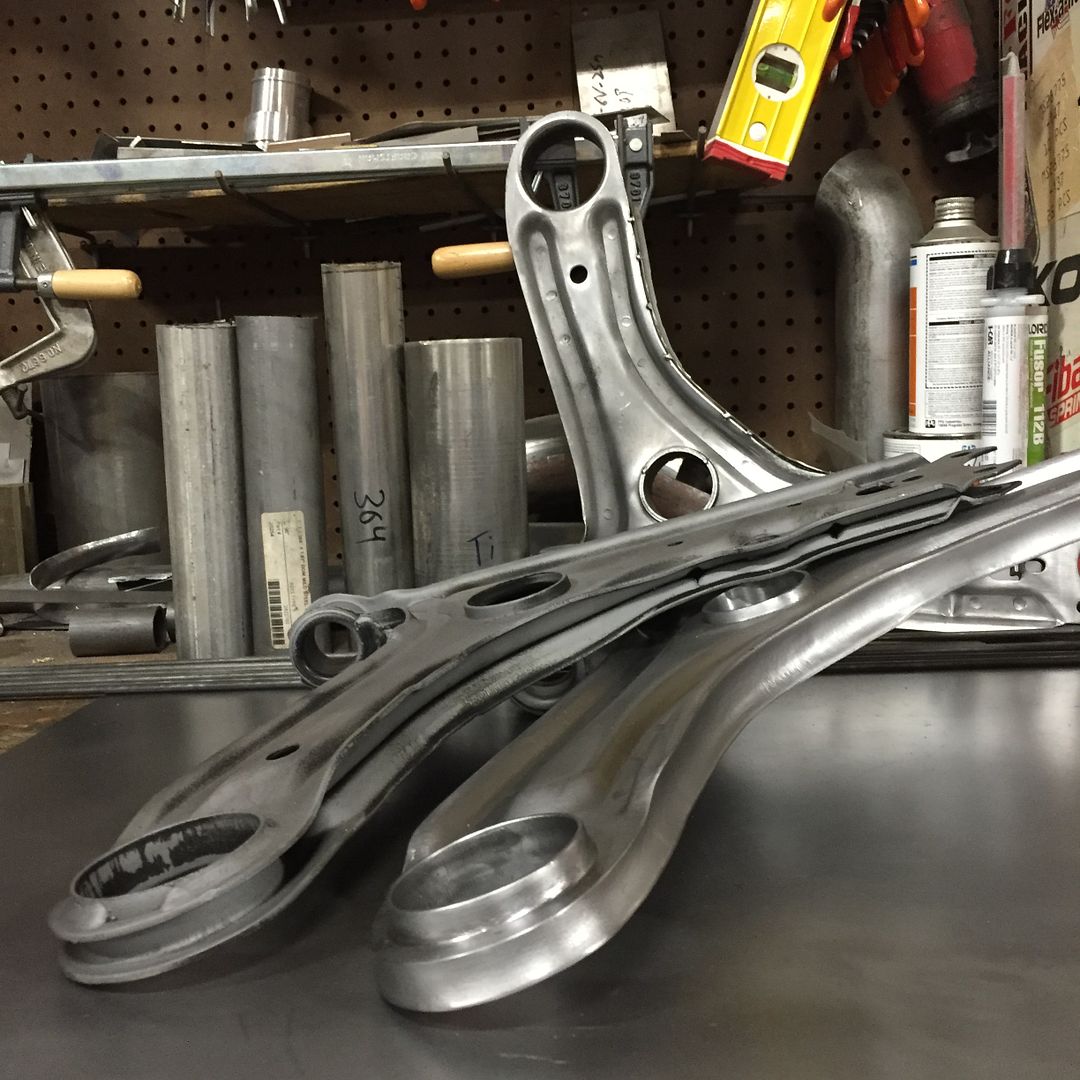
Back to work. When I last left off, I had finished welding one of the lower control arms.

After some time grinding, filing, and sanding, one front lower arm is finally complete. Here is a before (top) and after (bottom) of the rearward control arm bushing mount. I ground off the factory weld, re-welded around the eye, and ground it all smooth. This photo really shows the radius from the tubing I used to box in the two stamped plates.


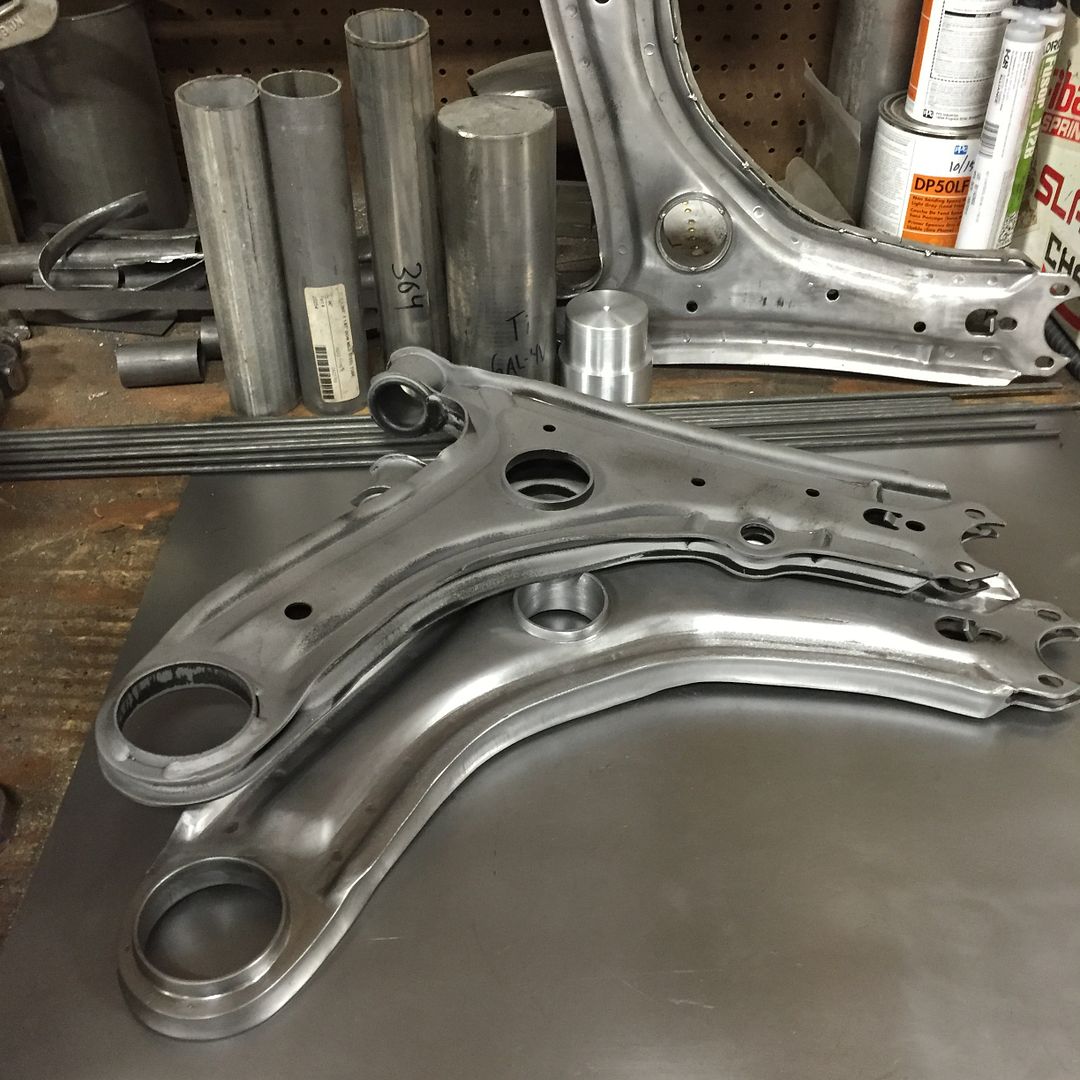
This photo clearly shows the swaybar mounting hole that I deleted. It's a subtle modification, not to mention the fact that it's underneath the car, but it really cleans up the look of the arm.
I also spent some time stripping and sanding my core support. This has been half-welded and started to get covered in flash rust, so I stripped it and coated it with Gibbs Oil until I get to the bodywork and paint.

I also spent some time wiping down the engine bay, scuffing the intake manifold, and coating the other bare steel surfaces in Gibbs. Now that I'm not working 30+ hours per week at my shop, I can't leave bare metal laying around like I used to.
