To get started, I clamped all of my cut pieces into the fixture for tack welding. This is 18ga 304 stainless steel tubing.

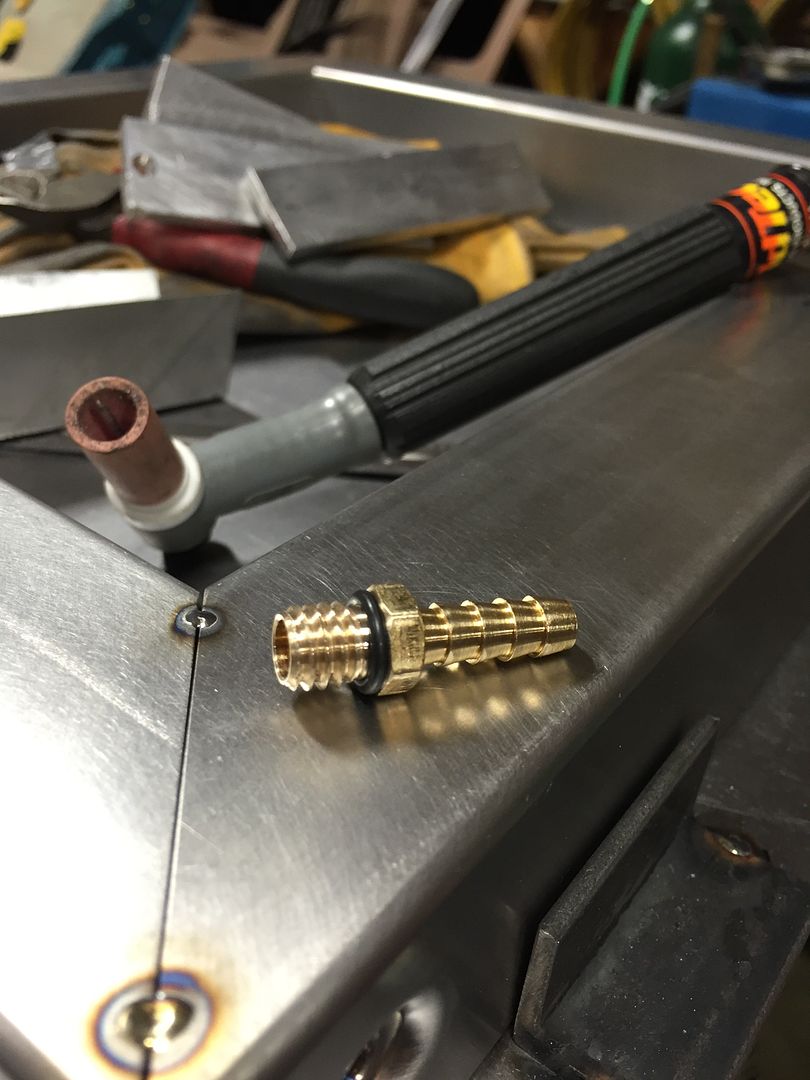
After tack welding everything up, I set up a back purge. Since these welds will be ground flush, I wanted to make sure I get decent penetration and a strong weld all the way through. To prevent contamination on the back side, I modified a fitting to thread into the 3/8-16 hole and purge the interior with Argon.


Next step: Welding! I was moving really fast to keep warping to a minimum, so they aren't the best looking welds. My goal here is to achieve decent penetration, but they will be ground flush.

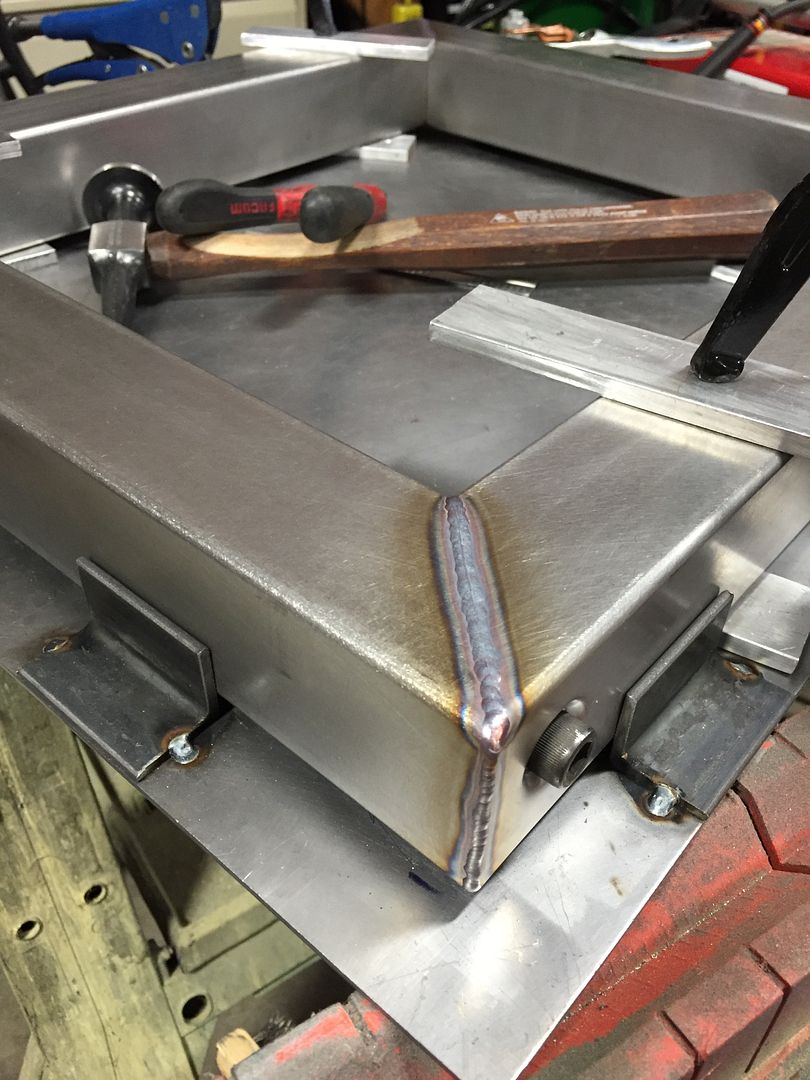
I was practicing a few different techniques. Since these aren't critical welds, I tried a few different travel speeds and amperage settings to try and minimize warping.


After grinding, I had to fill in a couple low spots. Since these will be metal finished, I don't have the luxury of adding putty or filling imperfections with powder coat.

When adding filler to low spots, I kept the welds as cold as possible. These were just barely hot enough to stick some filler to the surface without getting full penetration since I am no longer back purging.
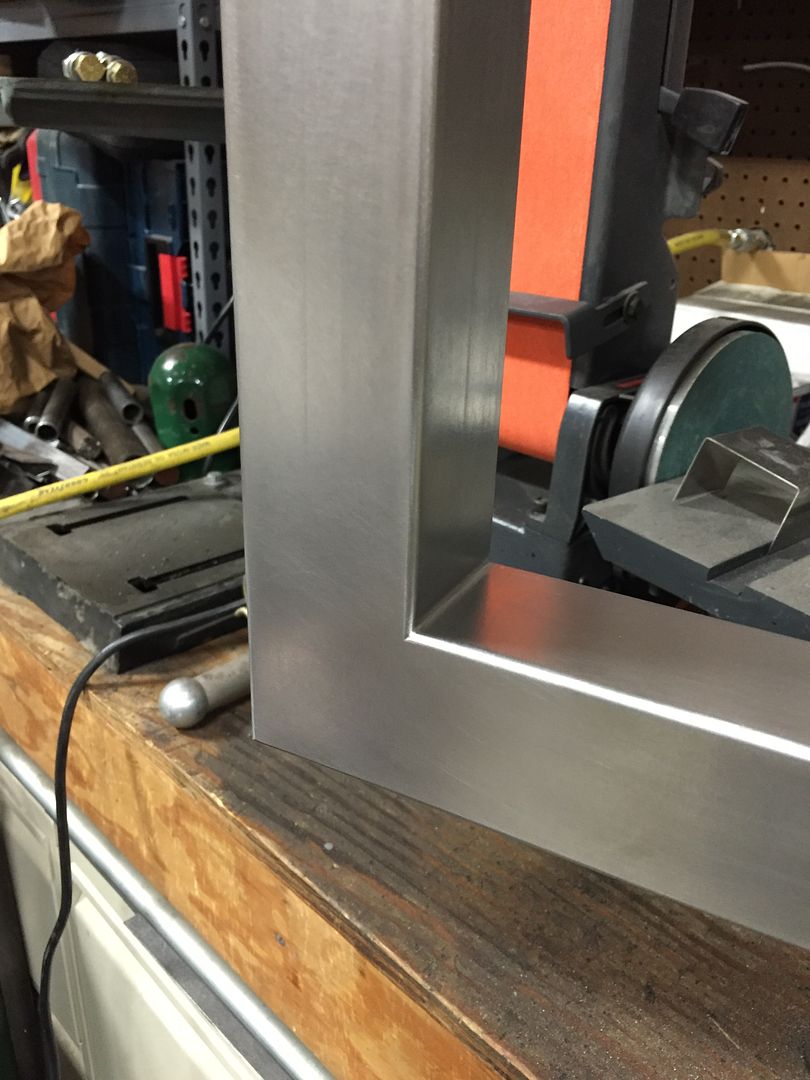
And after some grinding, it's all flush!


The next step is the fillet welds.
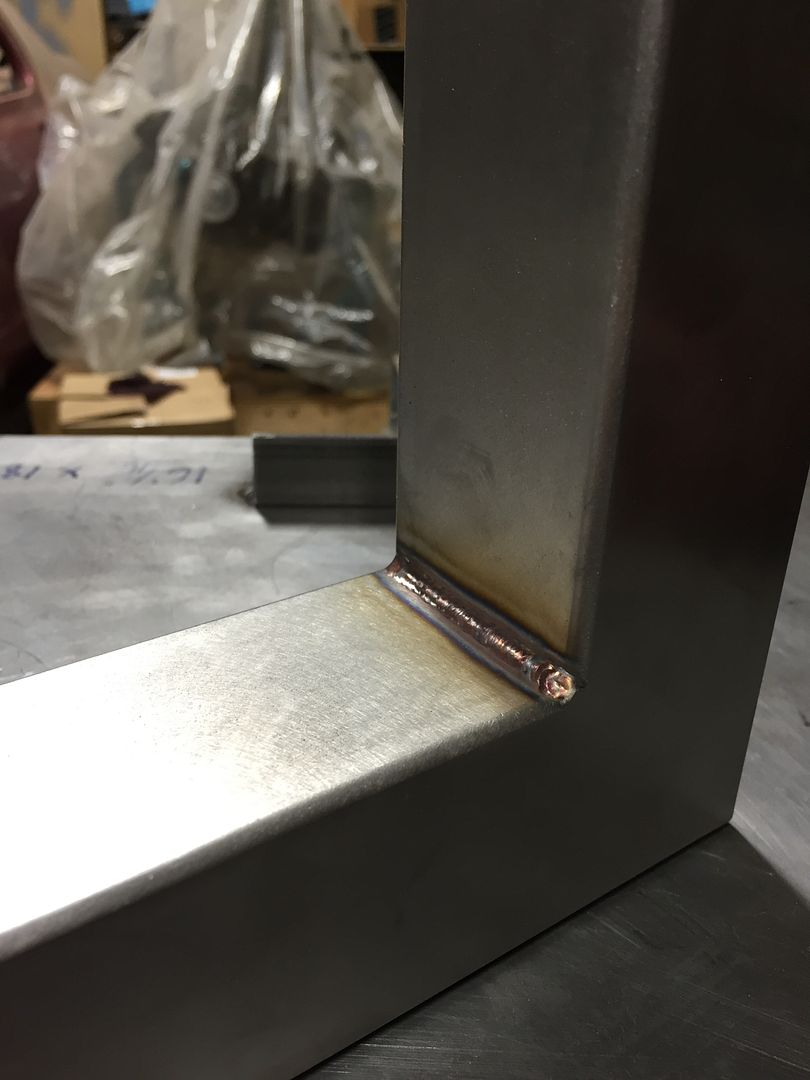

I did this first one with hand files and sandpaper, but it took forever.
I ordered a few of these Metabo unitized felt abrasive discs. These are 6" diameter and designed for smoothing fillet welds in stainless steel.
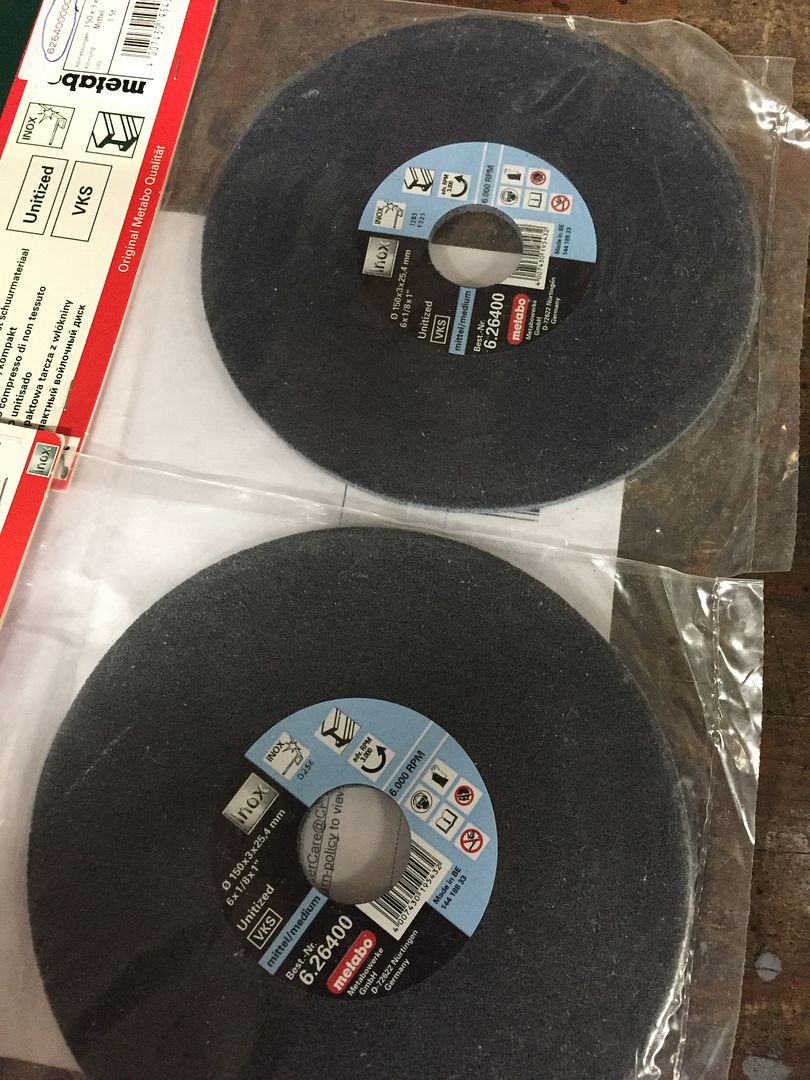
These have a special size 1" arbor and are designed to fit their $800 Fillet Weld Grinder. I don't have one of those, but I decided to make a nut and try them out on my variable speed polisher.
I fired up the lathe and turned an aluminum nut with a 1" arbor.


The best feature of these is that you can dress a shape into the wheel. I dressed a sharp point so I can get right into a sharp corner. I just taped a piece of sandpaper to a block and ran the grinder over it. I found that about 2100rpm worked best for smoothing the stainless and shaping the wheel.


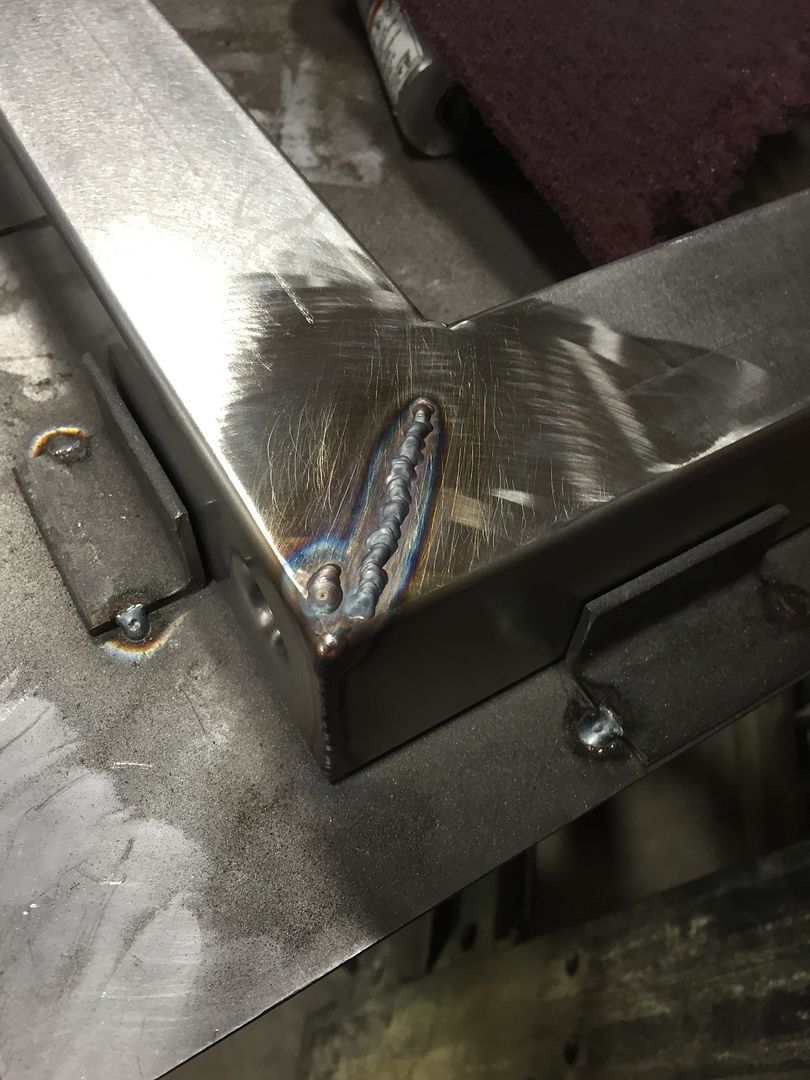
This is the only intermediate photo I snapped. I started by grinding the weld with a cutting disc, then blended with the Unitized Felt disc, then finished it off with hand files, sandpaper, and my Dynabrade orbital sander.


Both hoops are now finished!

Kage approves.

Tonight I got the cross braces tacked into place, I still have to finish weld and then grind all of those.

A table shaped object emerges!!


Next step: Welding! I was moving really fast to keep warping to a minimum, so they aren't the best looking welds. My goal here is to achieve decent penetration, but they will be ground flush.


I was practicing a few different techniques. Since these aren't critical welds, I tried a few different travel speeds and amperage settings to try and minimize warping.


After grinding, I had to fill in a couple low spots. Since these will be metal finished, I don't have the luxury of adding putty or filling imperfections with powder coat.

When adding filler to low spots, I kept the welds as cold as possible. These were just barely hot enough to stick some filler to the surface without getting full penetration since I am no longer back purging.

And after some grinding, it's all flush!


The next step is the fillet welds.


I did this first one with hand files and sandpaper, but it took forever.

I ordered a few of these Metabo unitized felt abrasive discs. These are 6" diameter and designed for smoothing fillet welds in stainless steel.

These have a special size 1" arbor and are designed to fit their $800 Fillet Weld Grinder. I don't have one of those, but I decided to make a nut and try them out on my variable speed polisher.
I fired up the lathe and turned an aluminum nut with a 1" arbor.


The best feature of these is that you can dress a shape into the wheel. I dressed a sharp point so I can get right into a sharp corner. I just taped a piece of sandpaper to a block and ran the grinder over it. I found that about 2100rpm worked best for smoothing the stainless and shaping the wheel.


This is the only intermediate photo I snapped. I started by grinding the weld with a cutting disc, then blended with the Unitized Felt disc, then finished it off with hand files, sandpaper, and my Dynabrade orbital sander.


Both hoops are now finished!

Kage approves.

Tonight I got the cross braces tacked into place, I still have to finish weld and then grind all of those.

A table shaped object emerges!!


No comments:
Post a Comment