They asked me to take a look at some 4-link brackets on a custom Comet they're working on, and I couldn't help but notice this spliced lower link bar. I'm not sure who did the splice, it may have been the customer, but I did not like it. They did a good job welding and keeping it straight, but two splices in a link bar is never a good idea. In addition, the center section is thinner wall tubing, which exaggerates the sketchiness.

This is a custom project and they're adapting an off-the-shelf 4-link kit. They asked me to shorten the upper links and panhard bar, which were both straightforward chop and thread operations in the lathe.

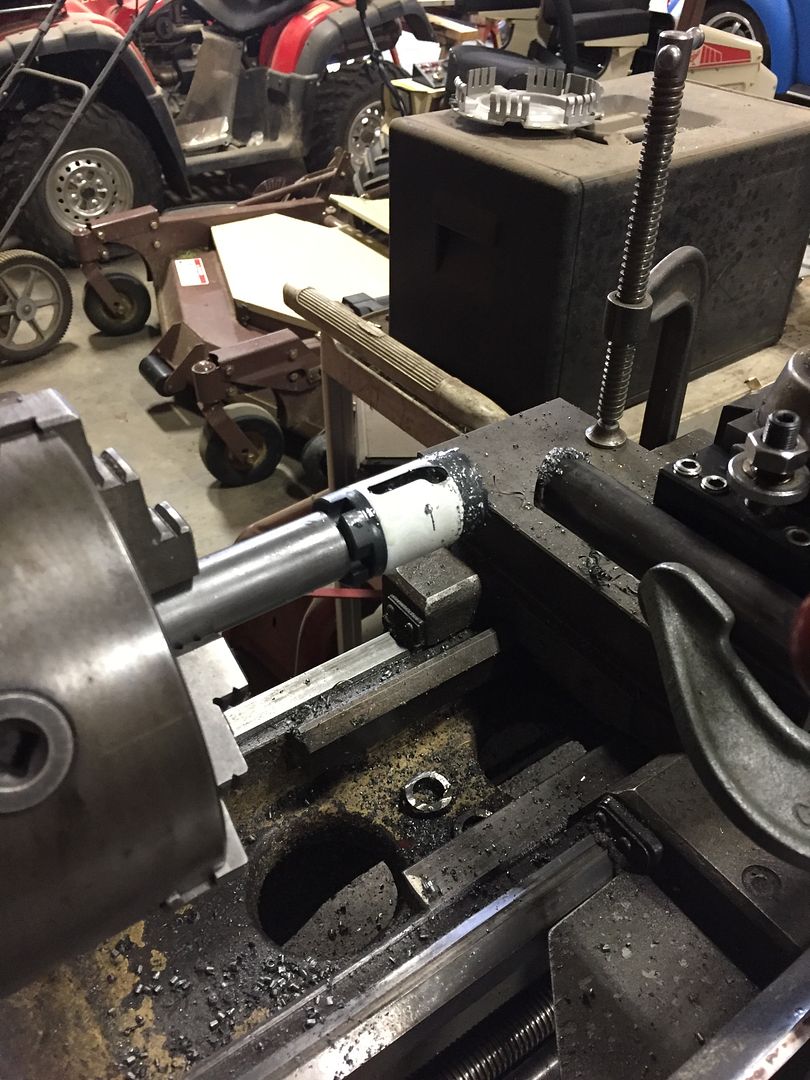
Next I had to completely re-make the lower link bars. To notch the tubing, I mounted a holesaw in my lathe. I actually used the drop from the panhard bar, which was already threaded 5/8-18, to make a nice stiff mount for the hole saw in the chuck.

Not the best pictures, but you get the idea.

I faced and tapped the opposite end of each lower link bar 3/4-16 to match the threaded Heidts ends.
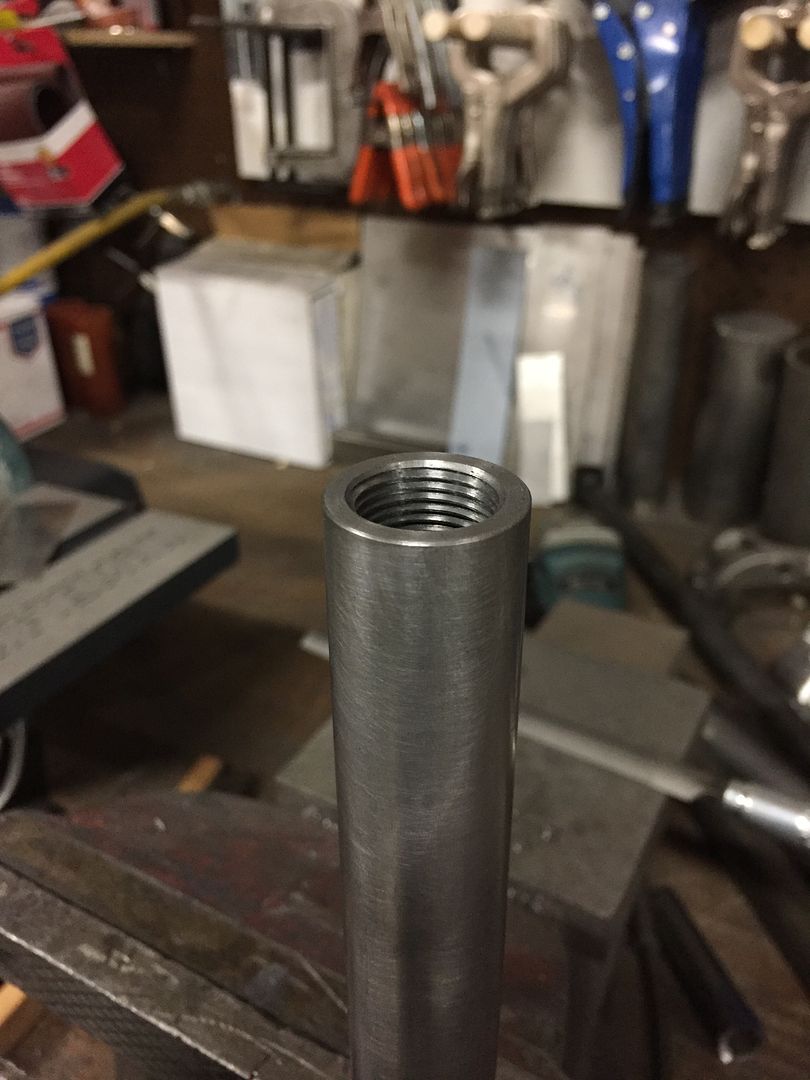
I didn't snap any action shots, but I also made the bushing ends. This is all carbon steel A513 DOM tubing, 1" x 0.156" wall for the bars and 1-3/8" x 0.120 wall for the eyes just like the original Heidts pieces.

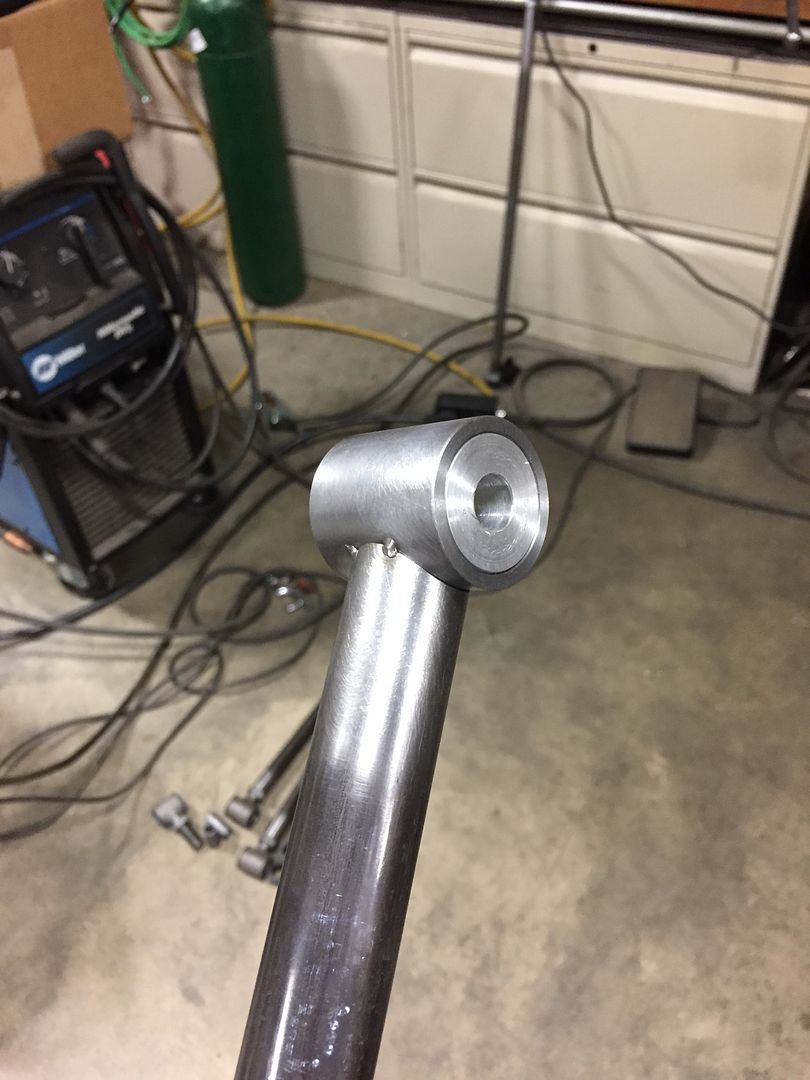
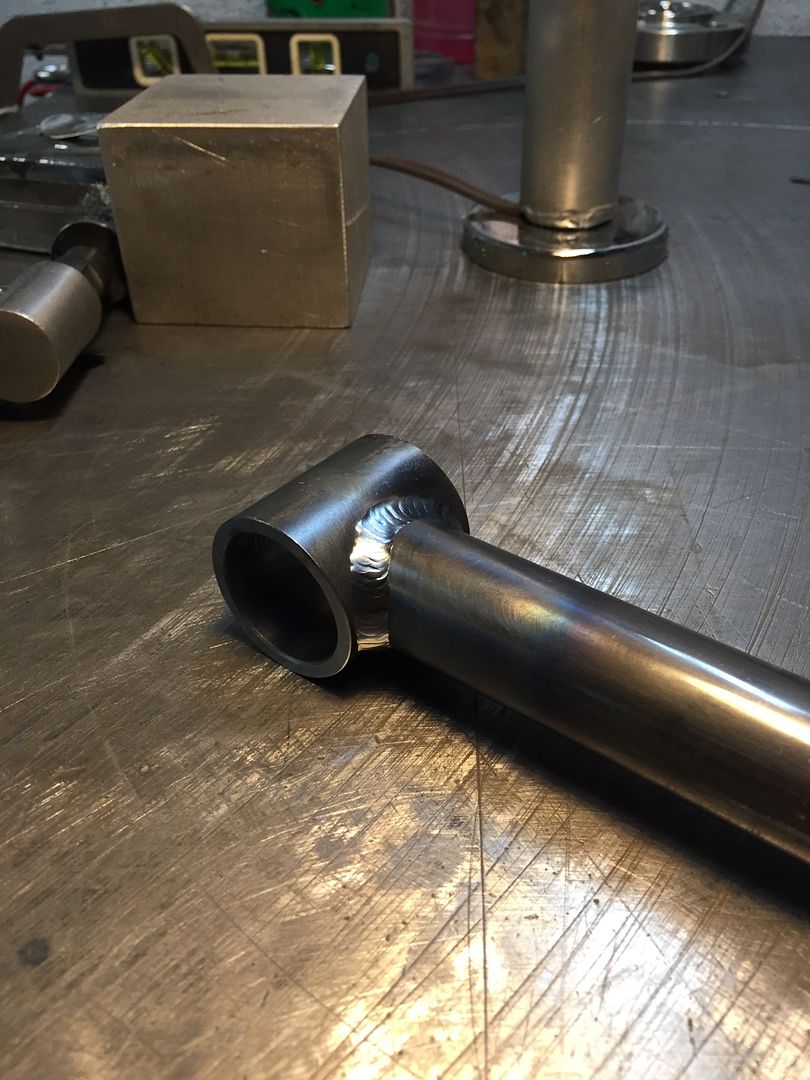
Jigged up for welding

Tacked. I decided to let the professionals handle the TIG welding. I also machined an aluminum plug to keep it round during the weld operation.
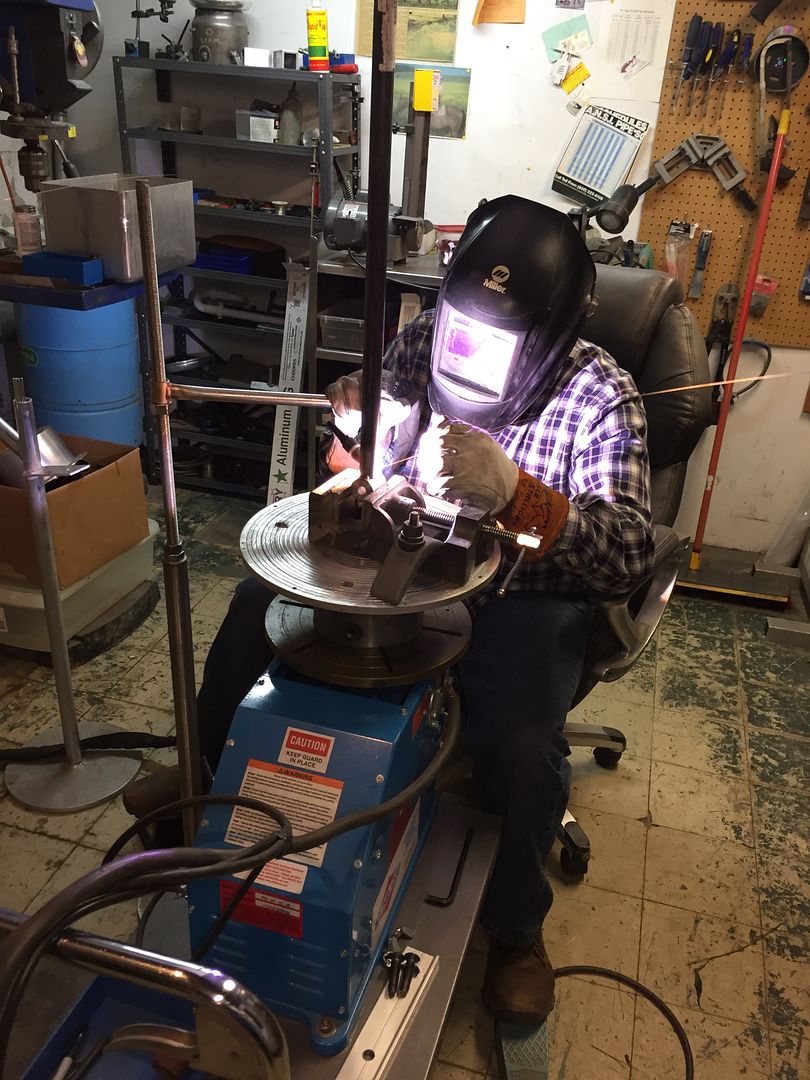
The man himself - Bill Lewis. He's been handling all of my critical TIG welding for years and does a fantastic job. Generally I have him weld anything structural, anything that must be sealed, or anything that will be very visible.


As I was waiting for the welds to cool, I noticed this little candy dish of gas cups. The dish itself is an aluminum spinning for a production job he was working on.

Welded up.
I didn't have time to wait for the second piece to cool, so I wrapped it in a leather glove for the drive home!

Complete!
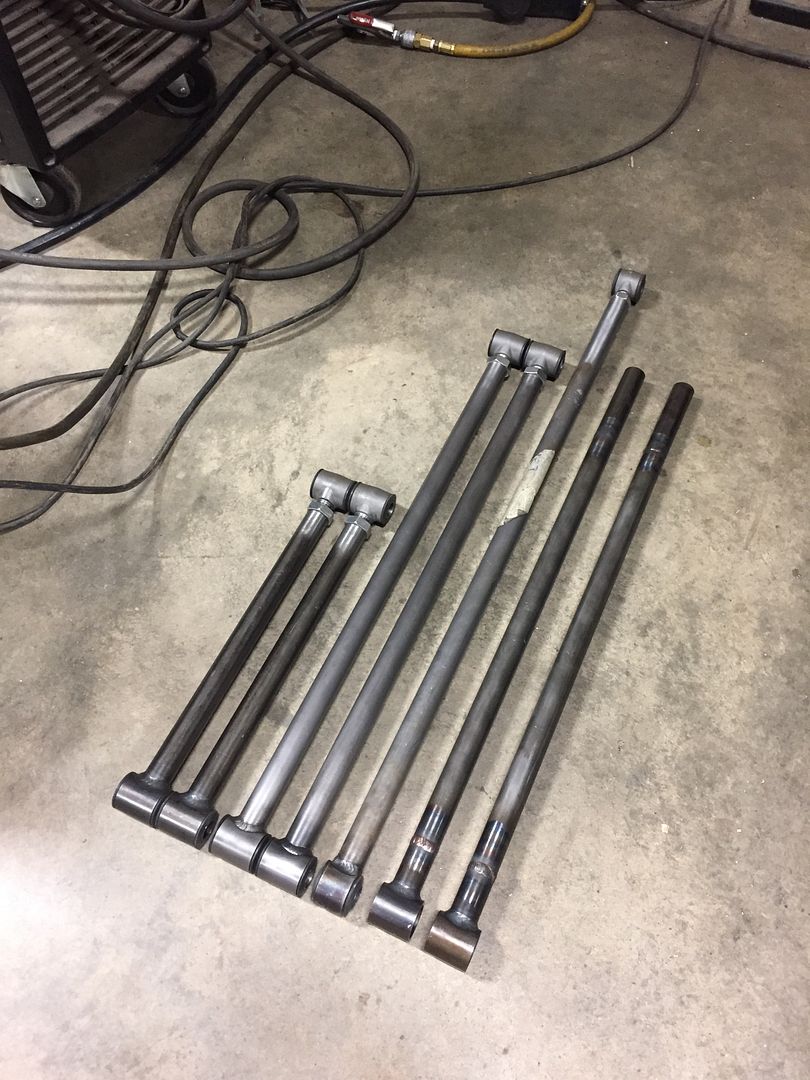
Here is a closeup of my ends vs. the unmodified Heidts ends on the upper link bars.

And here are the modified lower link bars, which won't be used.

Nope.

In totally unrelated news, though potentially worthy of a brief Wrinklered moment, I made a set of cornhole boards with some friends last weekend.
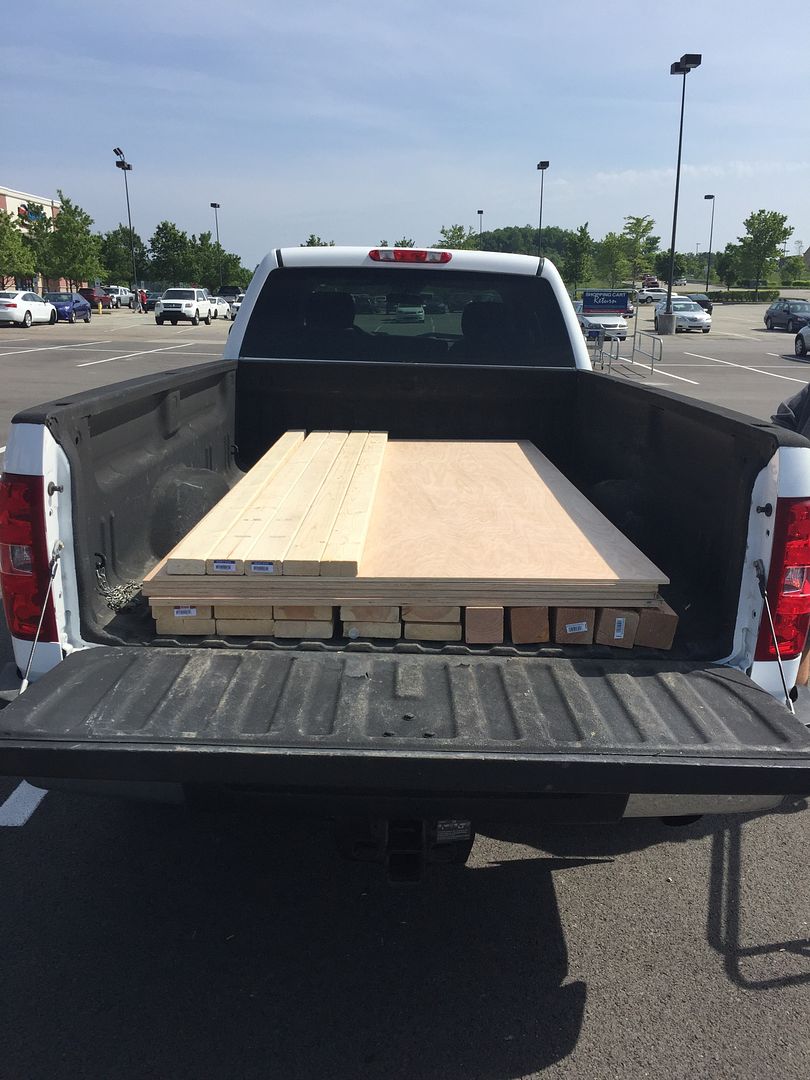
Fro and I gathered up some lumber - I helped him unload, and he helped me unload.

And we both used my truck.
I've made cornhole boards in the past, and I have never been happy with the hole. I'm pretty good with the jigsaw, but I have unreasonably high standards. This time I decided to do things a bit differently. I turned this 6.00" diameter steel guide on my lathe.

Then I roughed out the hole using a jigsaw so the router bit wouldn't be loaded as heavily and bolted my template to the bottom.
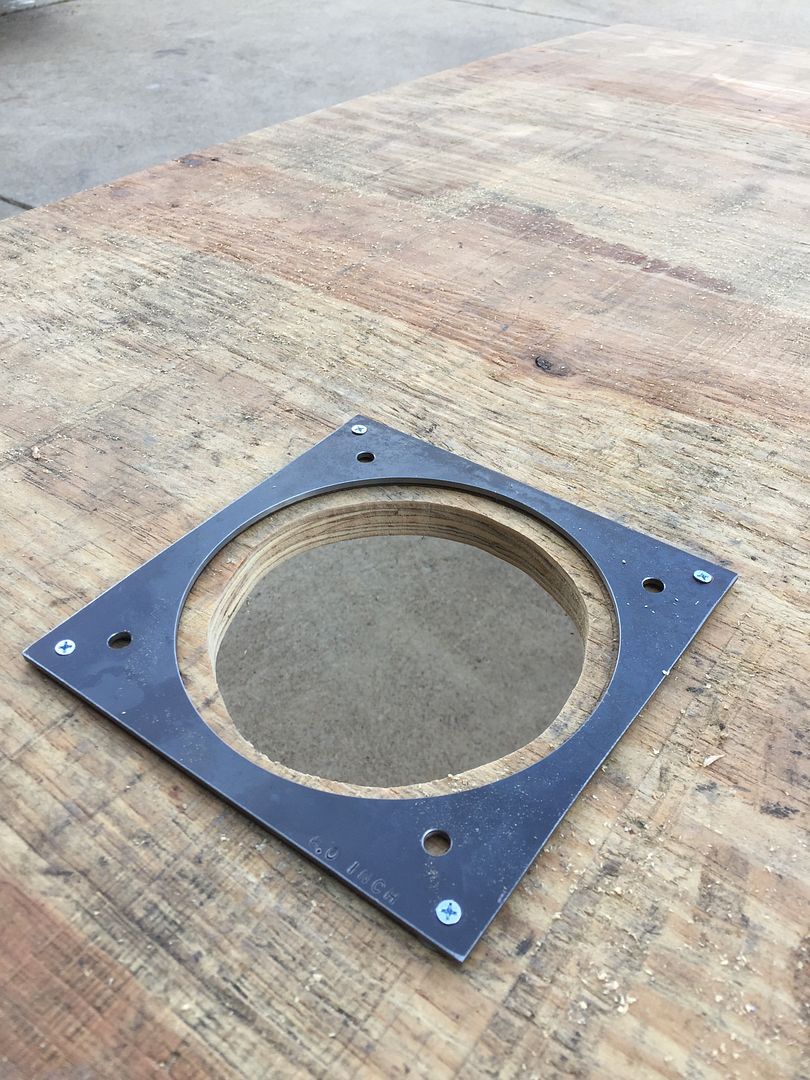
After a quick trim with a bearing-guided trimming bit in my router, I ended up with a perfect 6" diameter hole in the board!

Success!

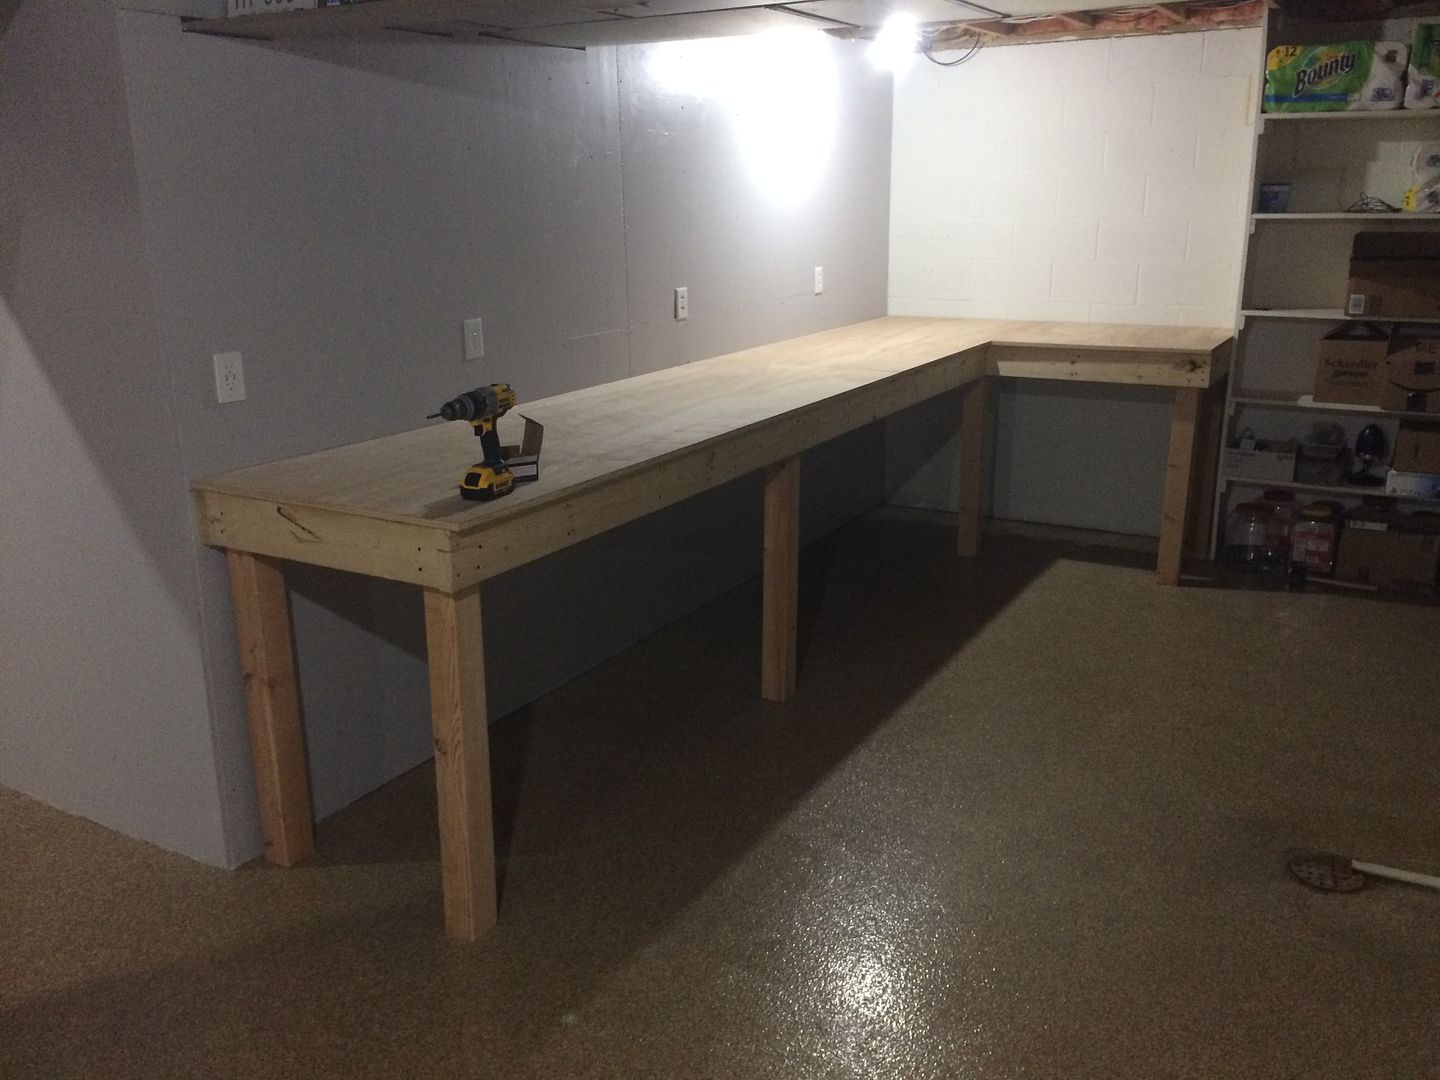
Fro also had some success. I didn't help him at all, but his workbench turned out great.
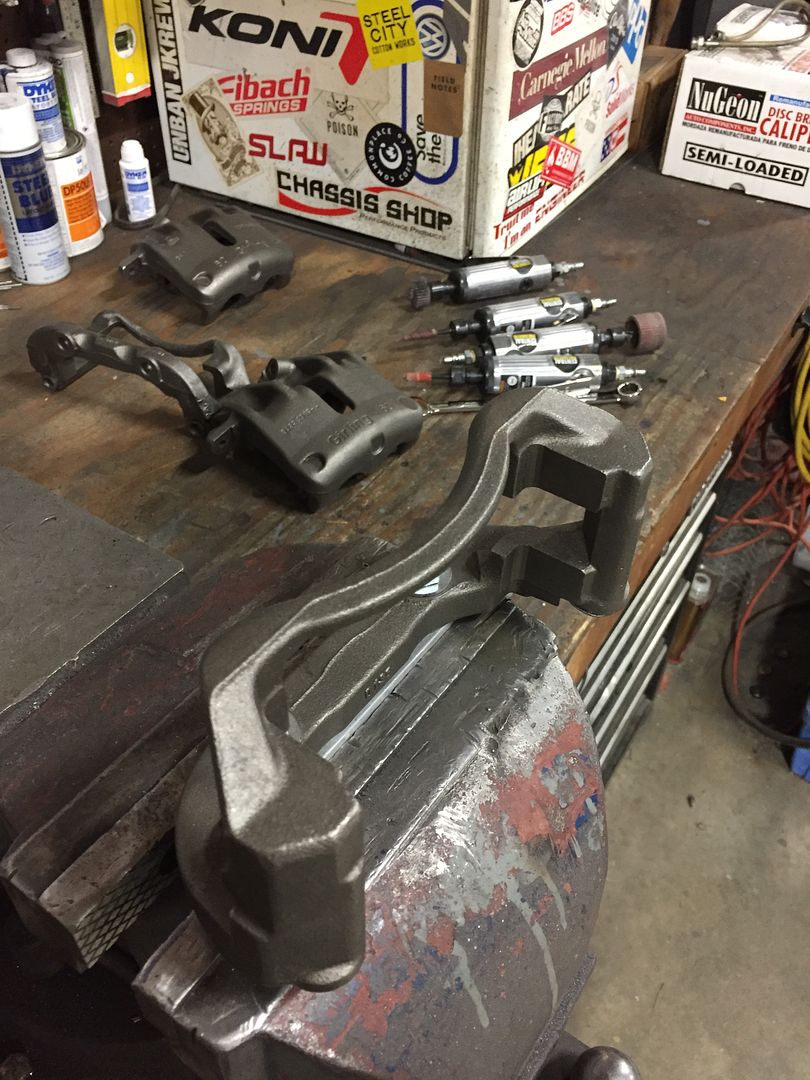
So after all of this, I actually managed to make a minuscule amount of progress on the Jetta. I started sanding the texture out of my Girling 60 front caliper mounting brackets.
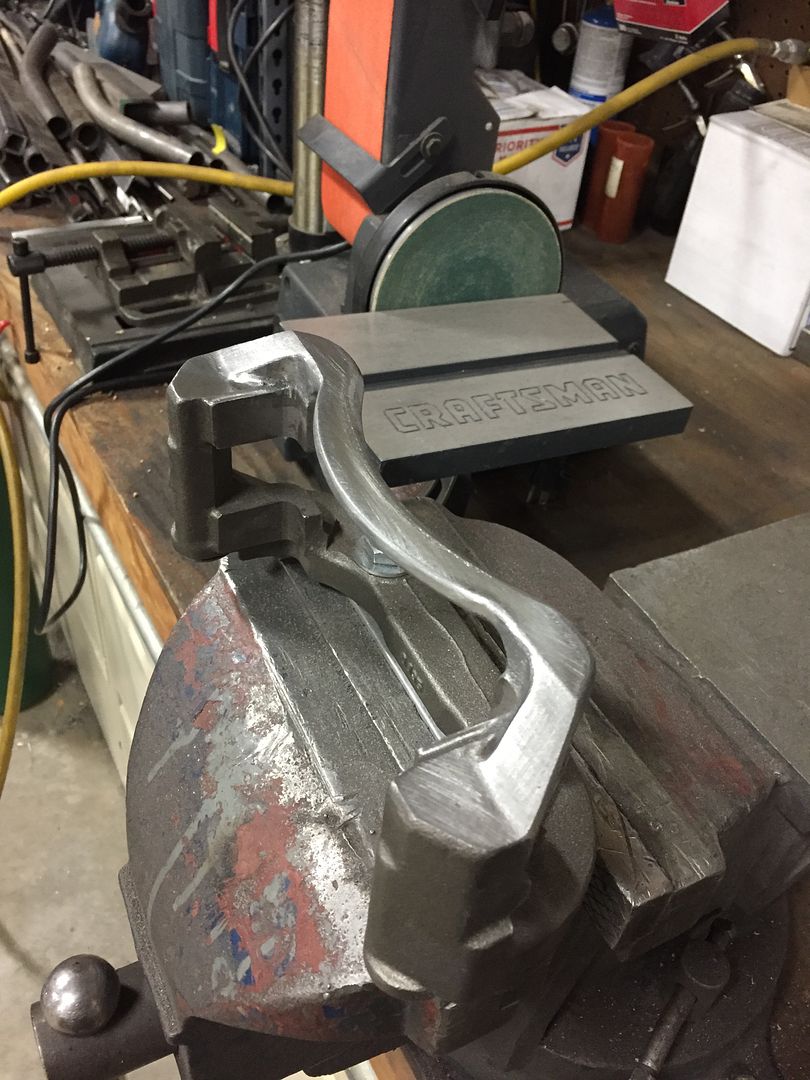
Here you can see that the original forged piece isn't finished very nicely.
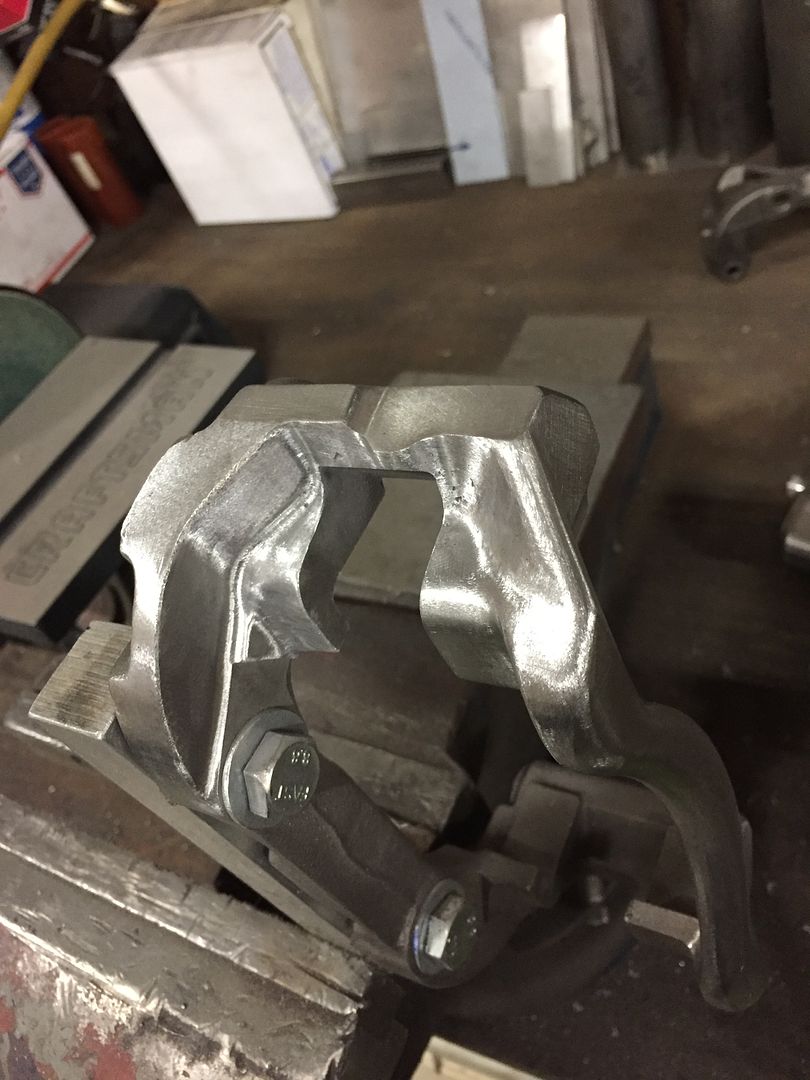
Still very rough, but getting there!
Hopefully more progress soon!

No comments:
Post a Comment