Monday, March 5, 2018

More new tools!  Whenever I'm too busy to work at my shop, I get restless and end up buying tools online.  Here are my spoils!

Snap-on dead blow ball peen and handy little plastic pick set.

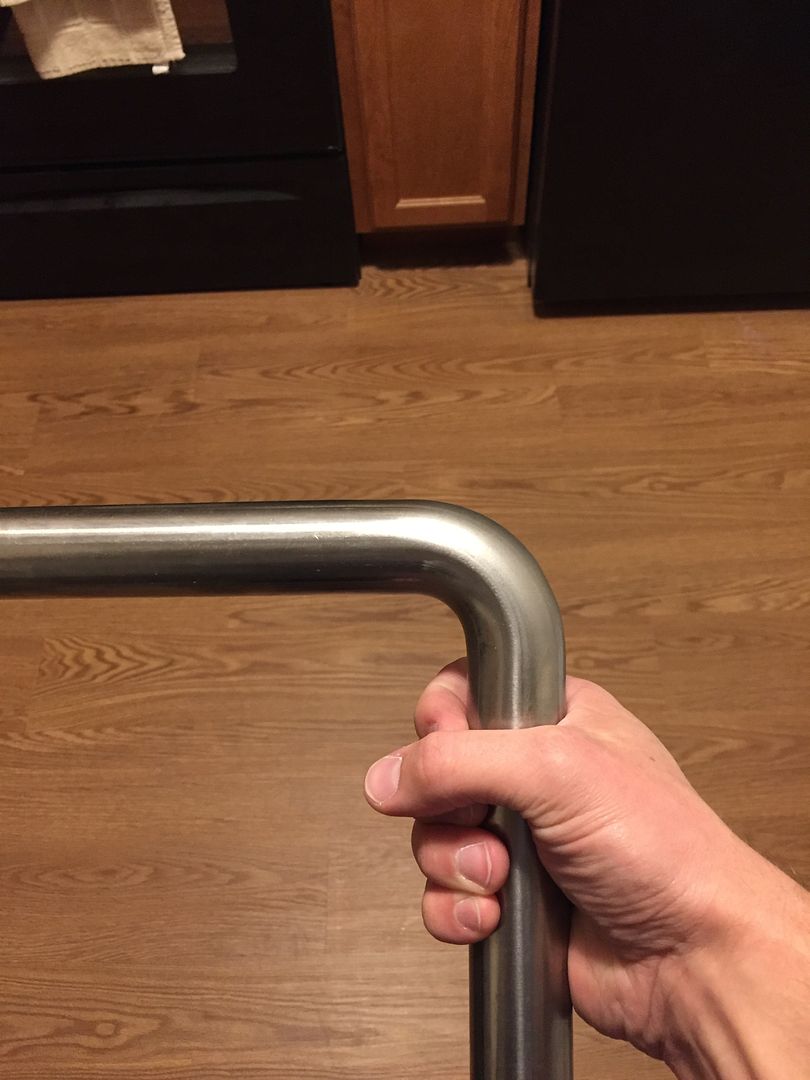
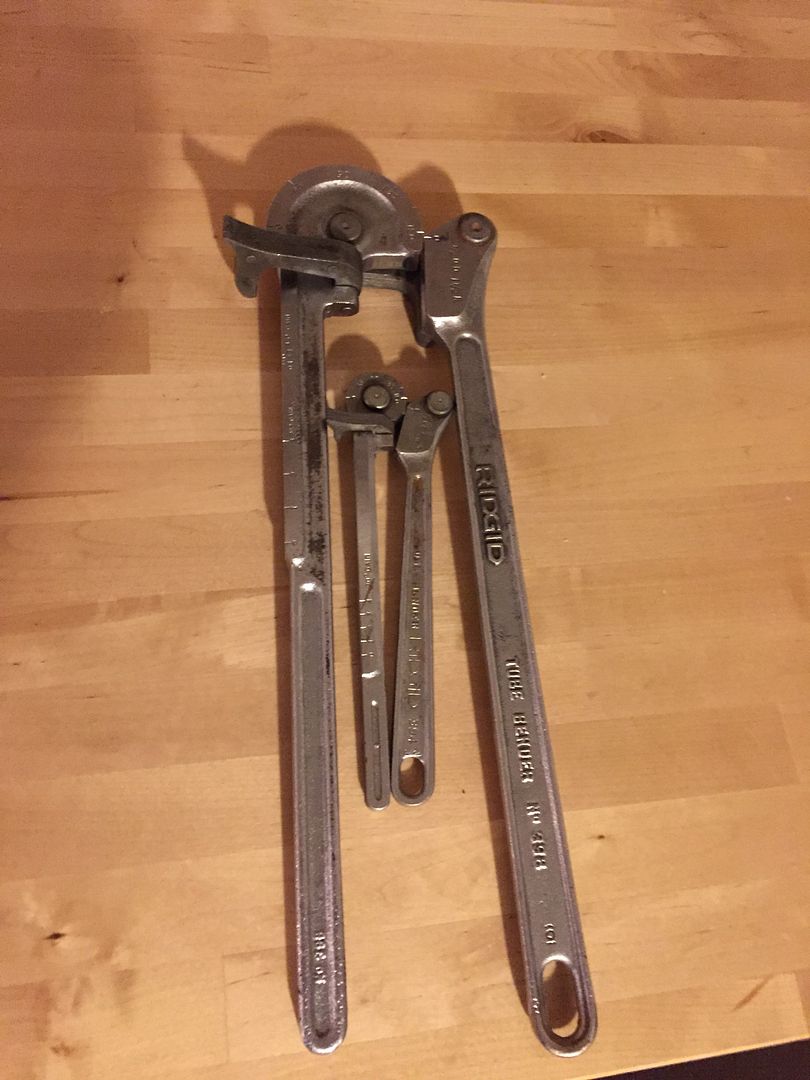
I found these Ridgid tubing benders online for an absolute steal, I'm slowly completing my collection of small size tubing benders for all the automotive plumbing work I get myself into.


I went a little wild on eBay too and bought all this shit.  I wanted to try an air drill, then started watching a bunch to get a good price, then I stumbled into TWO that were selling for good prices... next thing you know I have a whole coffee table filled with tools.

Here's the reason for all the screwdrivers.  I like the feel (and honestly, the look and brand) of the Snap-on Instinct handles, so I bought a few to take apart.  I pressed in a 1/4" collet adapter from eBay, added a 60º carbide burr, and now I have a handy way to deburr small holes by hand.

I mounted the miniature Jacobs chuck to another one, and now I have a set of hand deburring tools.

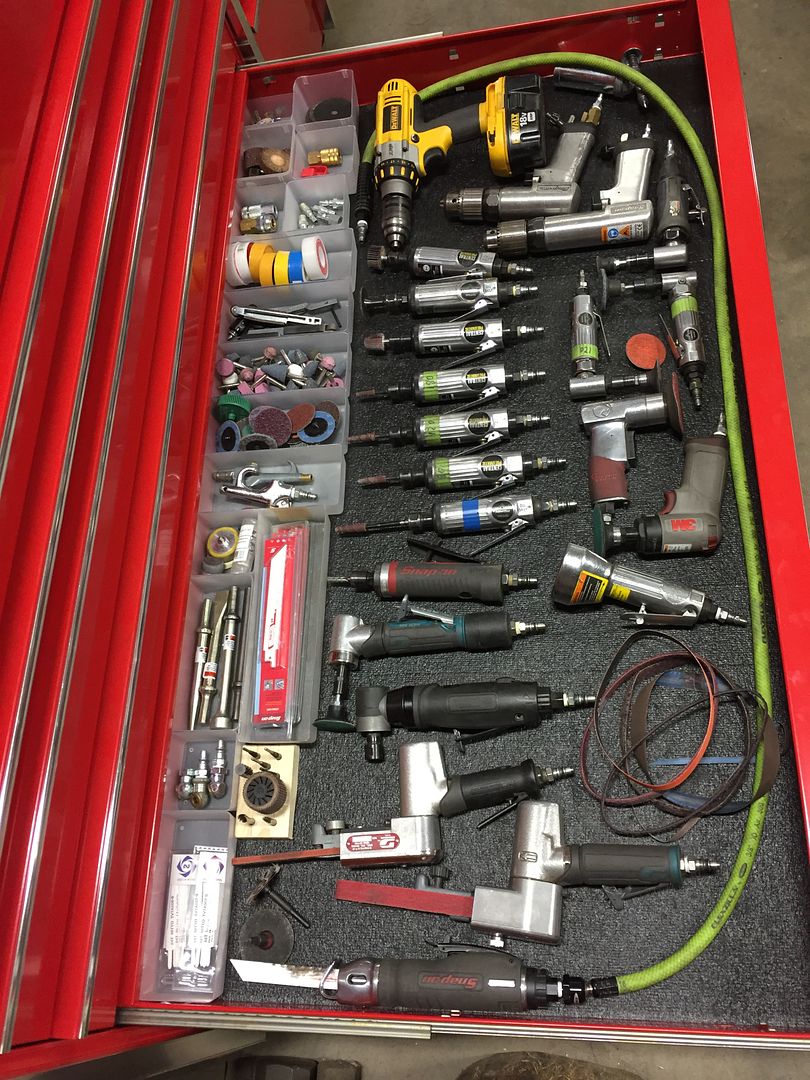
Also, my air tool drawer is filling up!  Still plenty of room though.

I also took a break for a road trip to Cleveland.  While there, I had to stop at Great Lakes brewing and pick up some of my favorites!  Edmund Fitzgerald <3

Back to tools.  I picked up this Milwaukee adjustable angle level after a few positive reviews on Instagram, and a  Snap-on LED rechargeable light.

Since inheriting my grandfather's tools 2 years ago, I've been struggling to find a proper use for his toolbox. I had it filled up with the good stuff from his collection, but it was stuff I already had.  I found myself leaving it locked up most of the time, basically waiting until I own a house so I can keep a spare set in the basement.

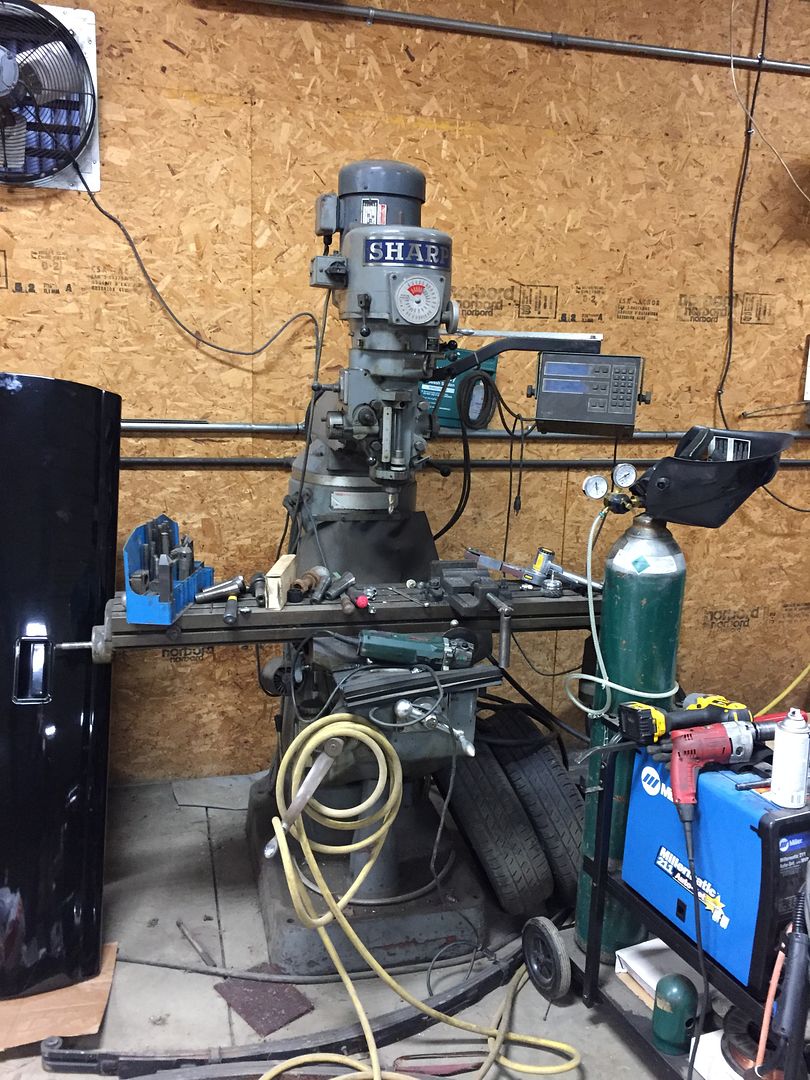
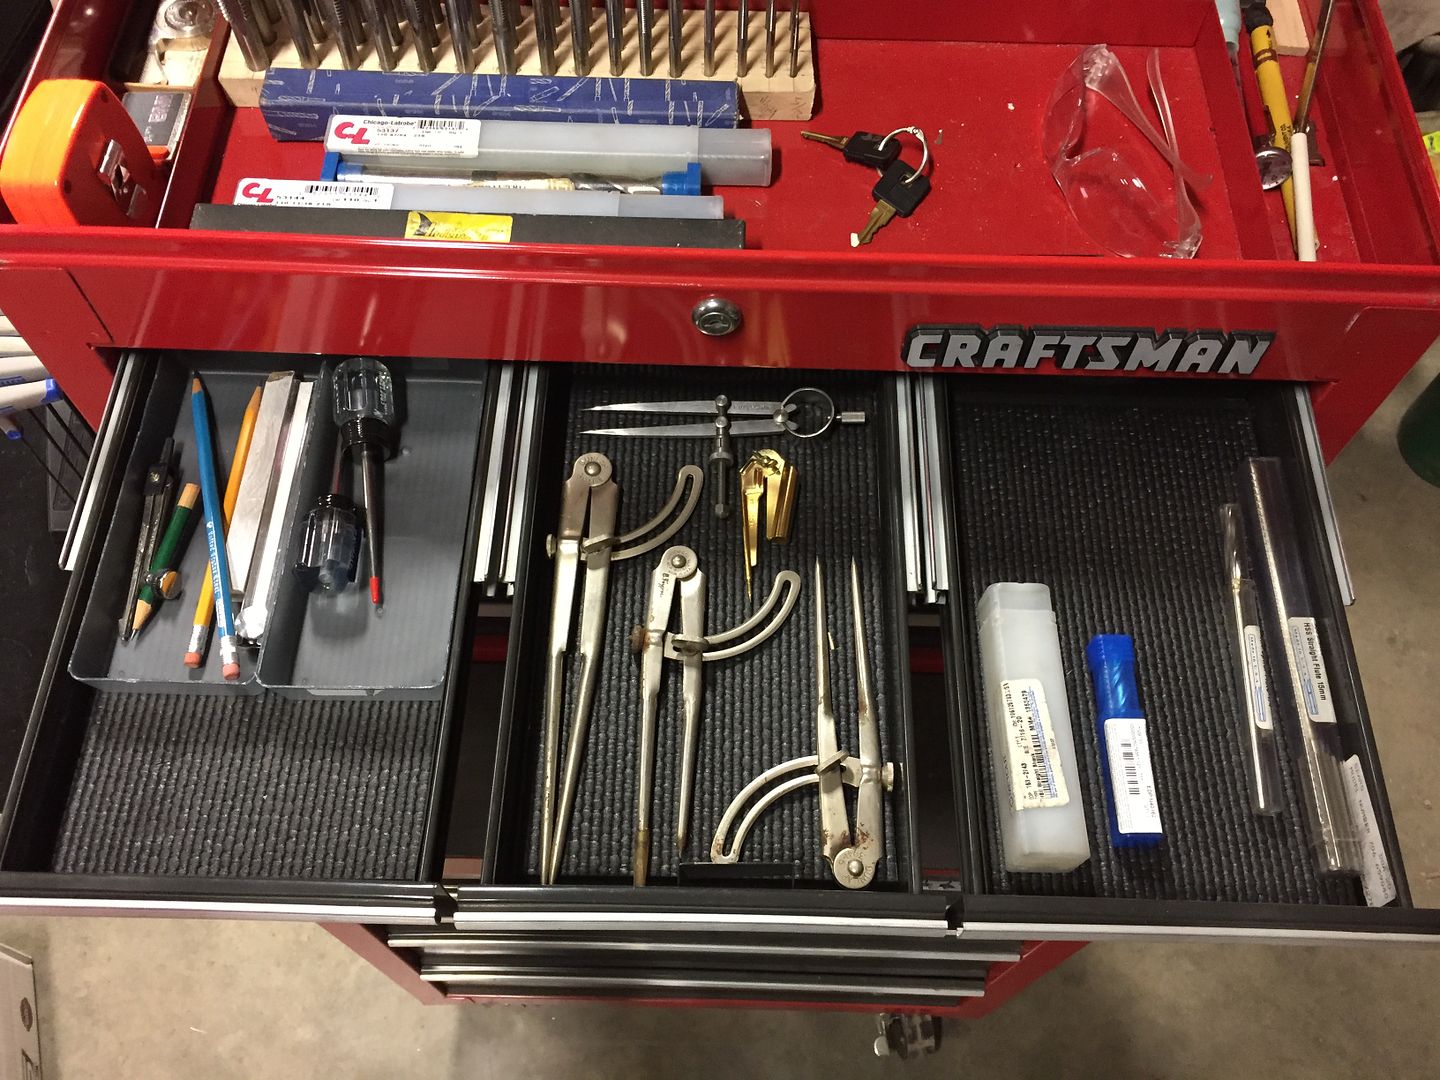
Now that I have access to a mill, I decided to move all of my machinist-style tools into his box.  I moved his tools into some boxes for storage, moved a few of my precision tools home from work, and moved some stuff out of my main box.  It's not quite full, and I have a lot of room to grow, but here is the updated layout.

Side shelf from my old Snap-on box:
Fractional tap set (#6 through 1/2") all from my grandfather's collection.  I plan to add some common metric taps, countersinks, and center drills.  I've also got a handful of large drills in the top area for now.

This will fill out as I get more milling cutters.

The empty space in this drawer is at the top of my wish list! I have a legitimate need for a Starrett 2-3" micrometer coming up.  I should also have room for a depth mic and 3-4" set as well.

Just some basics, which are generally all I need unless I'm getting into mechanical work.  I'll probably pick up another set of Bondhus hex keys at some point.

Leaving room for small hole gauges


Those are parallels, a shitty R8 taper chuck, and a shitty face mill in the boxes.   I think they're all Accusize brand, which are fine for most of what I'm doing.

I need to clean this drawer out.  Eventually this will be tap wrenches and drills.


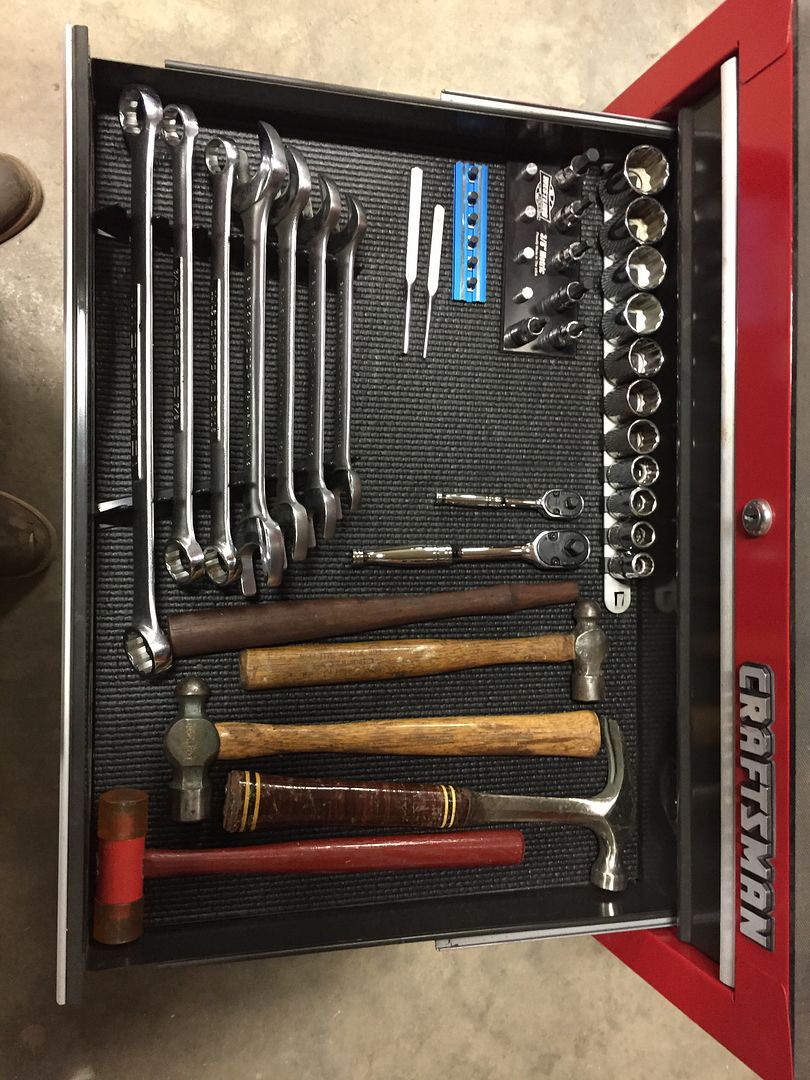
Again I'm not getting into mechanics work out of this box, I just need a few wrenches to tighten toe clamps and adjust the mill vise.

A few pairs of pliers.  After this, the bottom two drawers are packed with junk and power tools.

While digging through my grandpap's tools, I found a whole pile of copper alloy.  I suspected it was brass, but wanted to make sure none of it was Beryllium Copper - toxic and common during the era he worked!   I took it to the local scrap yard where my buddy works for analysis.

I determined that most of it is 360 Brass, but the large piece is Naval Bronze


Here is another little project.  I used a piece of the brass and a spare hammer handle from my grandfather's collection to make my own miniature bronze hammer.

I also made some organizers for my file drawer.  I have 4 sets of files - general purpose, aluminum-only, stainless-only, and steel-only.  I keep them separated to avoid contamination if I'm filing welded joints and reduce the chance of problems with anodized aluminum (steel deposits will burn during the anodize process) or corrosion problems when working with stainless (steel deposits will rust, aluminum deposits will corrode).  I made each separator from the same material each file is used for to prevent contamination in the drawer. This one shown below is just mild steel.


This old Sharp milling machine has been sitting around in my shop for many years without being used.  It ran at one point, but it was un-wired at some point and has been collecting junk for a while.  I decided to take action and get it running, it would be handy to have a mill!

Here is the before: covered in junk and grime with a shitty old drill press vise.

I bought a section of wire and a big twist-lock 3 phase plug to mate the nearest outlet.

I decided to go all out and bought a fresh Kurt DX6 vise.  I laser engraved my name on it since this is a shared machine and I don't want the vise walking away!

After cleaning away all the junk I stoned the table, trammed the head, mounted the vise and indicated it square, then whipped up some 22ga stainless steel table covers to prevent the t-slots from filling with chips.  Quite the improvement!

The left side handle had been removed at some point.  Even though the x-axis power feed works, it's nice to have a handle on both sides.  The dial had been lost, so I turned an aluminum spacer, made a new key, found the original handle, and mounted it up.

Next operation: fixing the digital readouts.  I wish I could get some pictures, but my hands were covered in years of grime and I couldn't get to my phone.  I ended up cleaning both scales and actually removing the x-axis readhead to clean the sensor.  Now they both work! I cleaned the buttons and readouts too so I can see what I'm looking at.  I didn't verify the accuracy, but I'm sure it's fine for what I'm doing.

Now I have access to a nice little mill!
First step: use it!  One motivation for this project was to complete a simple task for Fort Pitt Classic Cars. They wanted me to mill an 8º angle into this block of PVC, which was no big deal once I got the mill running.


Done!  Maybe not profitable... but done well!

I'm back!  Photobucket changed their policies again and now they allow 3rd party photo hosting for reasonable prices.

I'll start with another Fort Pitt Classic Cars project.  I was asked to change the direction on this LSx waterpump for a Studebaker pickup they're building.  The first step was to remove the stainless steel insert to determine how to modify it.


After coming up with a plan, I talked them into buying a new water pump.  The one they delivered was already used, and I was nervous about adding a ton of cost to a questionable pump.  Brand new from the dealership!


I bought a super tight radius J-bend from Woolf Aircraft.  The plan is to remove the factory insert, bore out the housing, then weld this bend to a custom machined insert and press it all together.


The next step was to mask it all up and deliver it to be machined.  I outsourced the machining because I don't have the time or facilities to do exactly what I had planned.

...Fast forward a few weeks, and the machined parts came back beautiful!

I also added an o-ring gland in the housing for extra sealing.

It's a really tight press fit, so obviously it didn't drop in during the test fit.


The next step was to roll a bead with my Kramer bead former.  This was just a test bend, but it made quick work of adding a clean bead in the 0.065" wall stainless steel!

Here it is ready to weld.  I turned a tight fitting plug to help keep it round during the weld and hold the back purge fitting.

Filled with argon and ready to TIG up!

Welded!

Bill Lewis welded this one for me.  With the back purge, the inside was just as clean as the outside!  This is extra important because I planned to grind the weld smooth.

Next I made another plug and miter cut a tube to intersect the angle. In order to press it in, I had to get a perpendicular surface.  I also wanted to spin it while sanding the weld off, so this served a dual purpose.

This was the setup in my lathe, ready to sand the weld off.

After grinding the weld flush, I pressure tested it.


Done!

This is the reason for the extra tube - to give me a surface to press against.  This was just a test fit to get the press ready since the pressing operation has to be done quickly - before the housing can cool and before the shaft can warm up!


In order to help the press fit operation, I put the part in the freezer for a little while.

In addition to a 0.004" interference fit, plus the radial sealing EPDM o-ring, I decided to add some Loctite 620 high temp retaining compound for extra security.  These single-serve packets are very nice!


The next steps were mega stressful - heat up the housing with a torch while monitoring the temperature to make sure it didn't get too hot, then running to the freezer to get my part, lining it up, and pressing it home!  Needless to say grabbing a sexy photo was not a priority!

After grinding off my extension and polishing it smooth, here is the result!

Here is a comparison with a similar LSx pump showing the original and turned tubes.